The more personal your email, the more attention you attract. You can show personal data and specific content per user.
3 examples
Personalisation: show content block yes/no
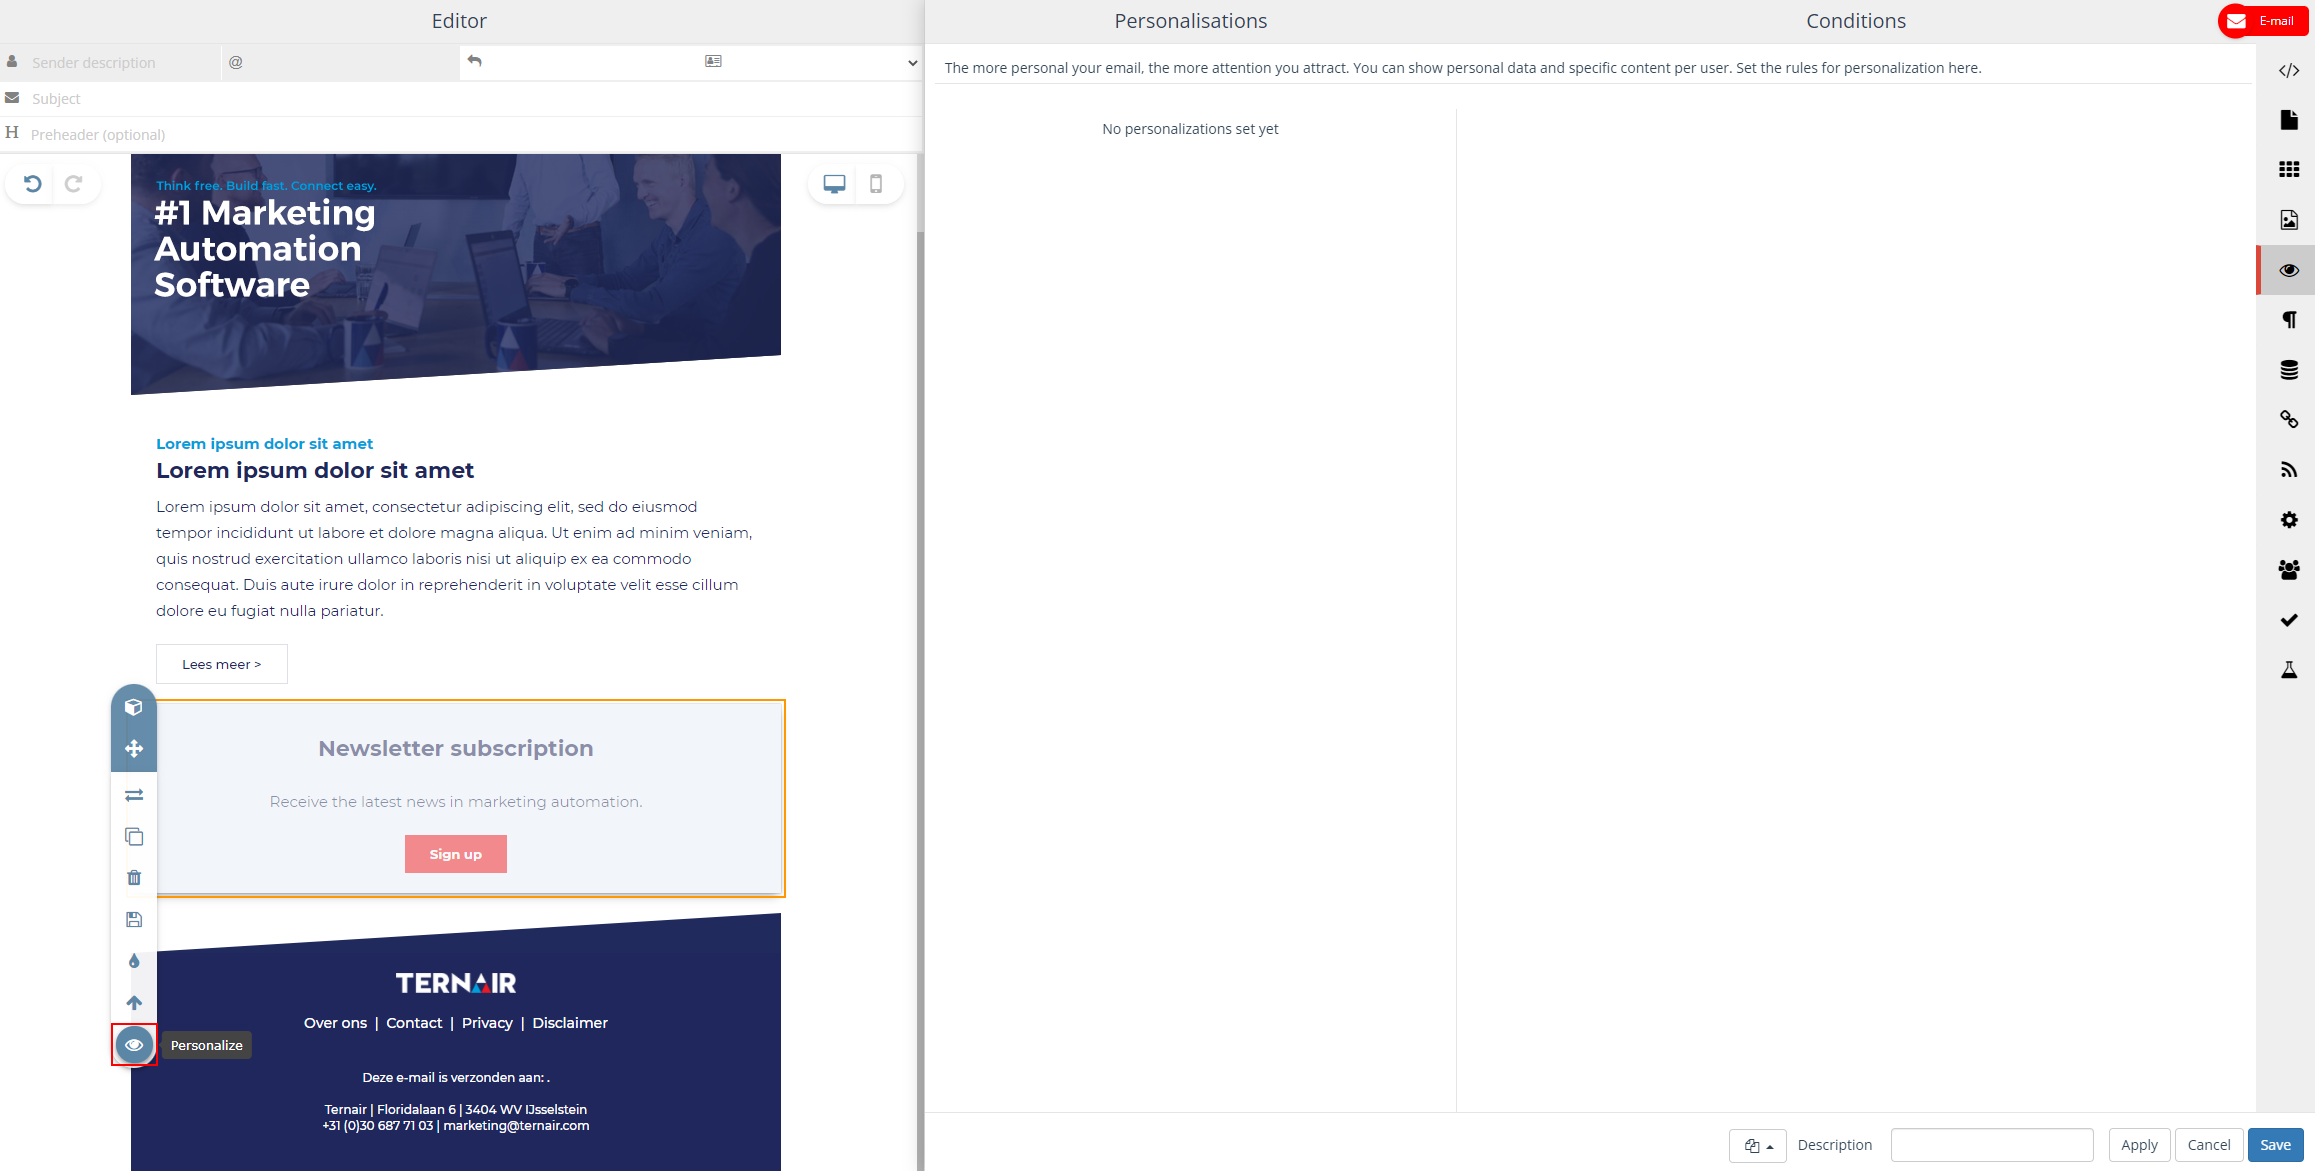
- Select a content block by clicking on it and from the menu, choose the ‘eye icon’ Personalize.
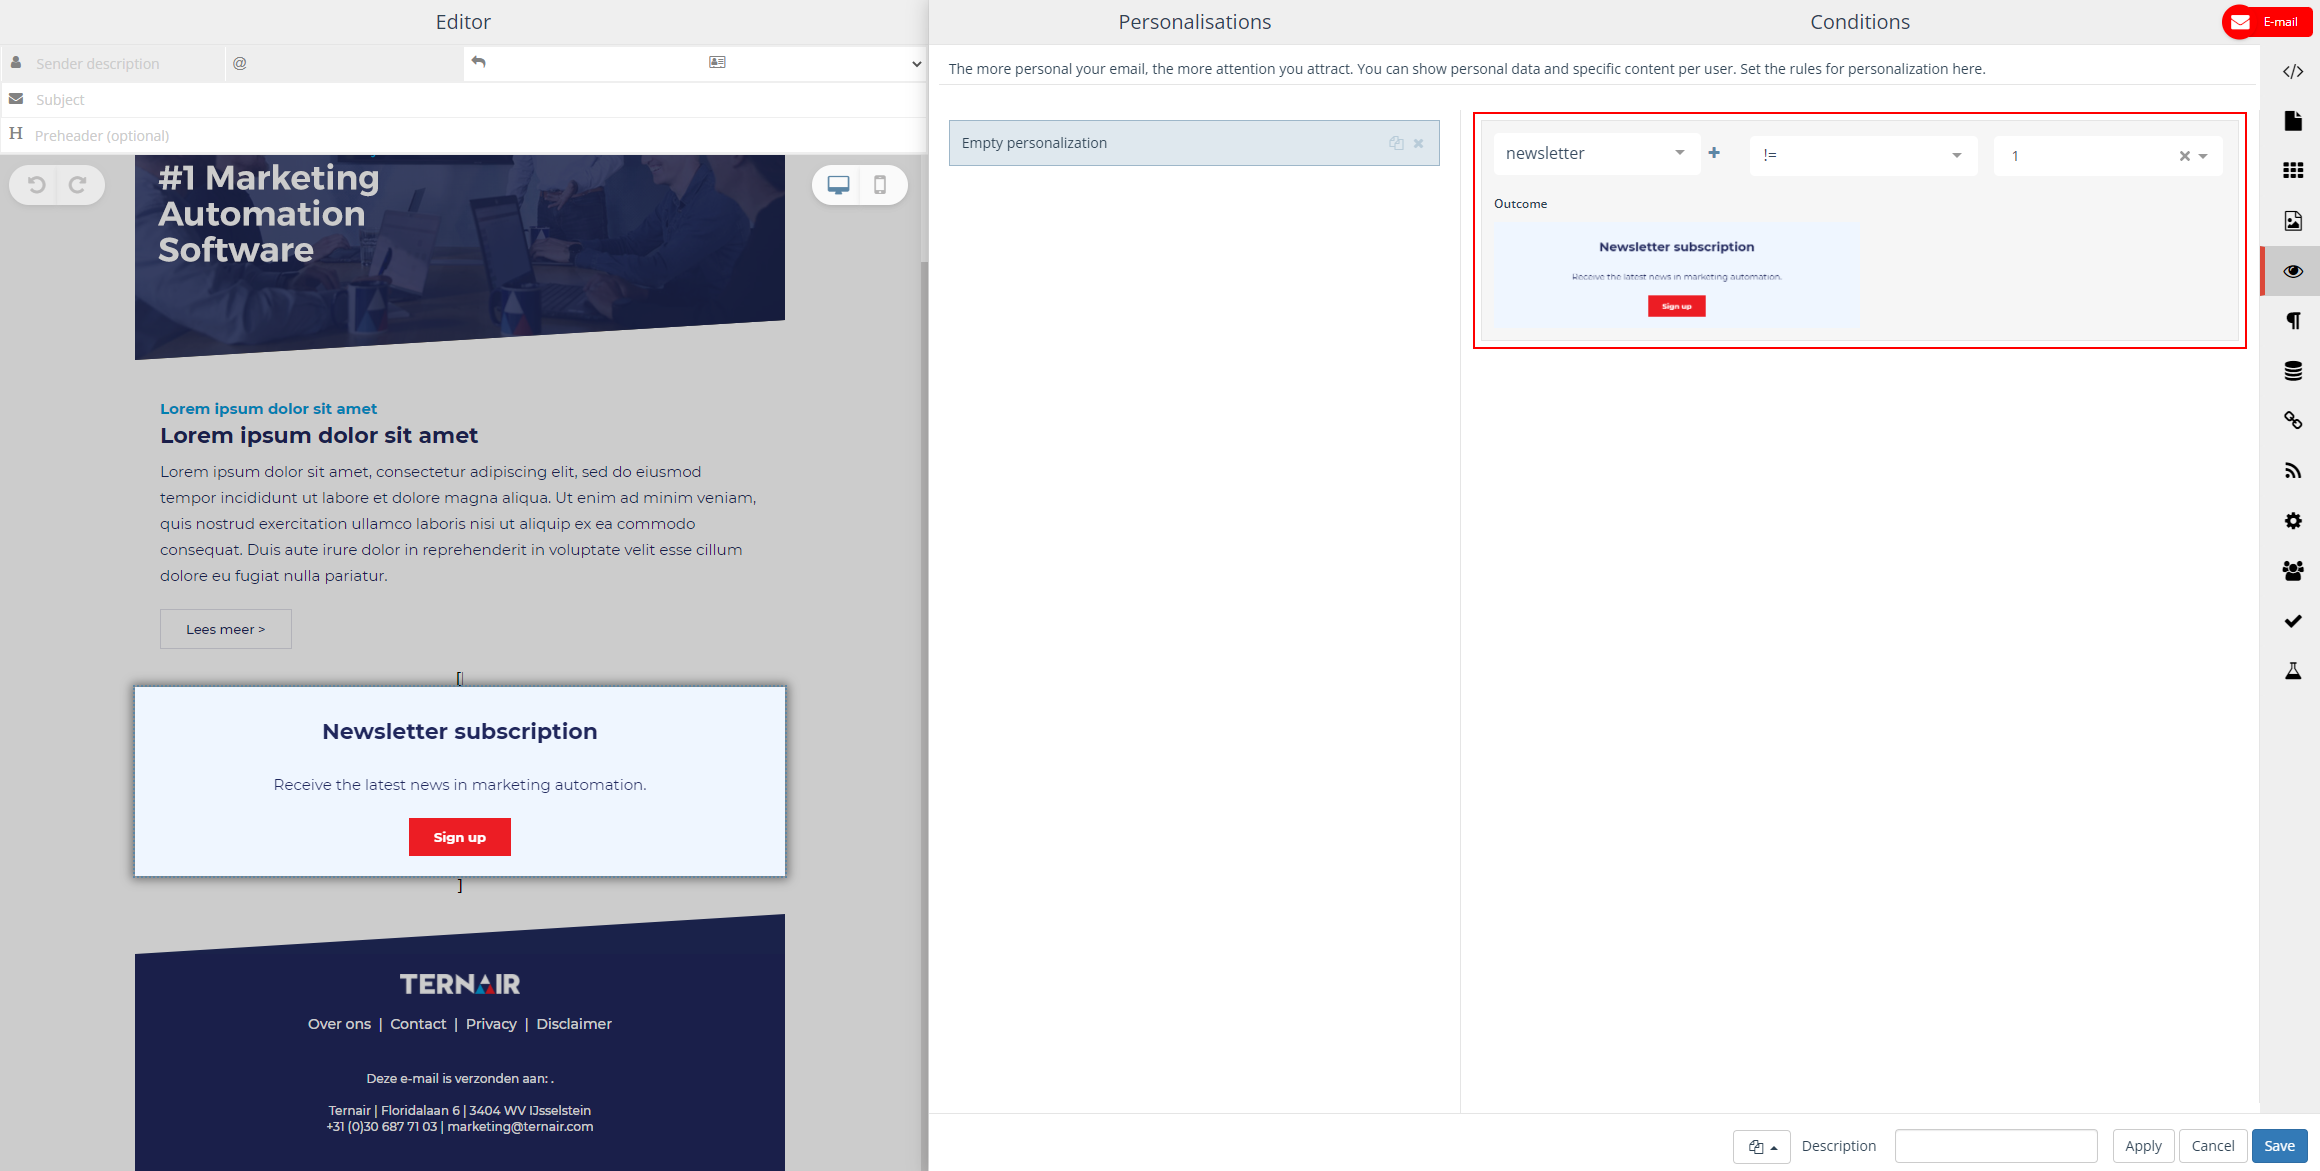
- Determine when this block should be shown in an email.
- Choose “WHAT” you want to personalize
- Choose the “CONDITION”: for example Is equal to, Contains, or Occurs in the list
- Choose the “VALUE” to the condition: for example, Is true (1), Is not true (0), or a number
In this case, we chose Newsletter != (does not equal) 1.
In other words, if for a user the Newsletter is not ‘true’ (does not occur), then this block will be shown.
Personalisation: personal data
- Click in the content block and choose ‘Edit Text’.
- Type your ‘salutation’.
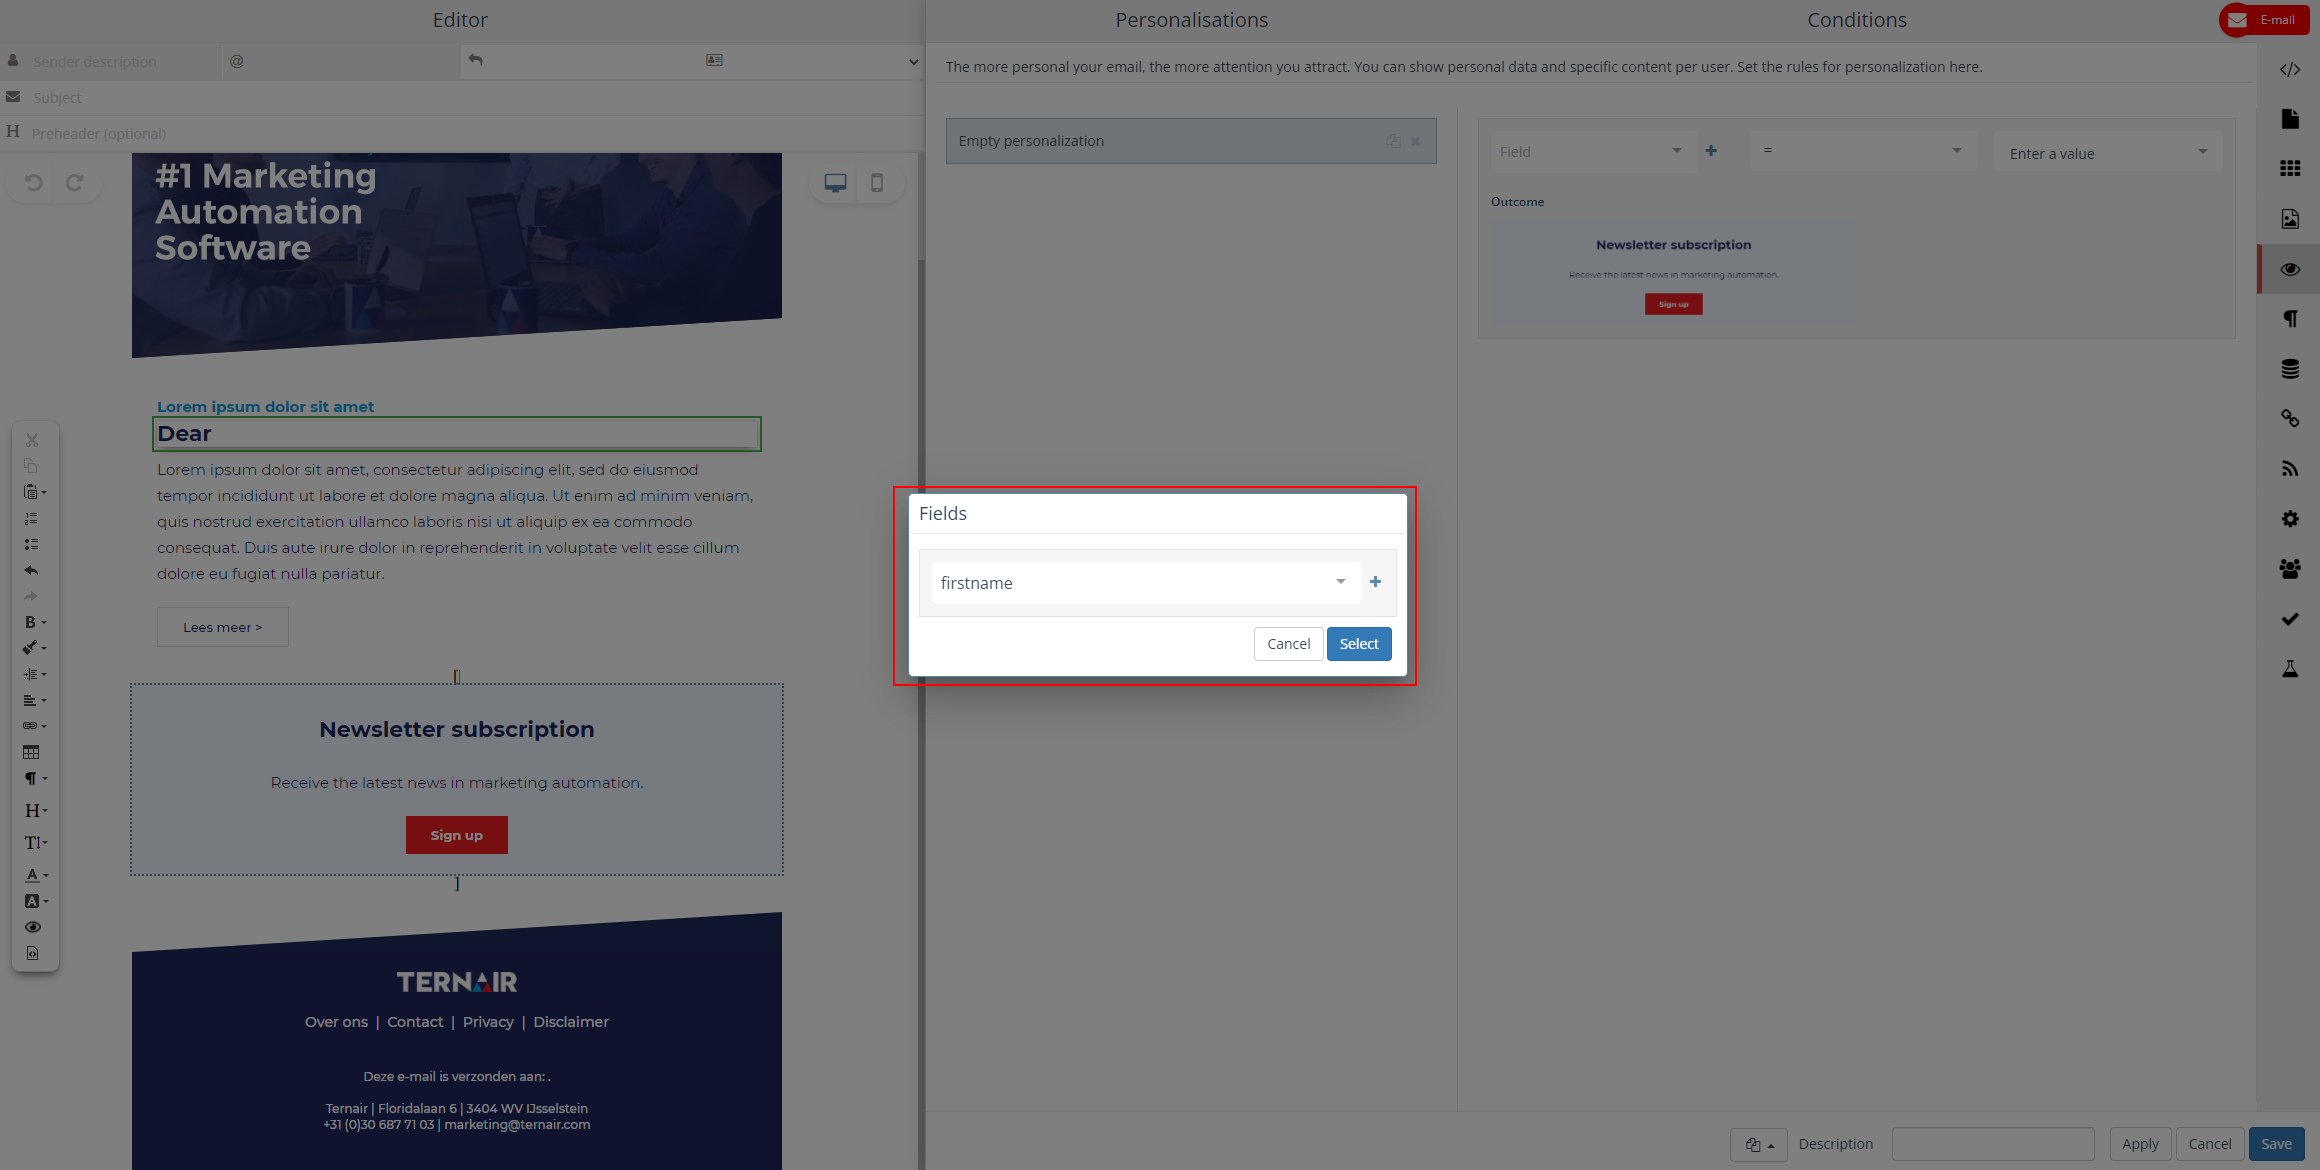
- Then in the menu, choose the ‘eye icon’ Personalize.
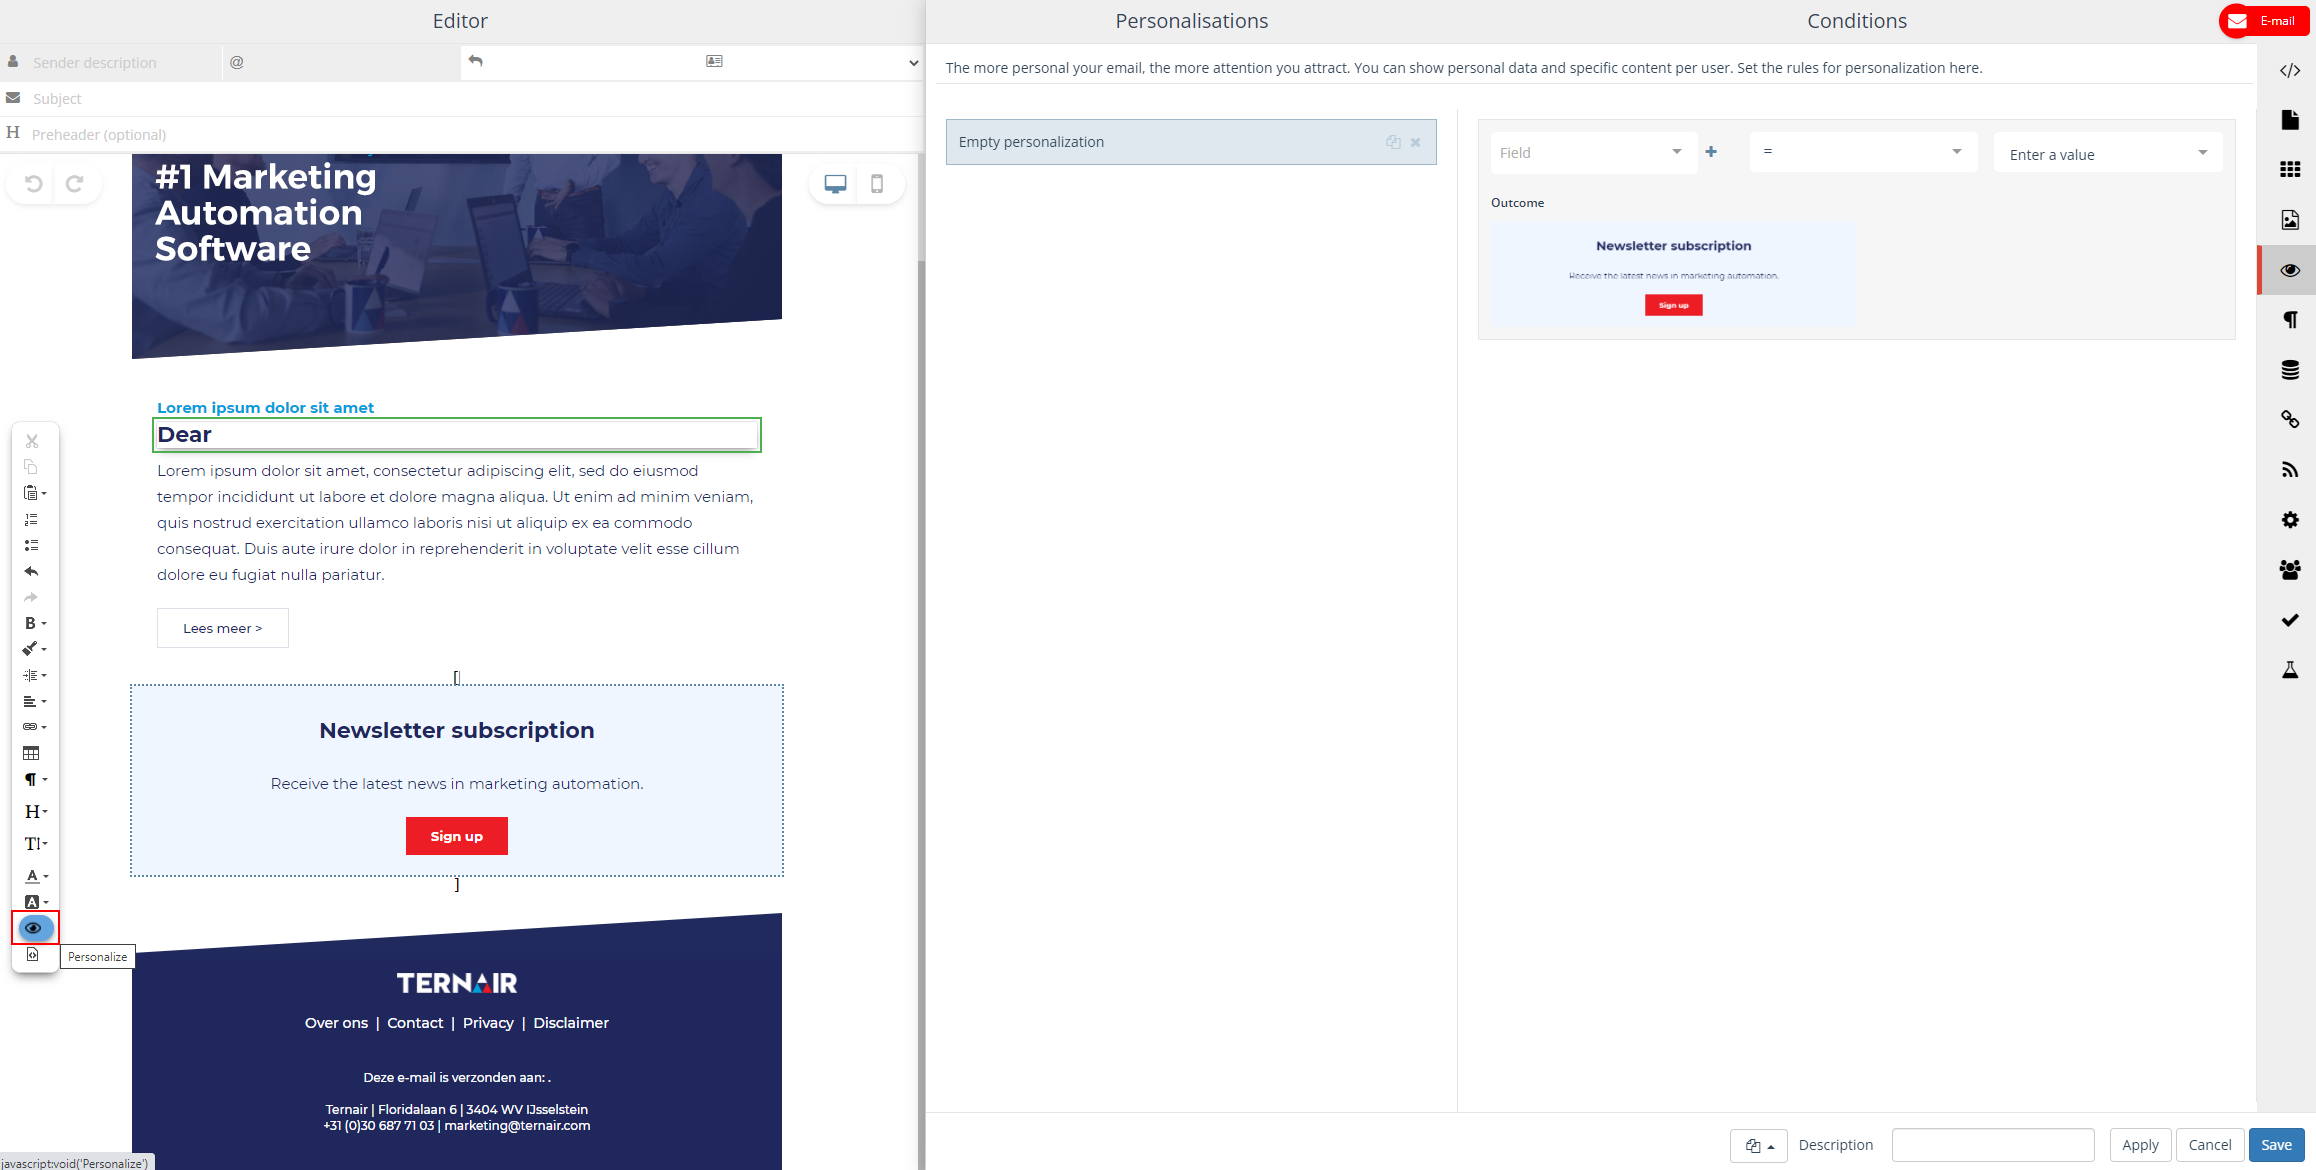
- Choose the “first name” field. And you’re done!
Personalisation: content based on interest
- Select a content block, and in the menu again choose ‘eye icon’ Personalize.
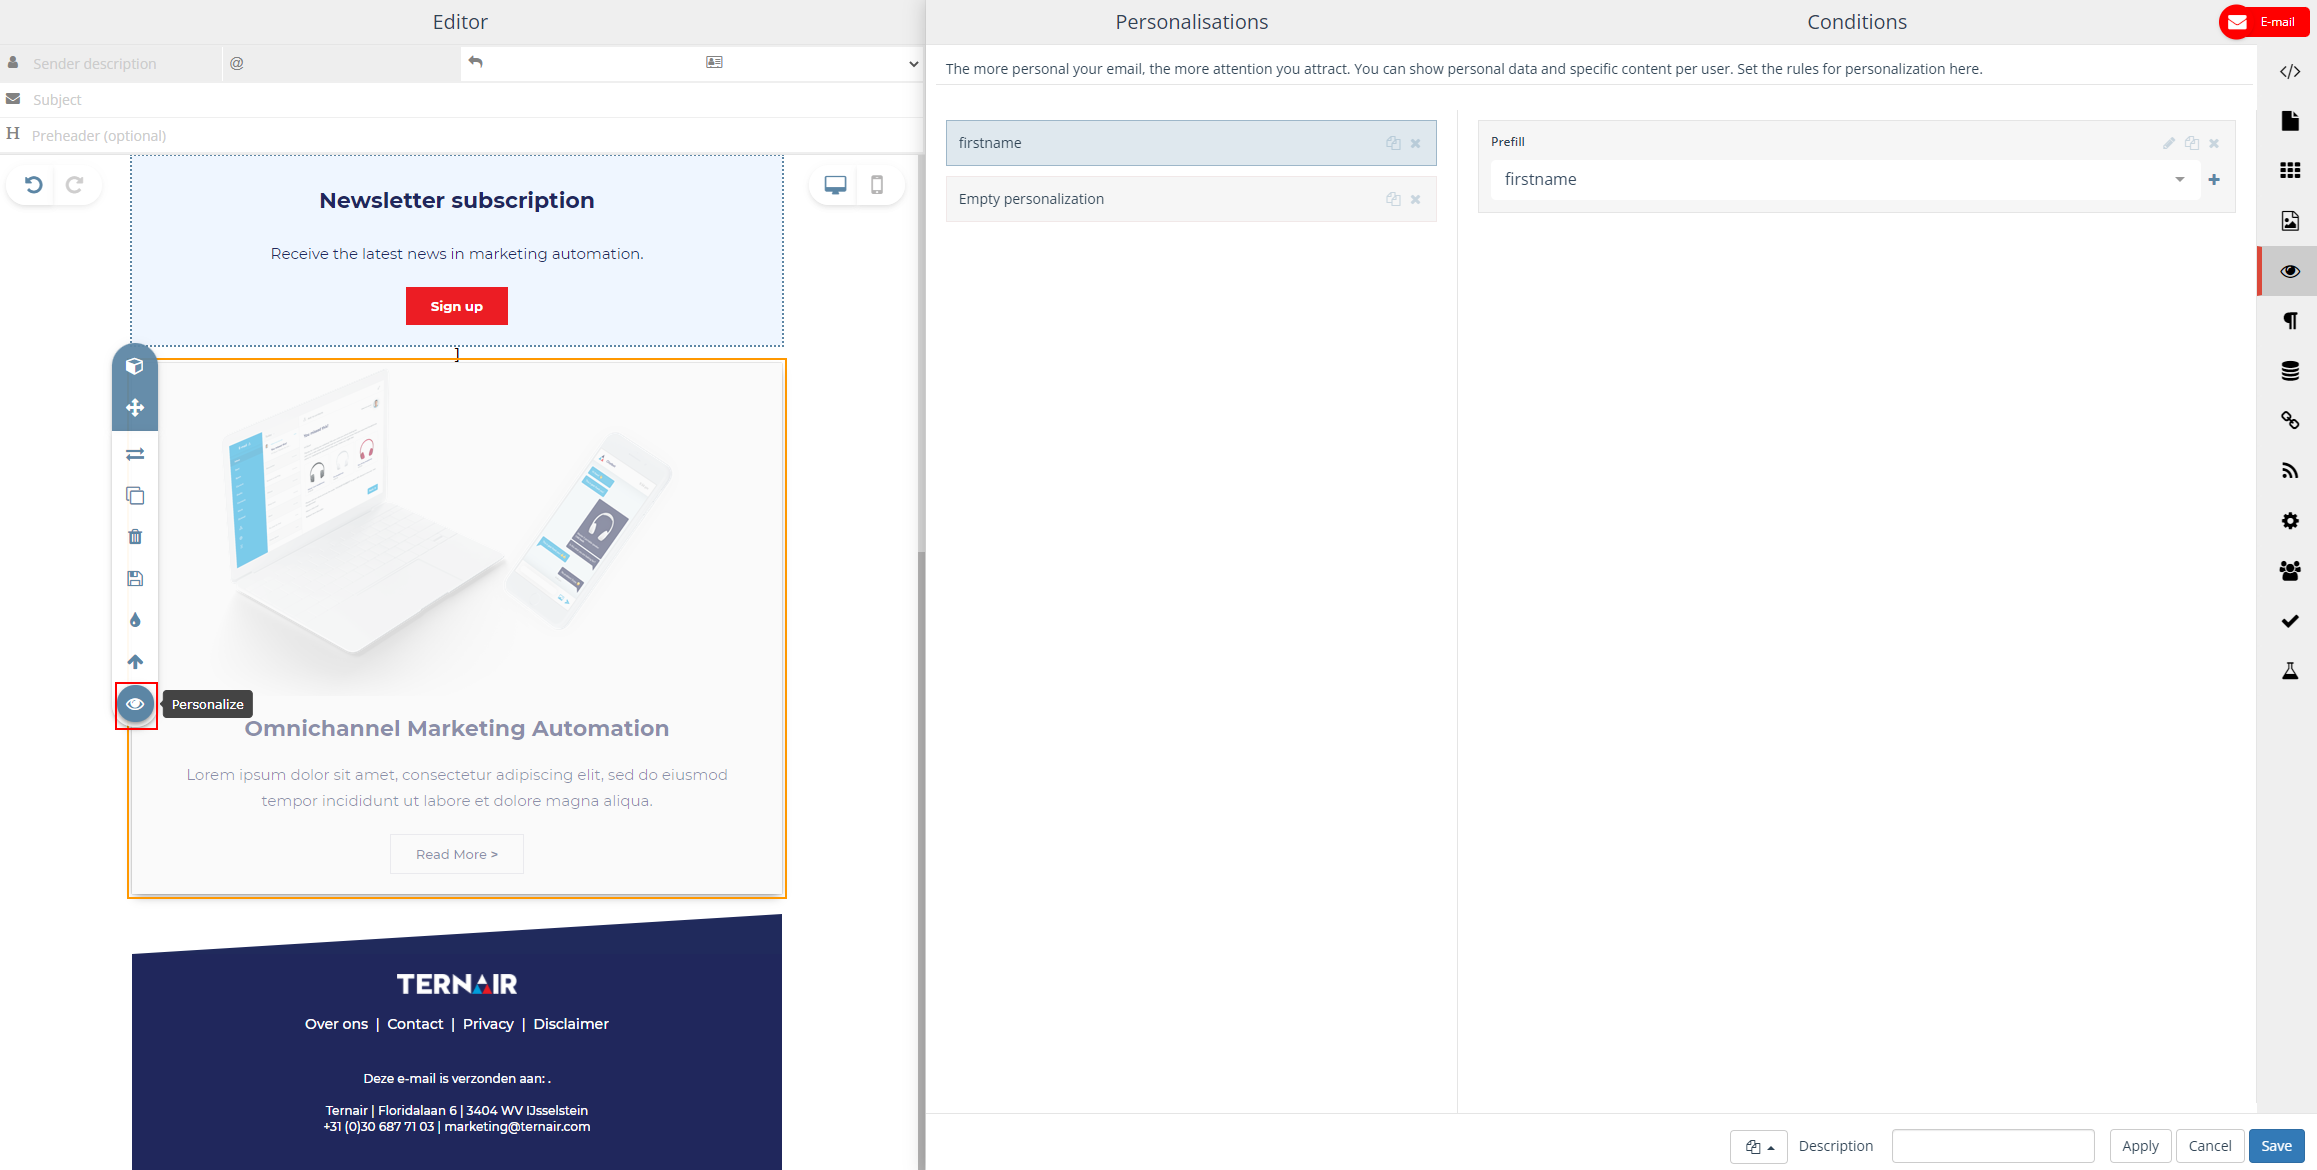
- Determine when this block should be shown in an email.
- Choose “WHAT” you want to personalize
- Choose the “CONDITION”: for example Is equal to, Contains, or Occurs in the list
- Choose the “VALUE” to the condition: for example, Is true (1), Is not true (0), or a number
In the example below, the chosen content block is shown if the user’s interest is known as ‘data connectivity’.
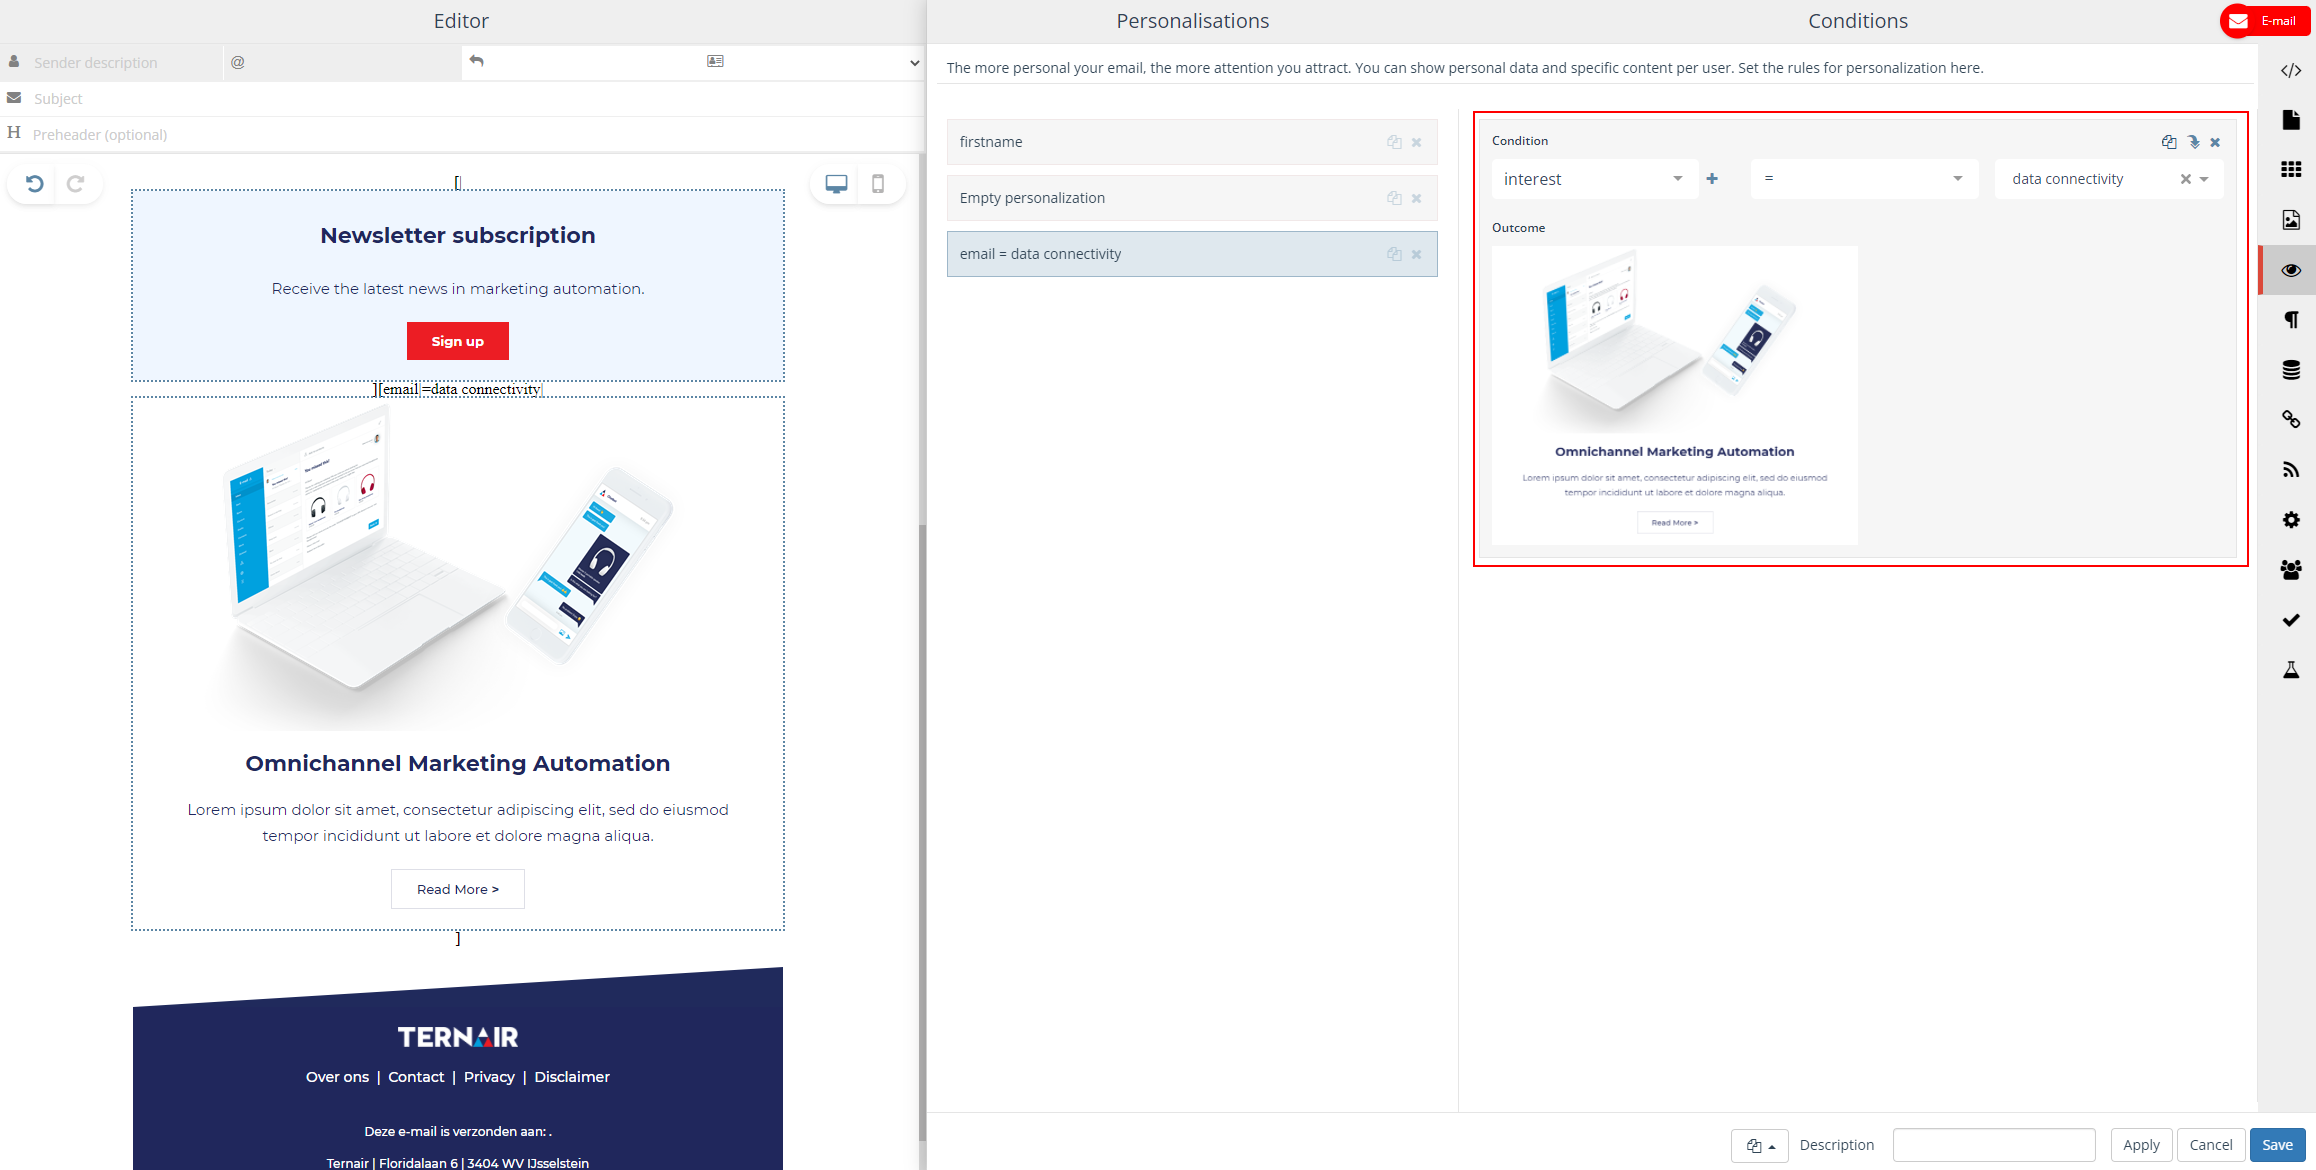
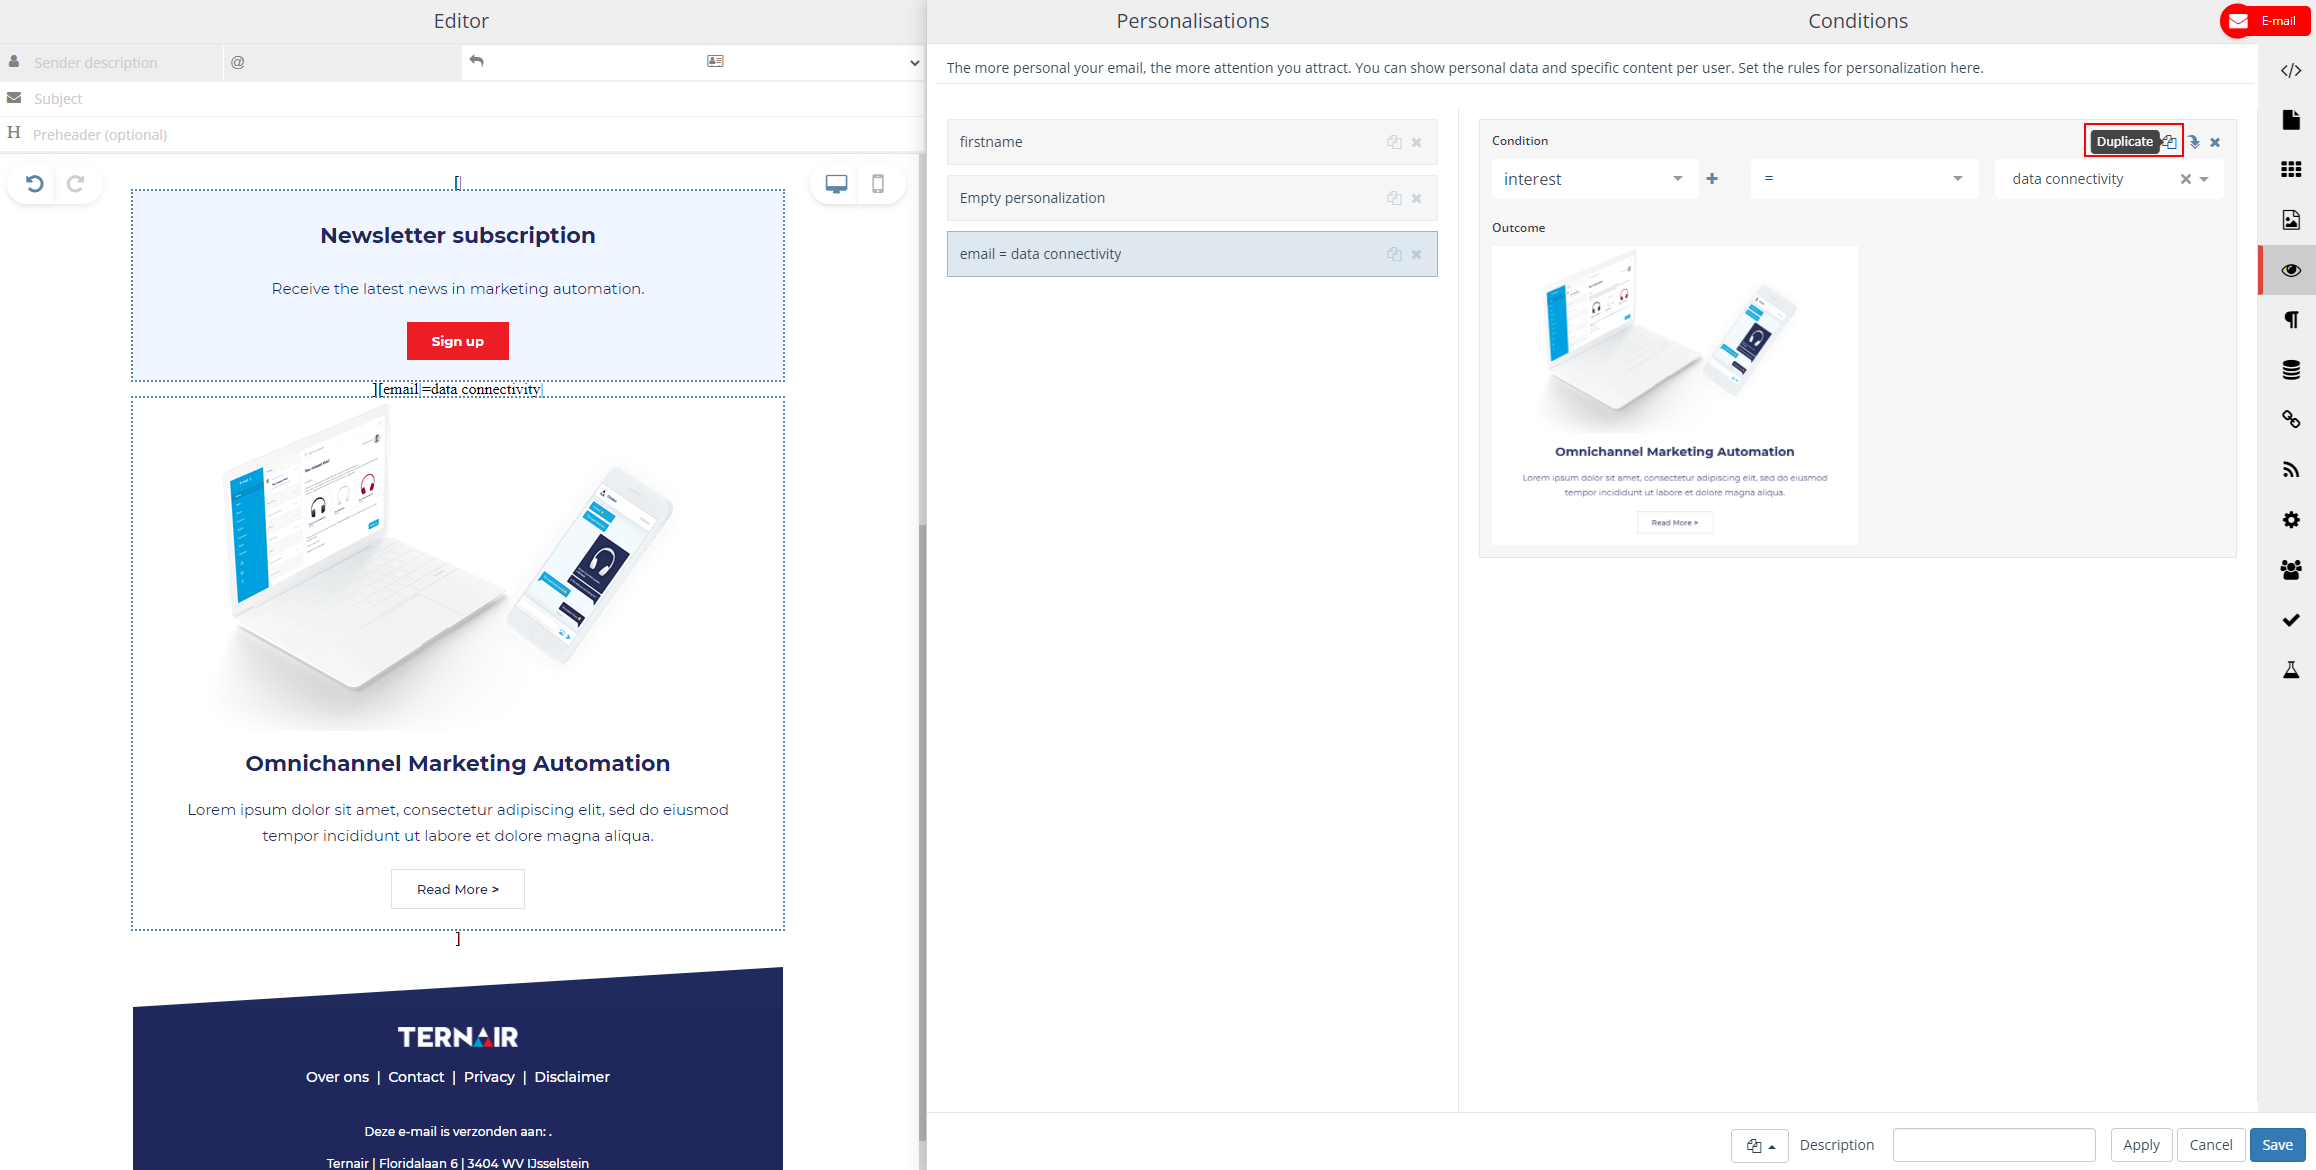
- Duplicate the content block and easily add interests for the other content you wish to personalize.
- Set as default so that it is shown when no other personalization is valid.
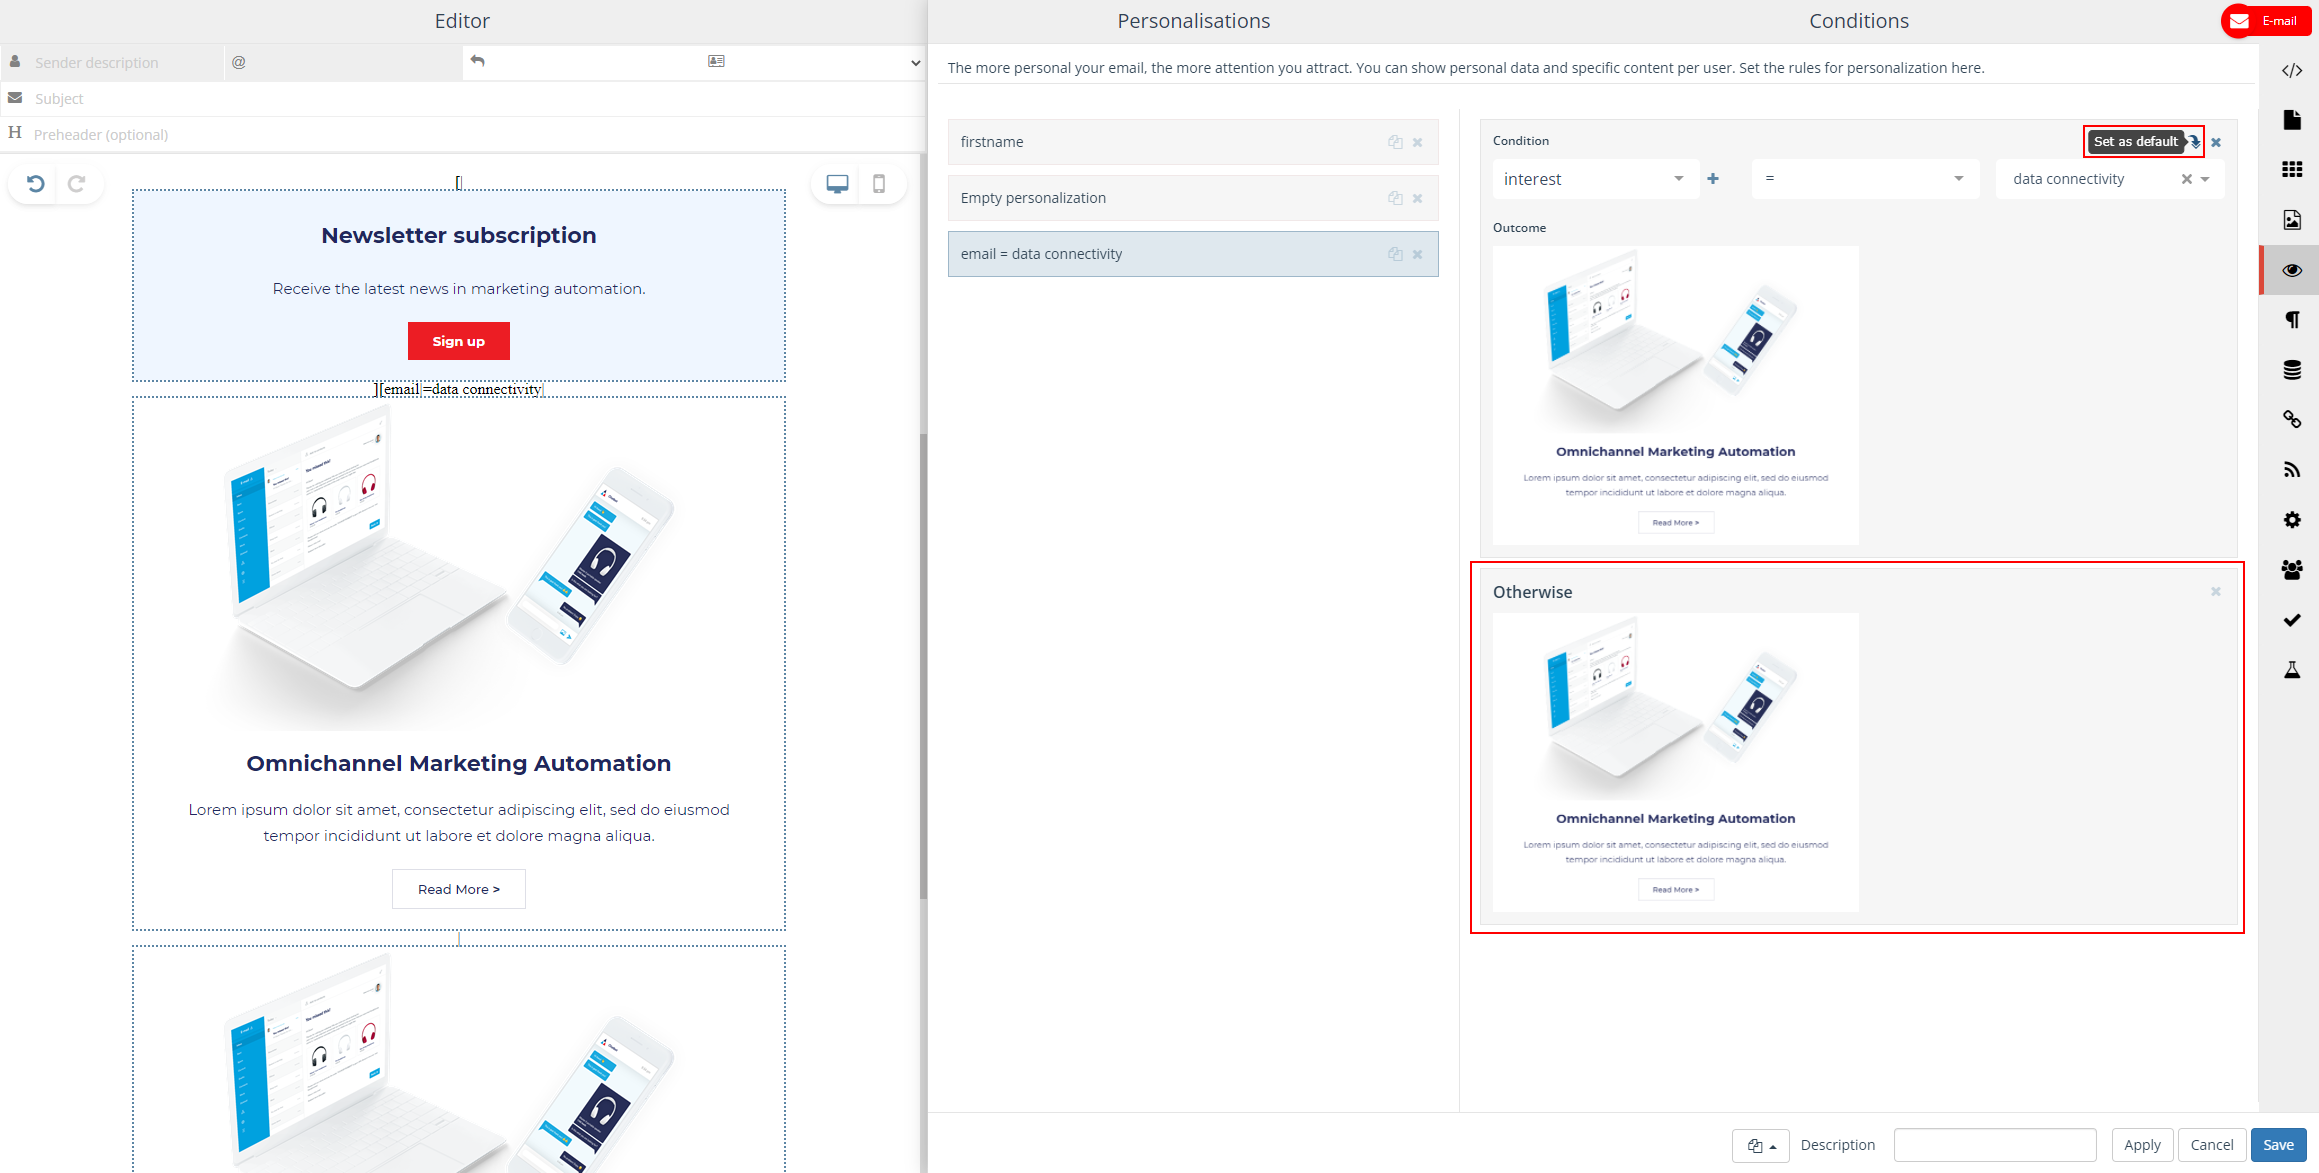
- In the email on the left you can see all changes and added conditions.Choose which content block belongs to which interest by dragging them into the email or adjusting texts.
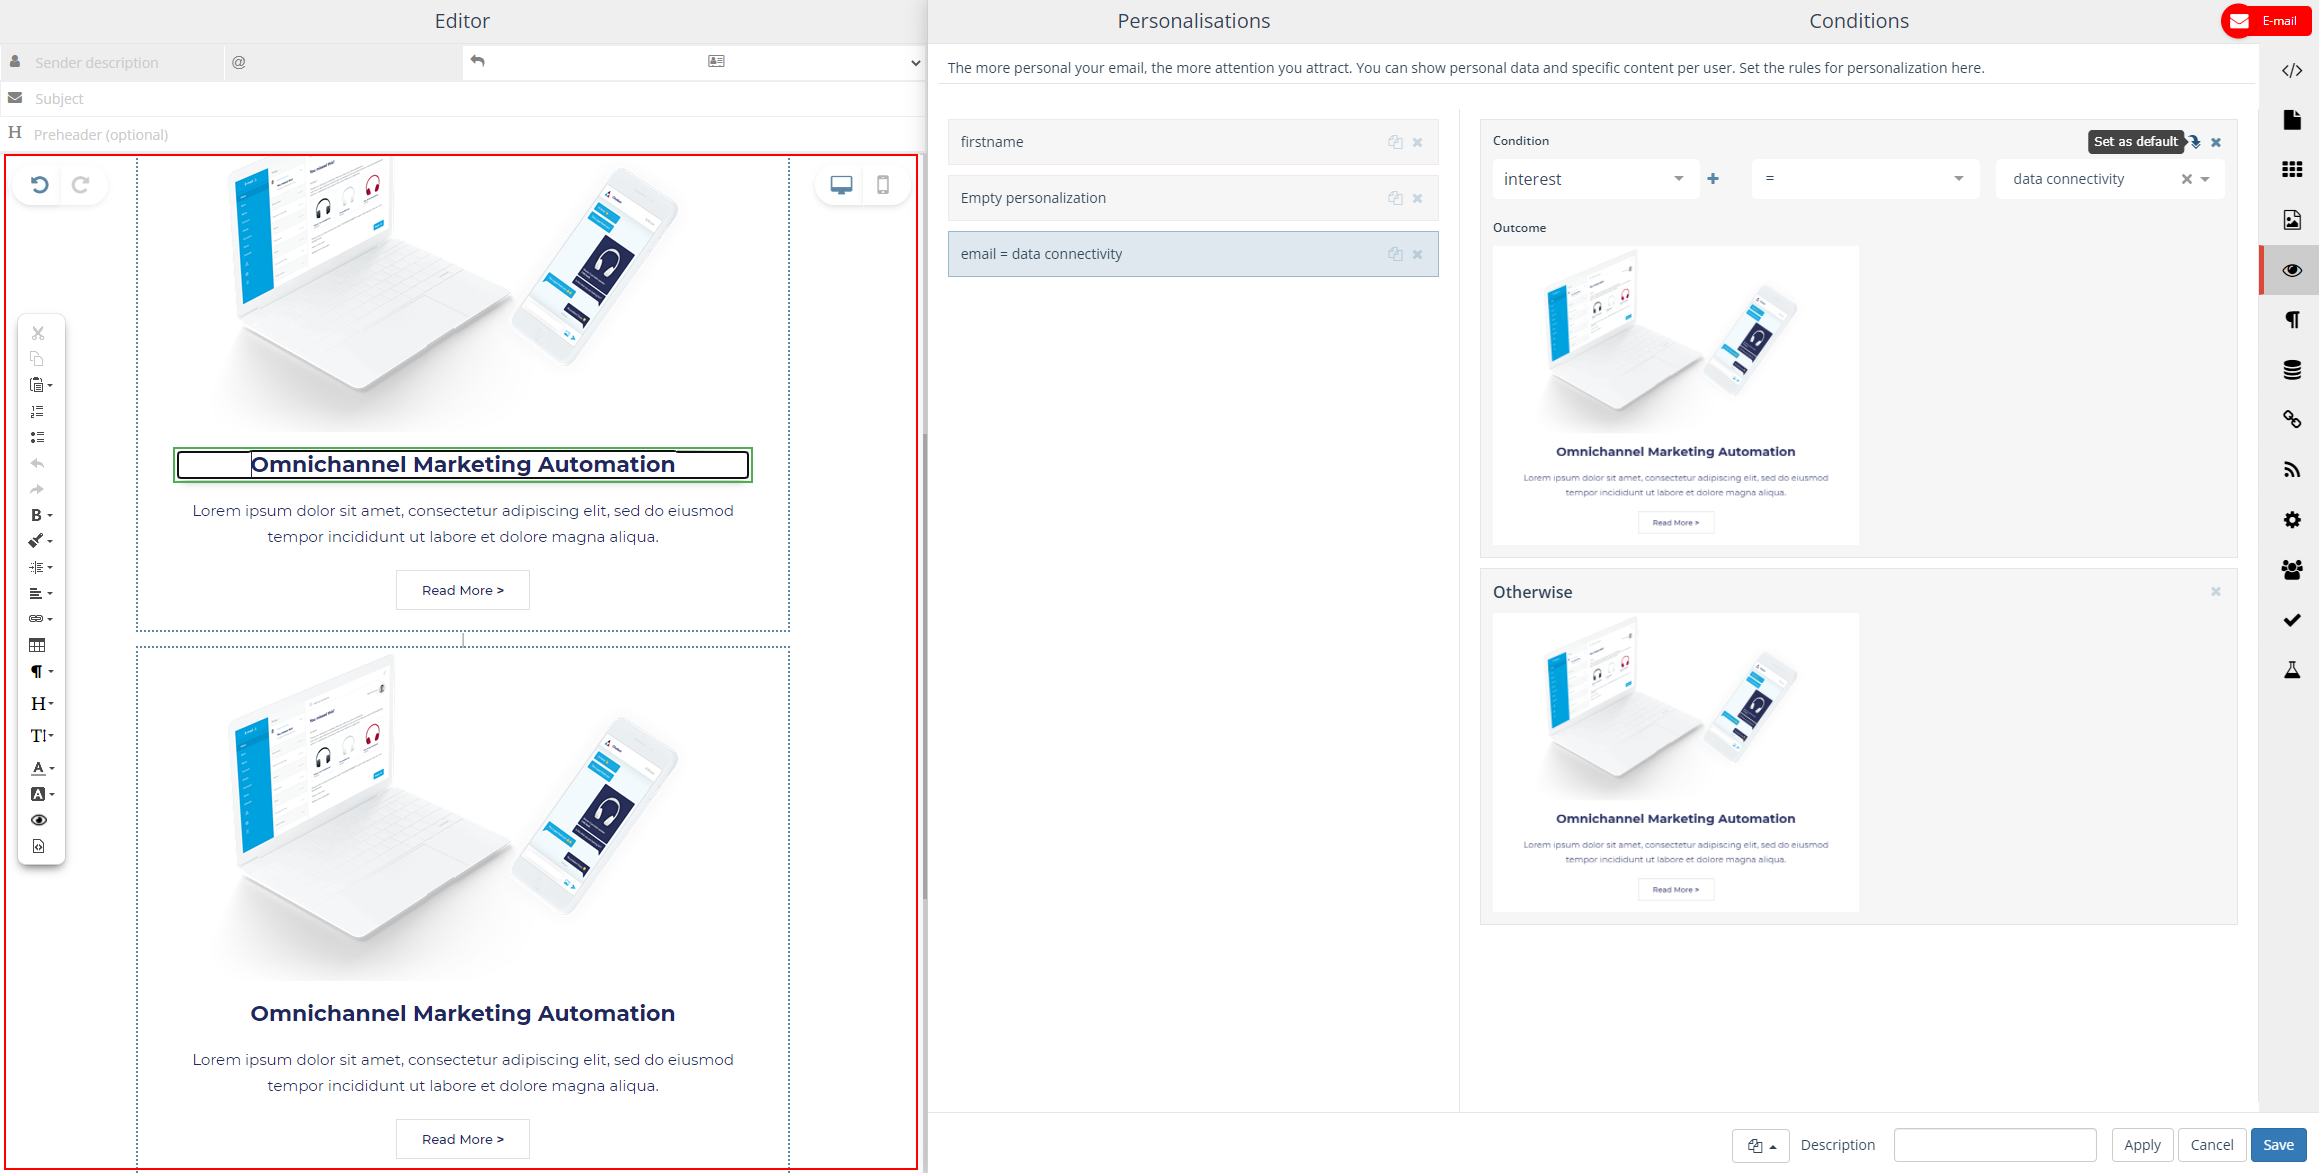
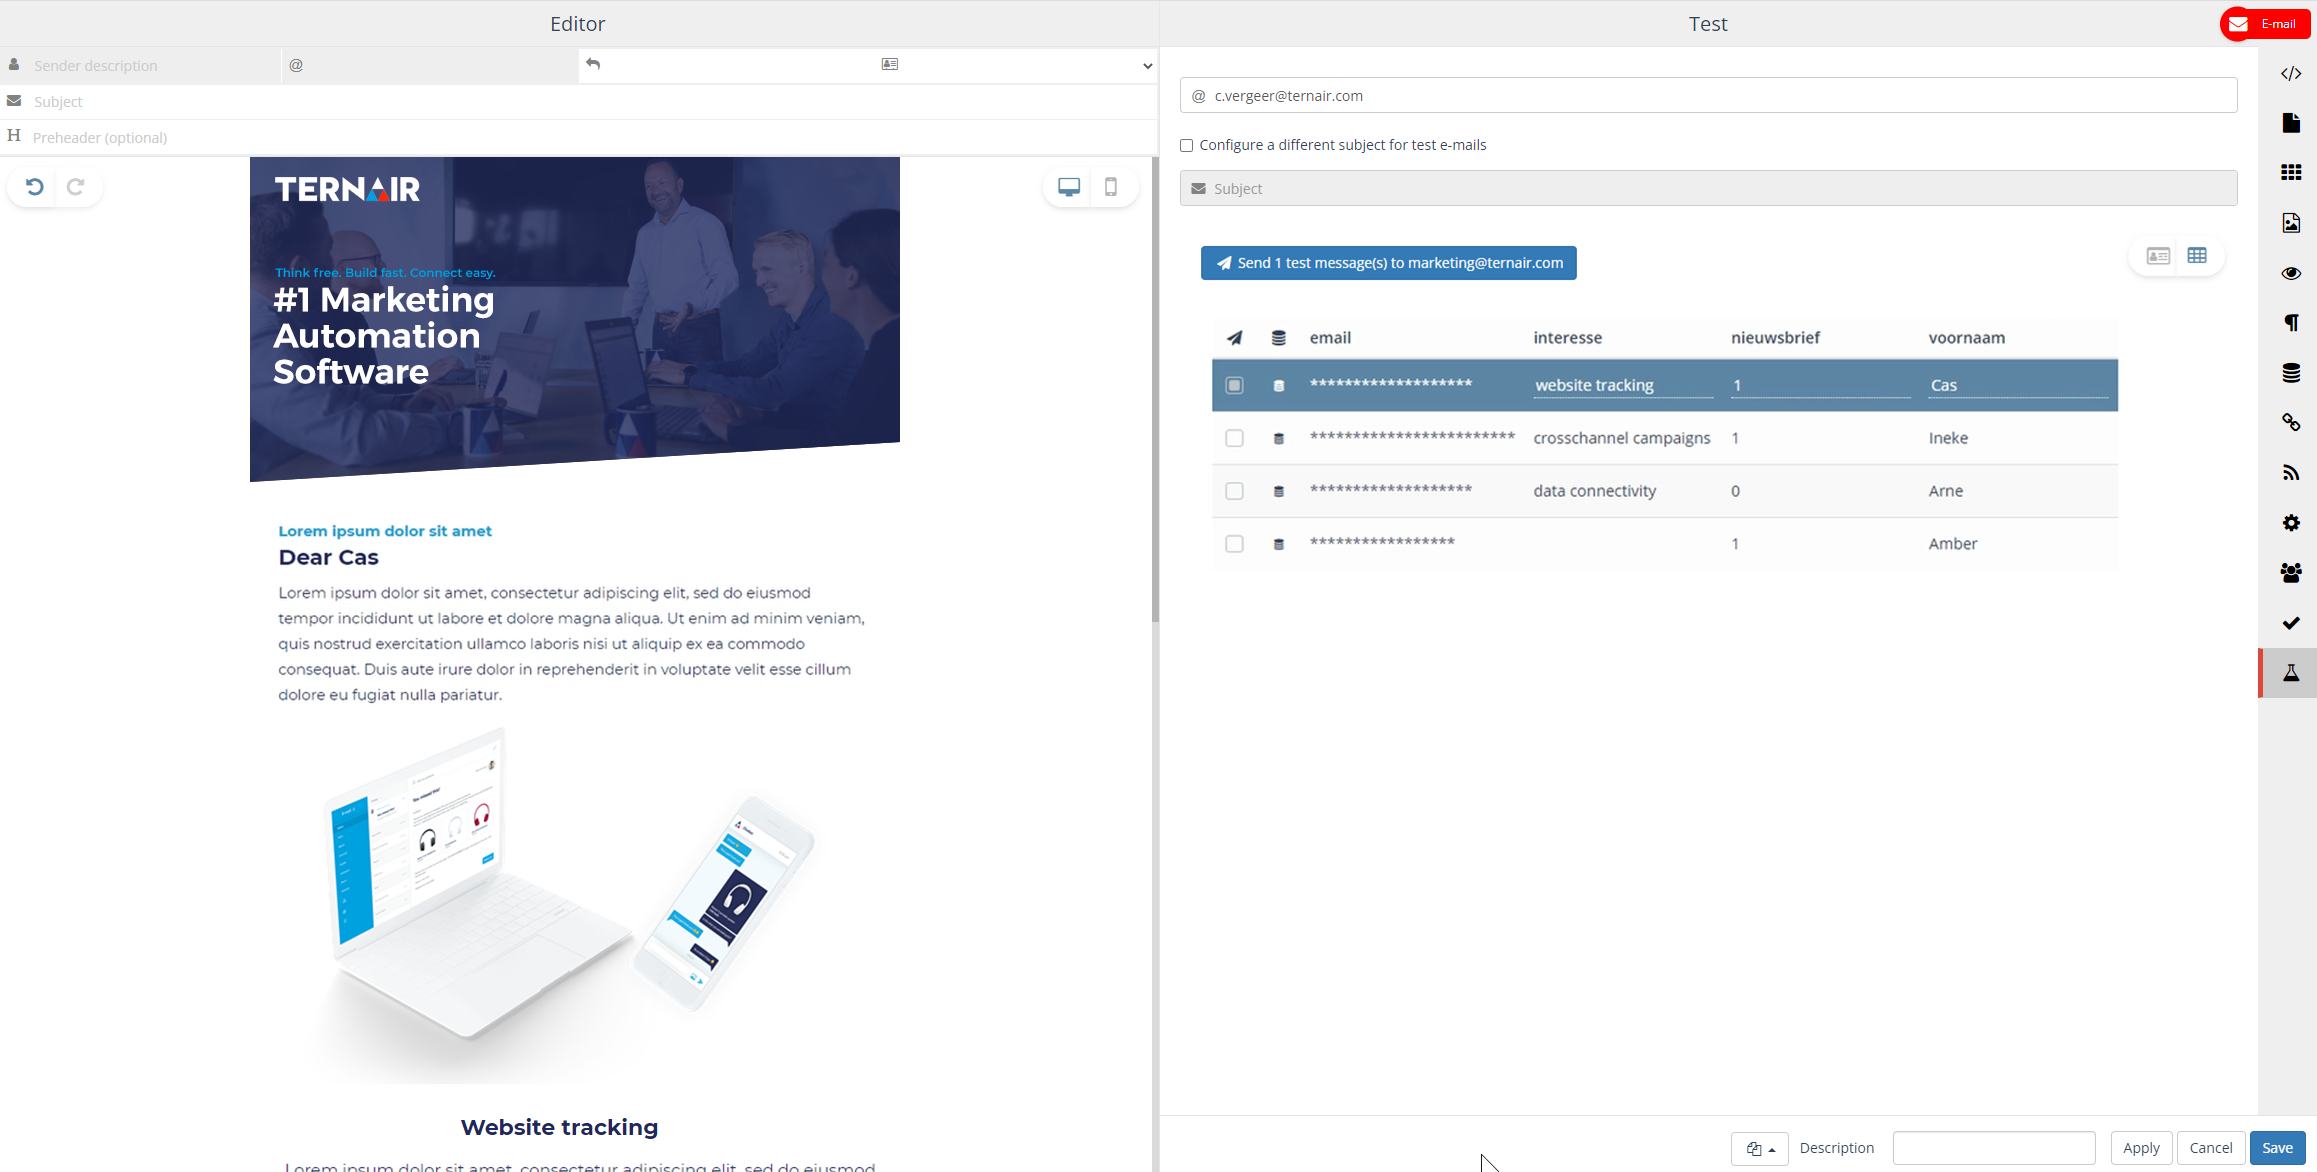
- Finally, click on ‘Test’ tab to see the result of each personalization for different receivers of the email.
