With the ‘Schedule’ function the execution of (part of) a selection flowchart can be (periodically) planned and executed on a desired date and time.
Drag a schedule block onto the worksheet. Then connect the schedule block to one or more output blocks.
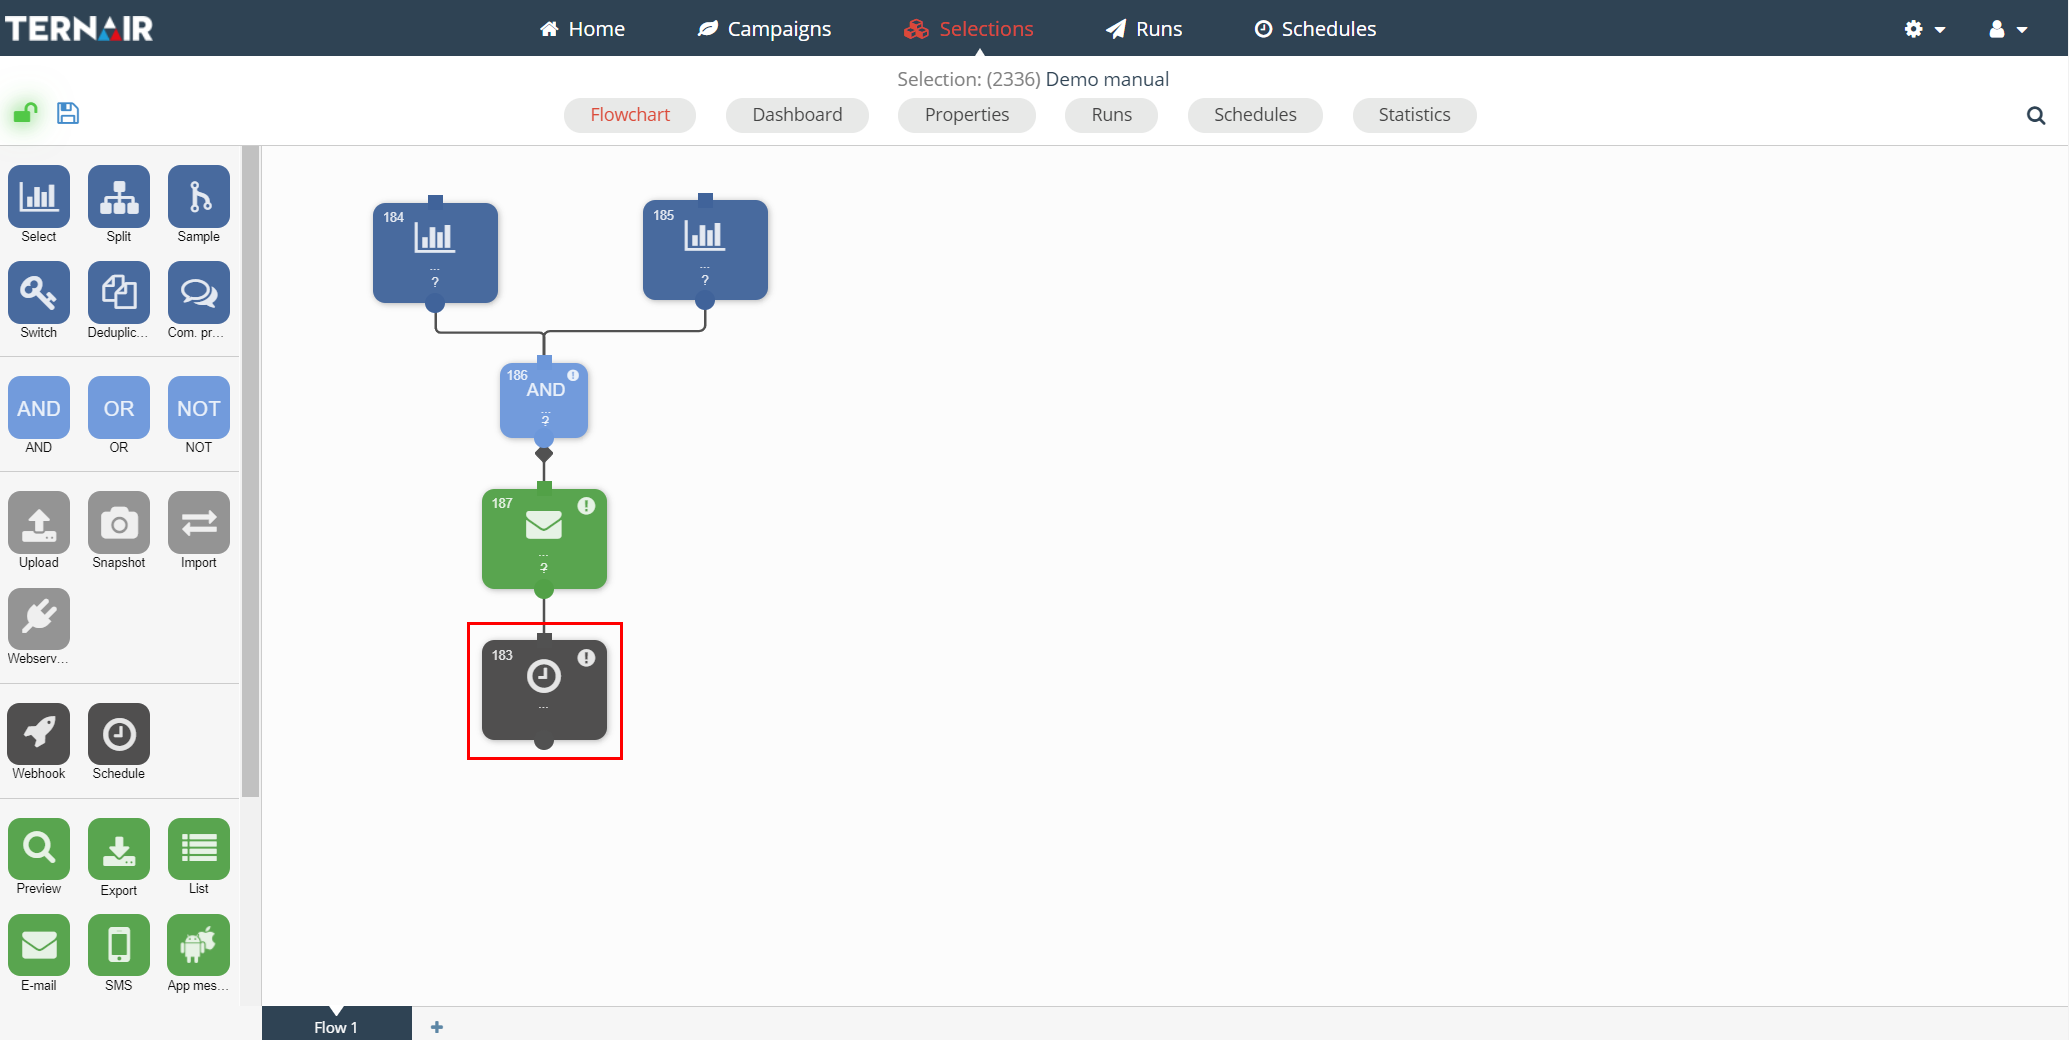
Double click the schedule block to open the setting screen.
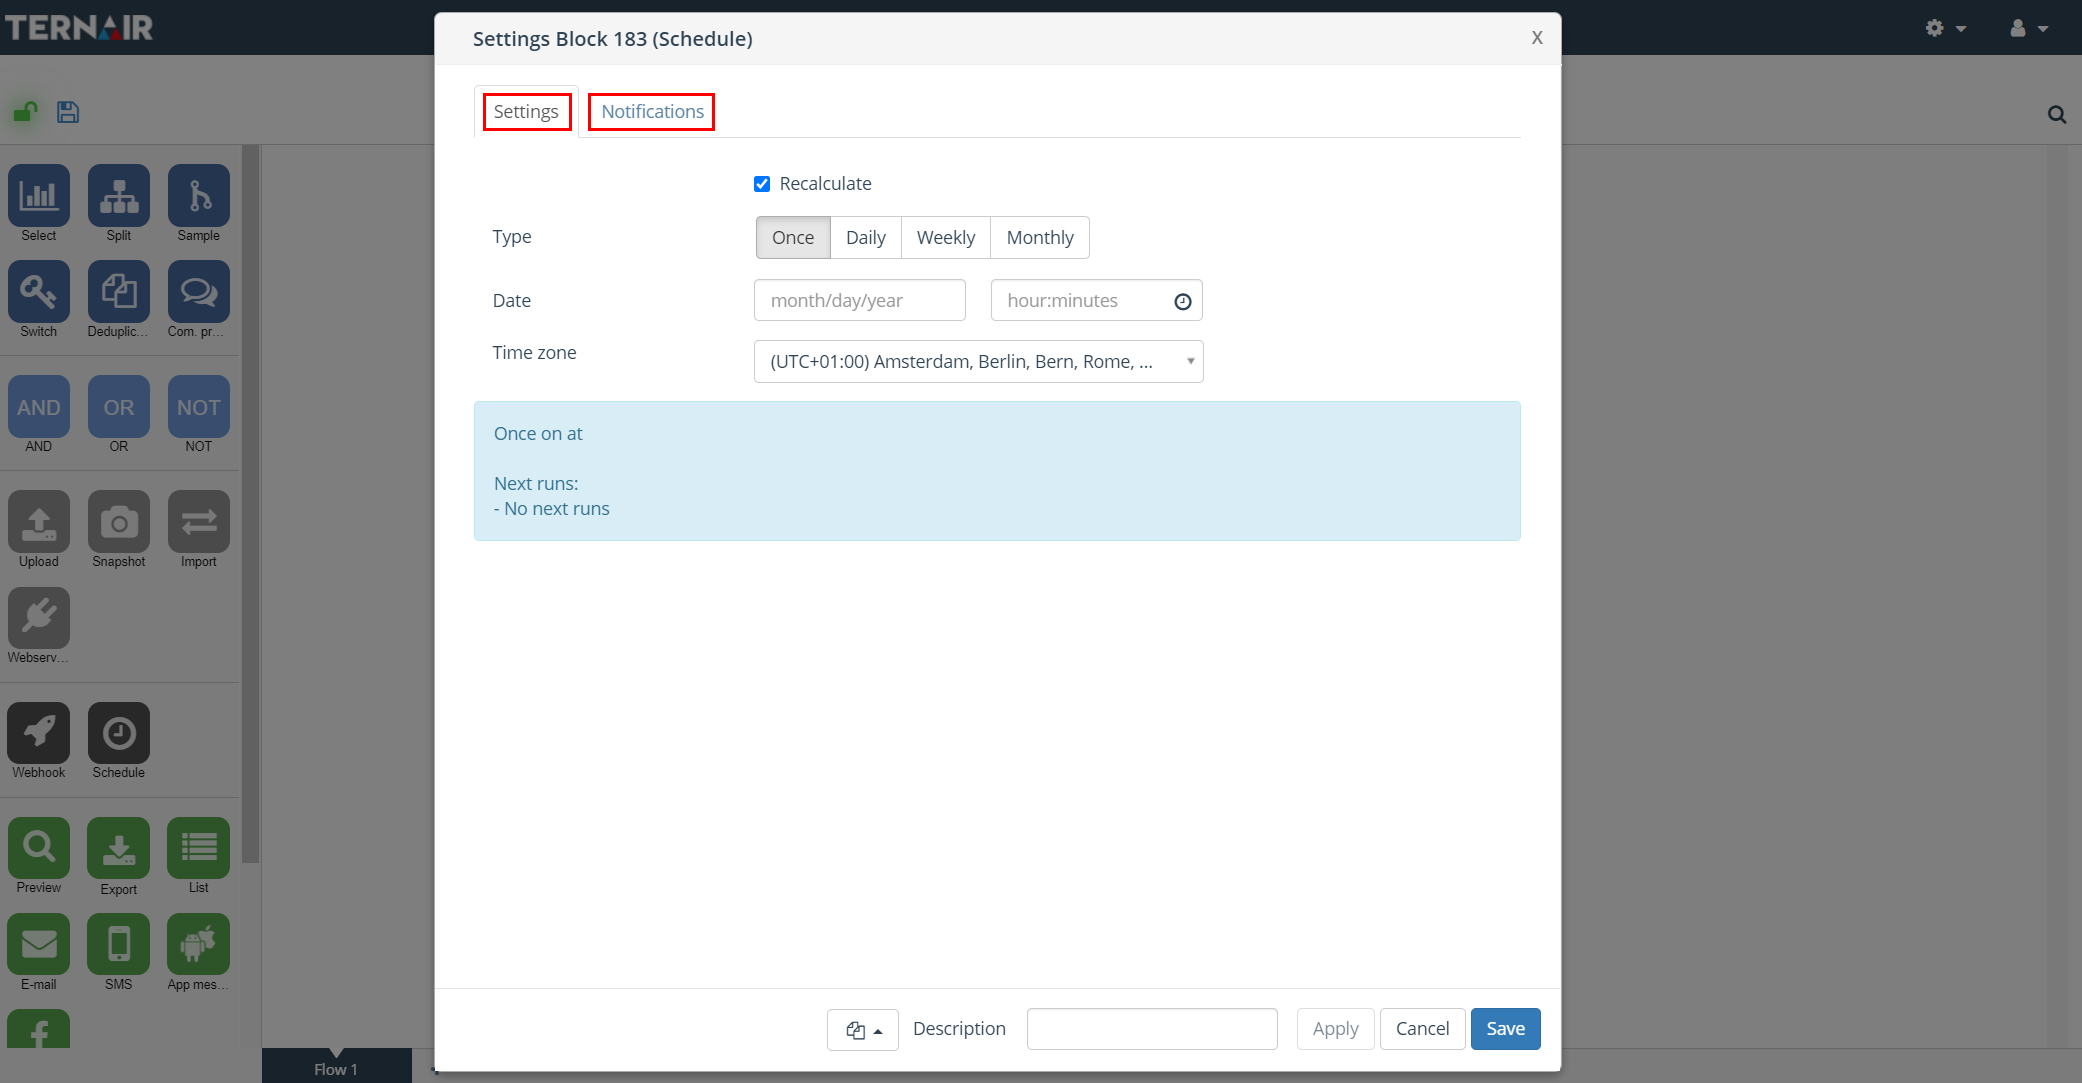
The schedule block settings screen contains the following two tabs.
| Tab | Description |
| Settings | Creating, adding, editing and validating schedule |
| Notification | Confirmation email after the schedule is started and/or stopped |
Multiple Schedules
It is possible to place a schedule block at the top of a selection flow in order to execute the underlying selection flow.
N.B.: Execution sequence is important at multiple schedules.
Schedule Types
Open the block to set-up the schedule.
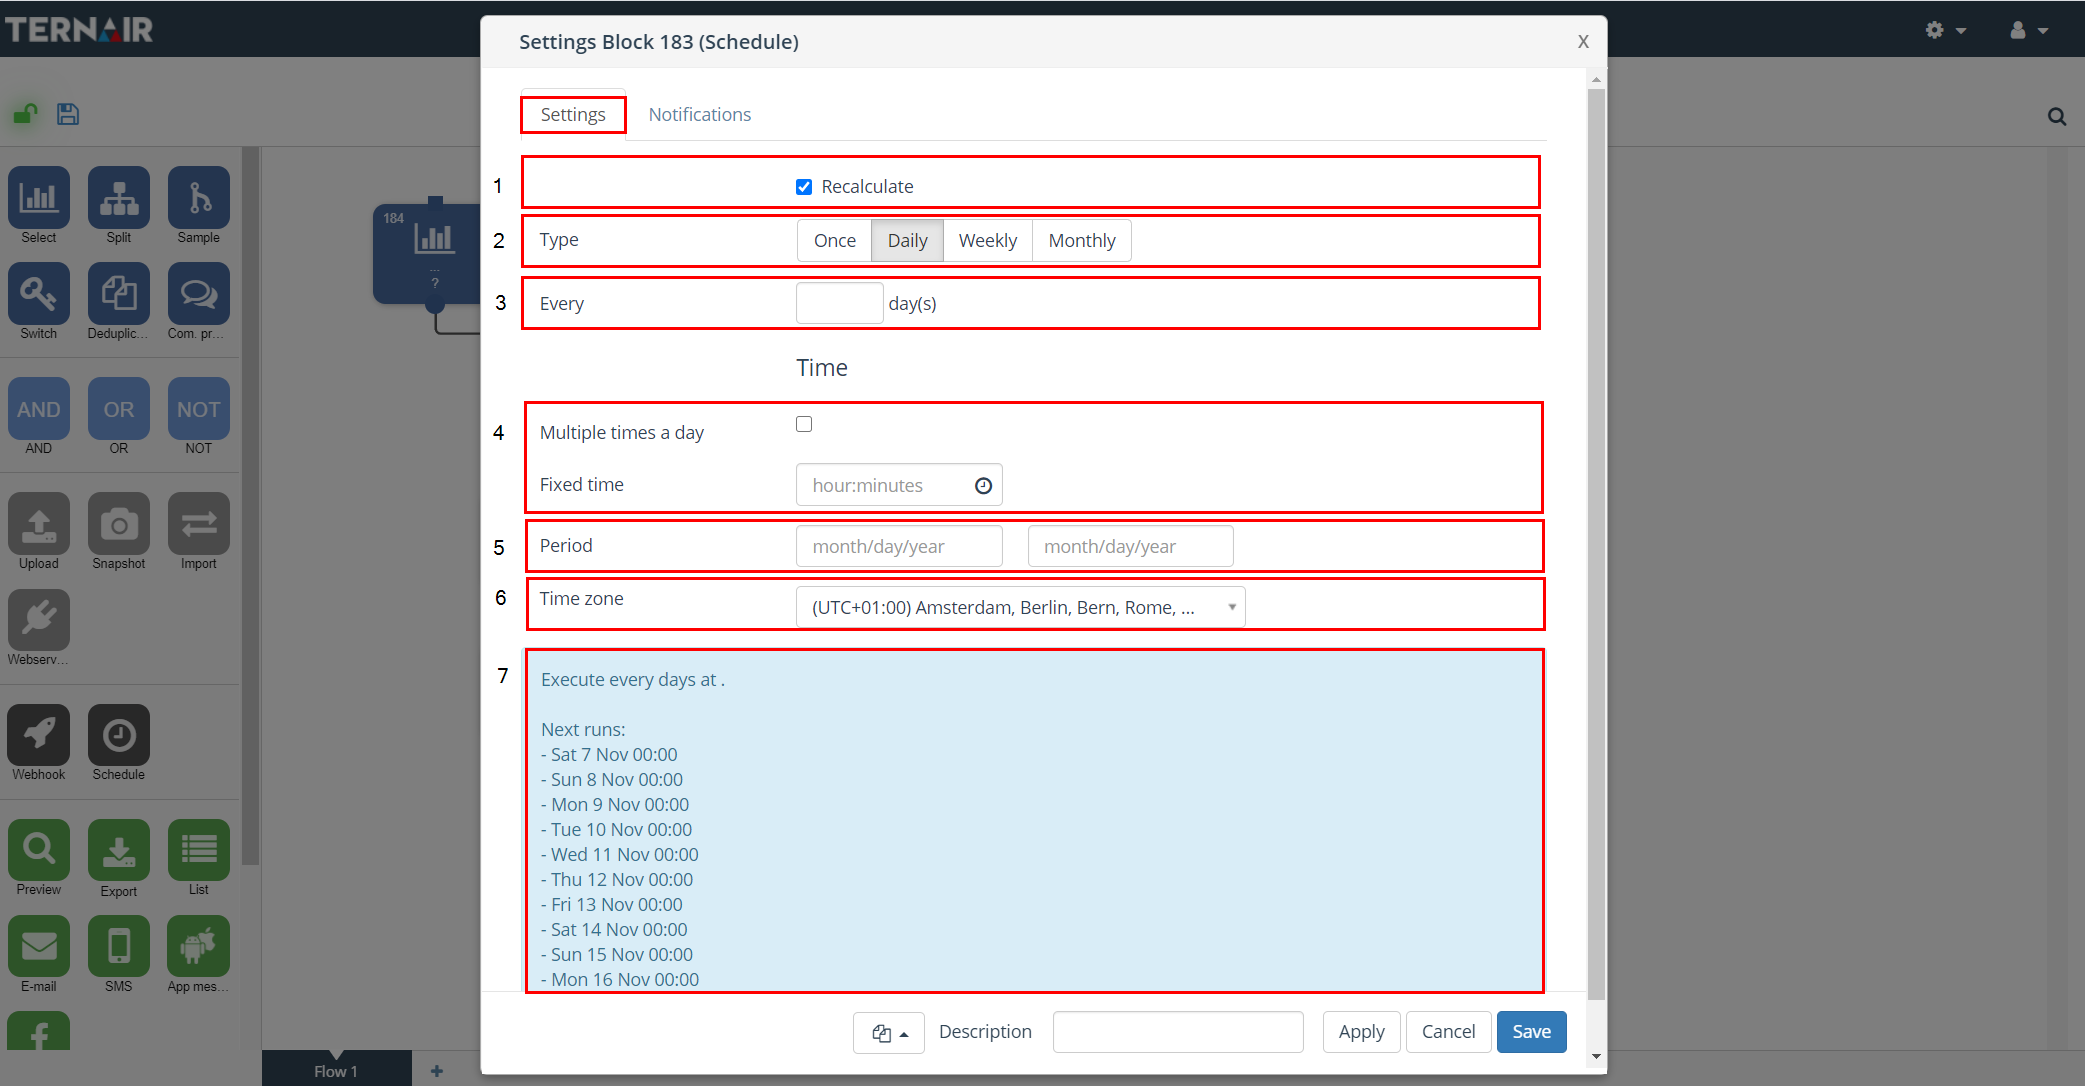
The following schedule types are available:
| Nr. | Option | Description |
| 1 | Reculculate | Selection will be recalculated when the schedule is executed N.B.: default setting for recalculate is on |
| 2 | Type | Select the desired pattern
N.B.: For a periodical execution (multiple times a day, daily, weekly, monthly) of a selection flowchart the desired pattern must be defined. |
| 3 | Every | Select every X weeks and the desired day(s) in a week |
| 4 | Multiple times a day or Fixed time | Select a fixed time or check the checkbox behind ‘Multiple times a day’ |
| 5 | Period | Select the desired period by selecting a start and end date |
| 6 | Time zone | Select a time zone in order to execute a selection in that time zone |
| 7 | Description | Description of the provided settings in plain text (filled out automatically) |
Notification
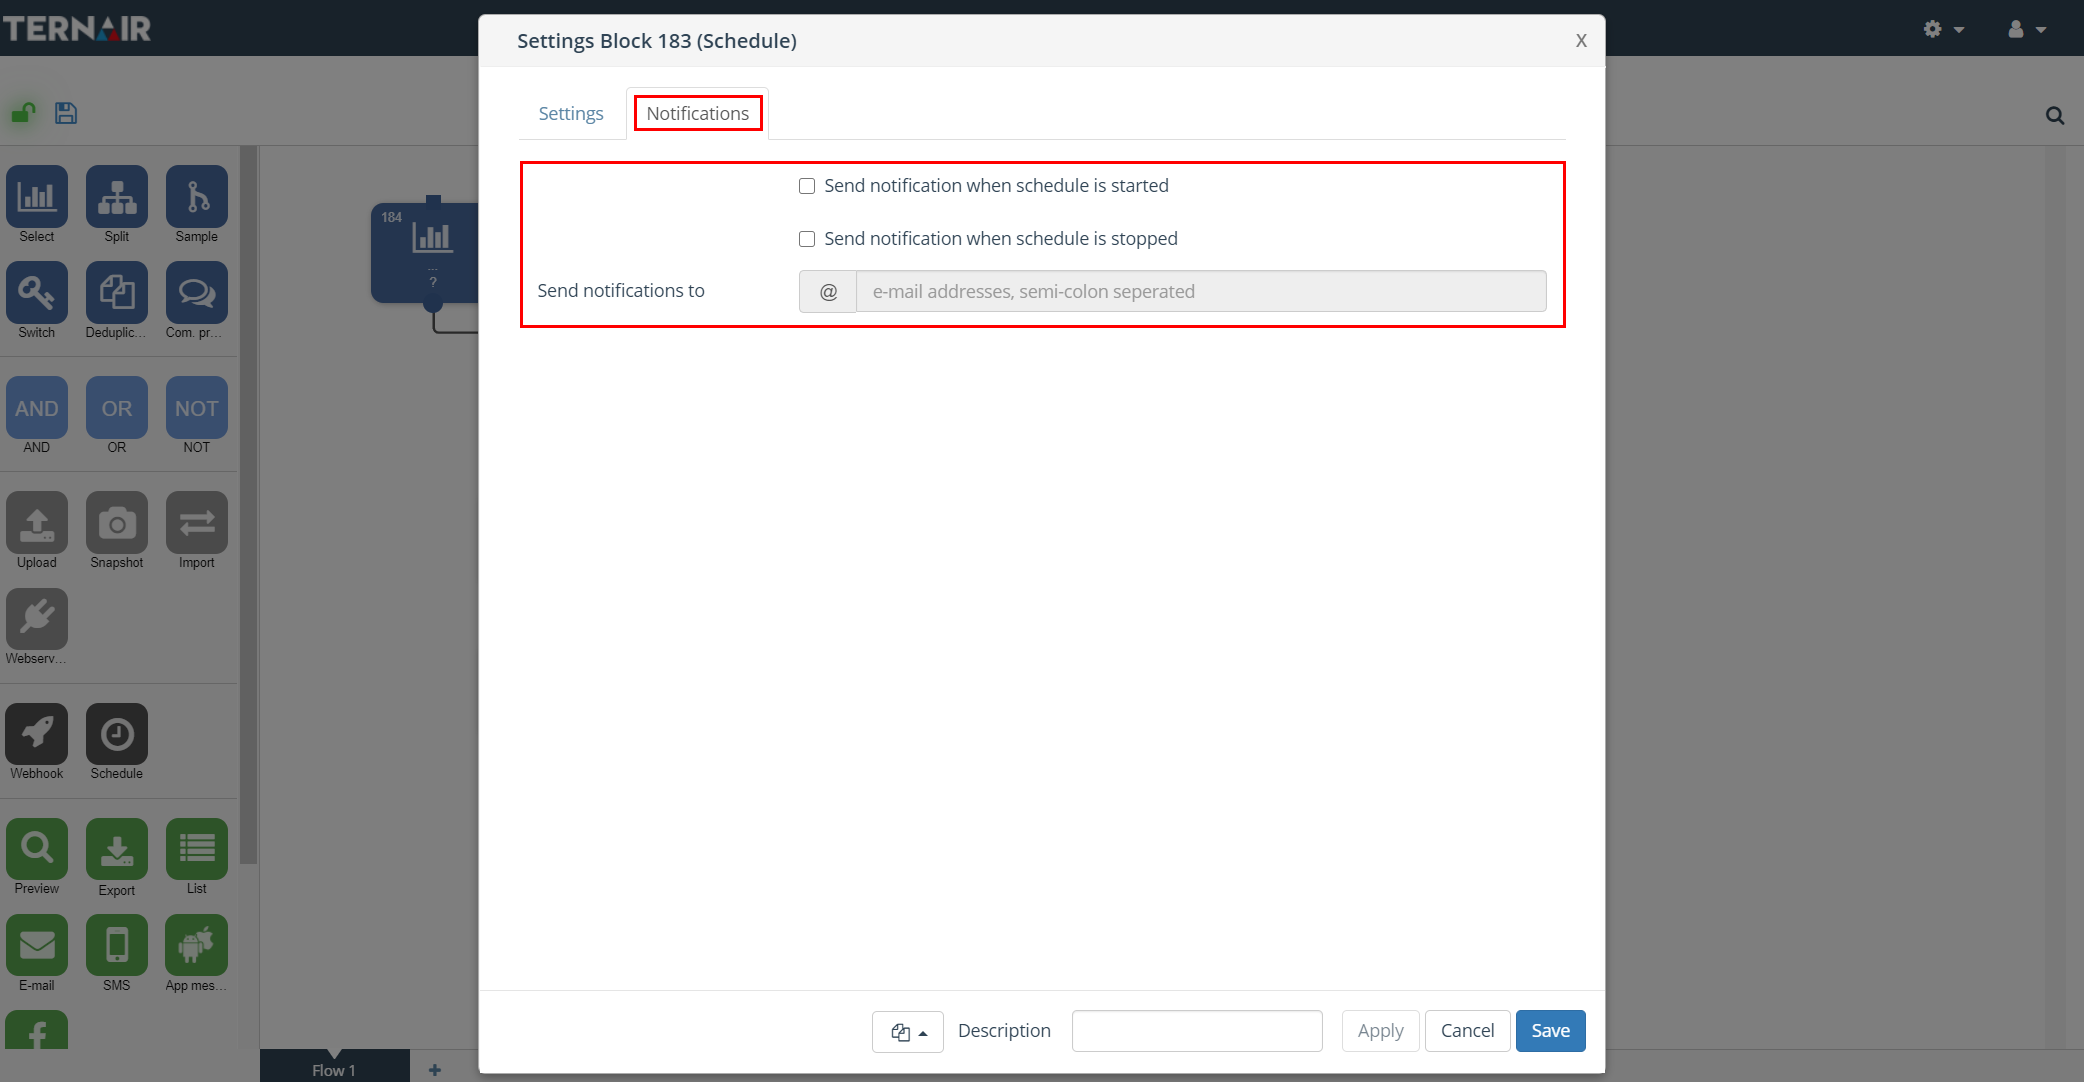
Indicate on the ‘Notifications’ tab whether a notification email is sent out when the schedule is started and/or stopped.
Provide one or multiple (semi-colon separated) email addresses where the notification is send to when starting/stopping the schedule.
The notification email contains details on the campaign, selection and block of the started/stopped schedule.
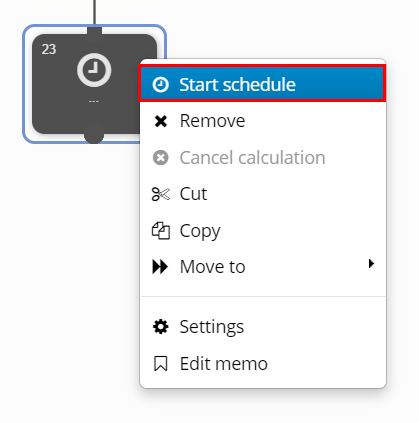
Start schedule
Right click on the schedule and select ‘Start schedule’ to start it.
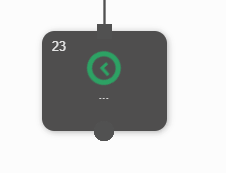
After clicking ‘Start schedule’ the schedule becomes active. An active schedule will execute all the steps in the selection flowchart the schedule is connected to via the selected schedule pattern.
An active schedule can be recognized by the rotating green (arrows) icon.
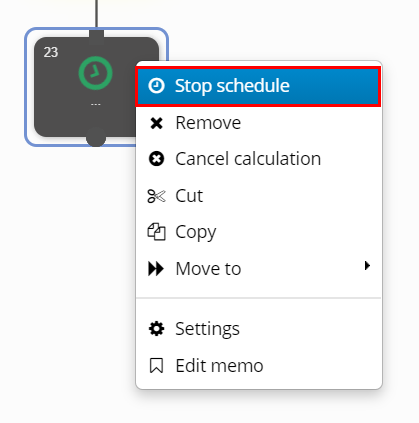
Right click on a schedule and select ‘Stop schedule’ from the context menu in order to stop the schedule.
Example
Example of a weekly schedule:
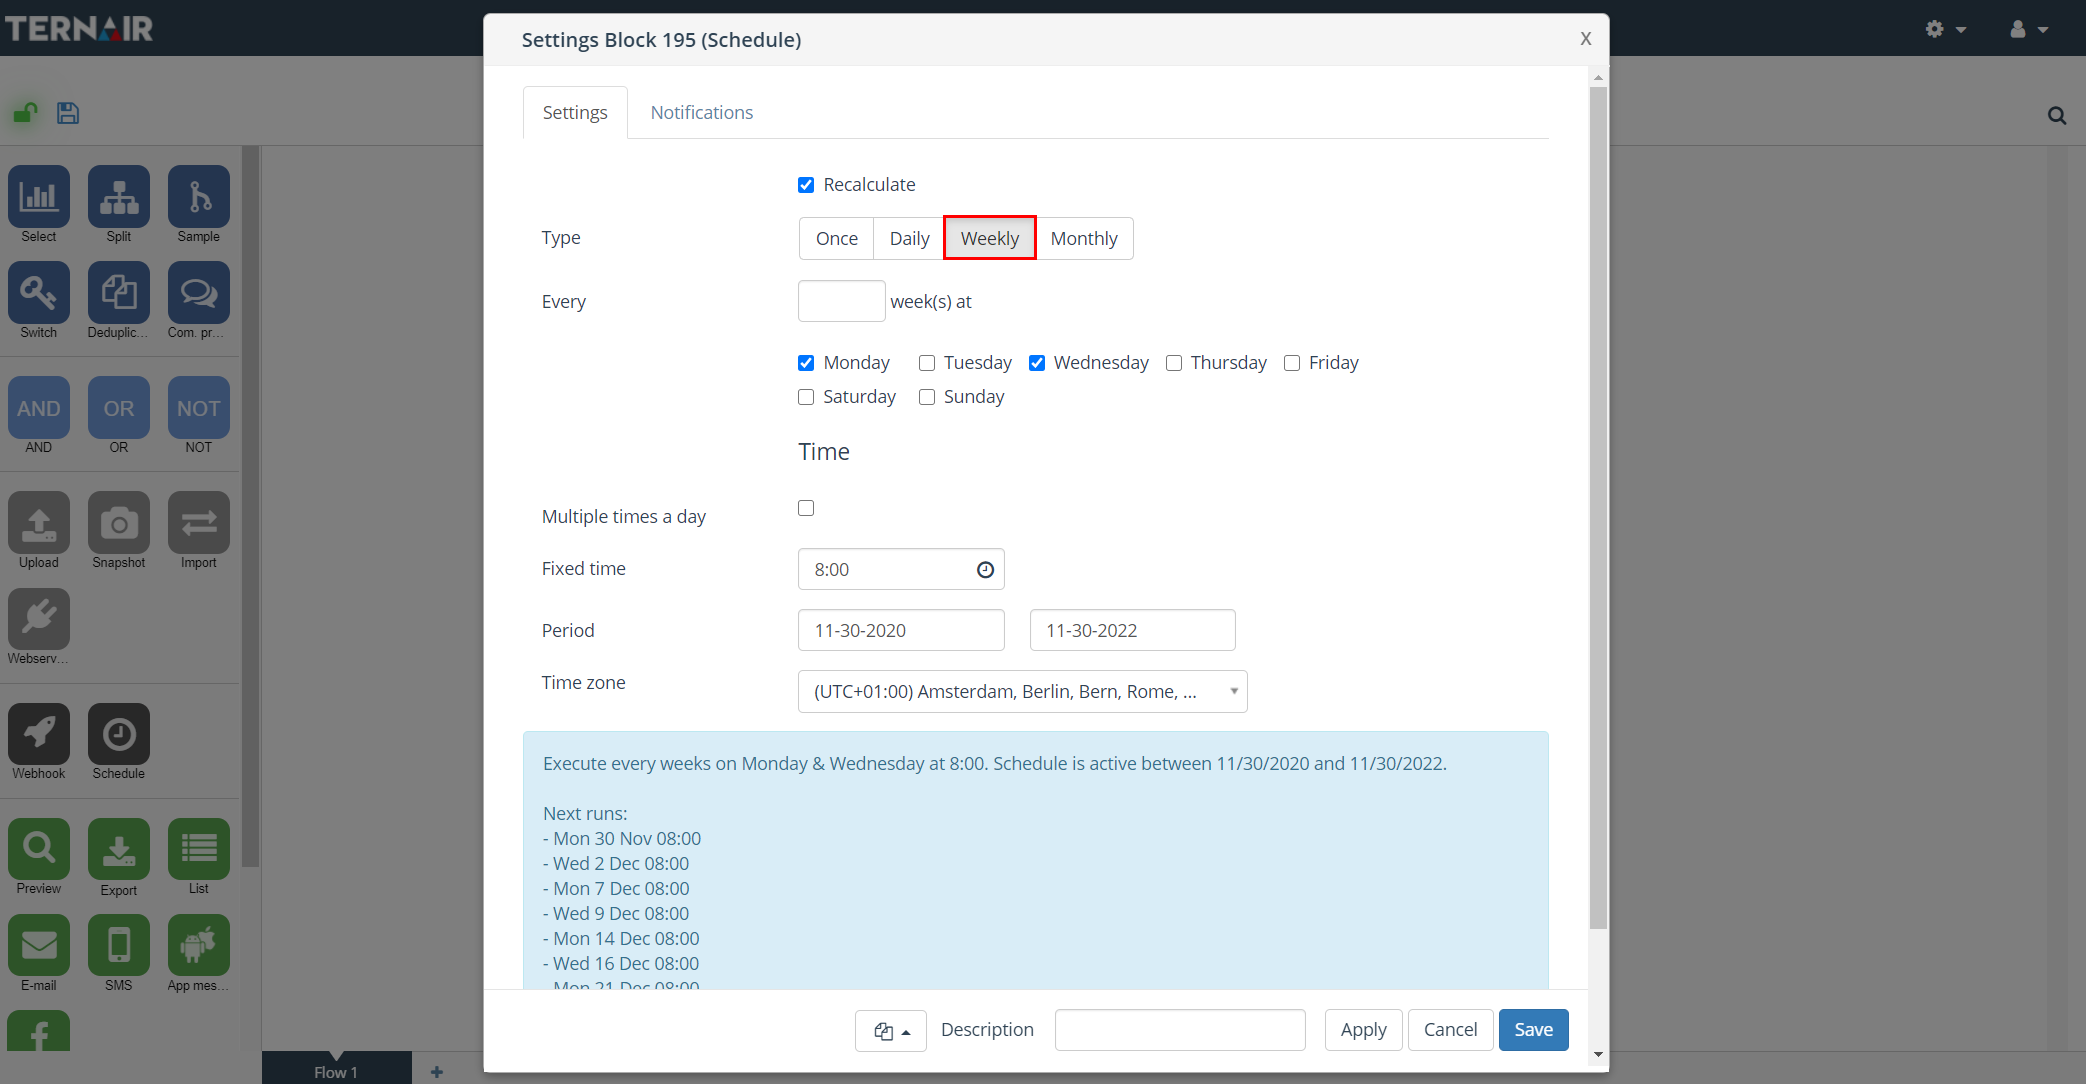
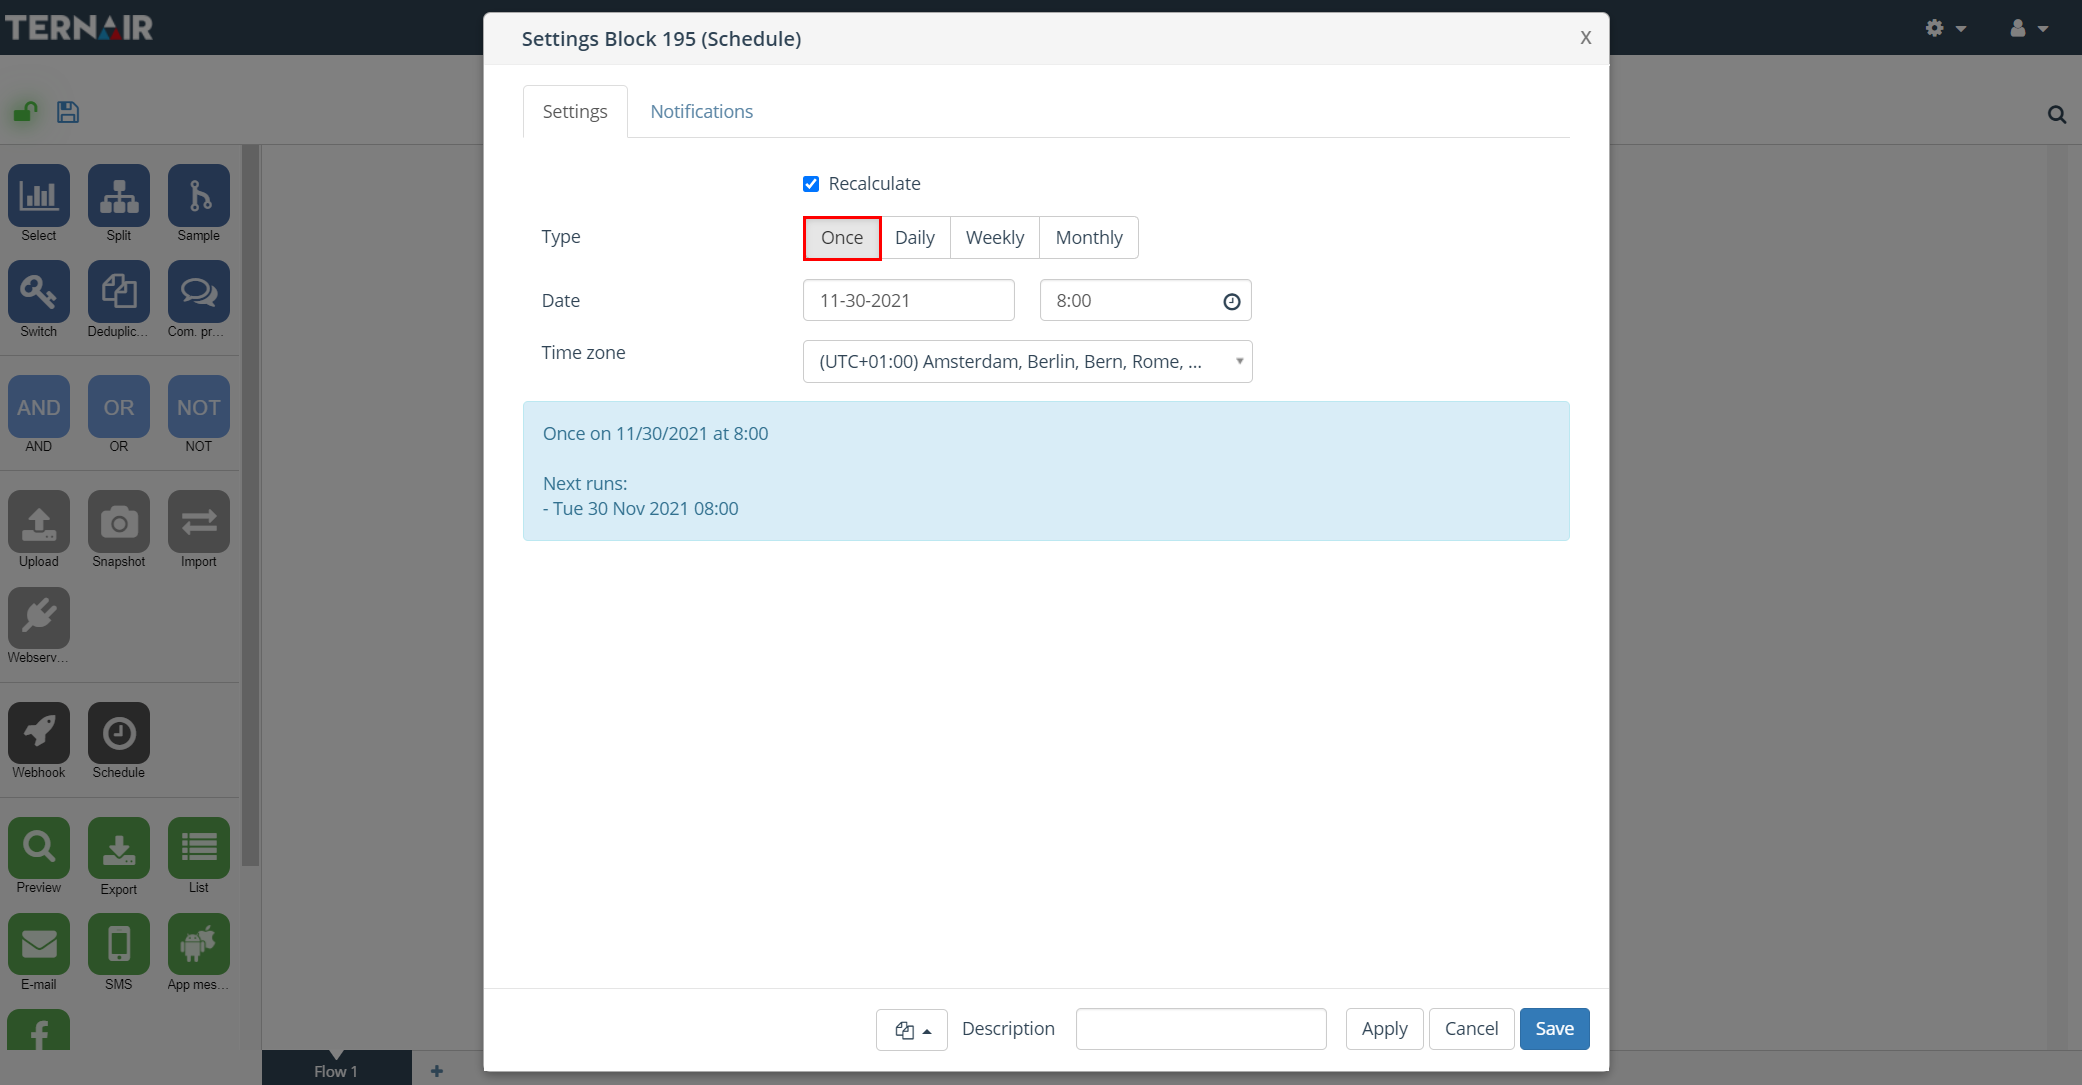
Example single schedule:
