With the output function ‘Email’ emailings can be defined in Ternair Marketing Cloud.
Drag an email block onto the worksheet. Connect the email block to one or more selection blocks.
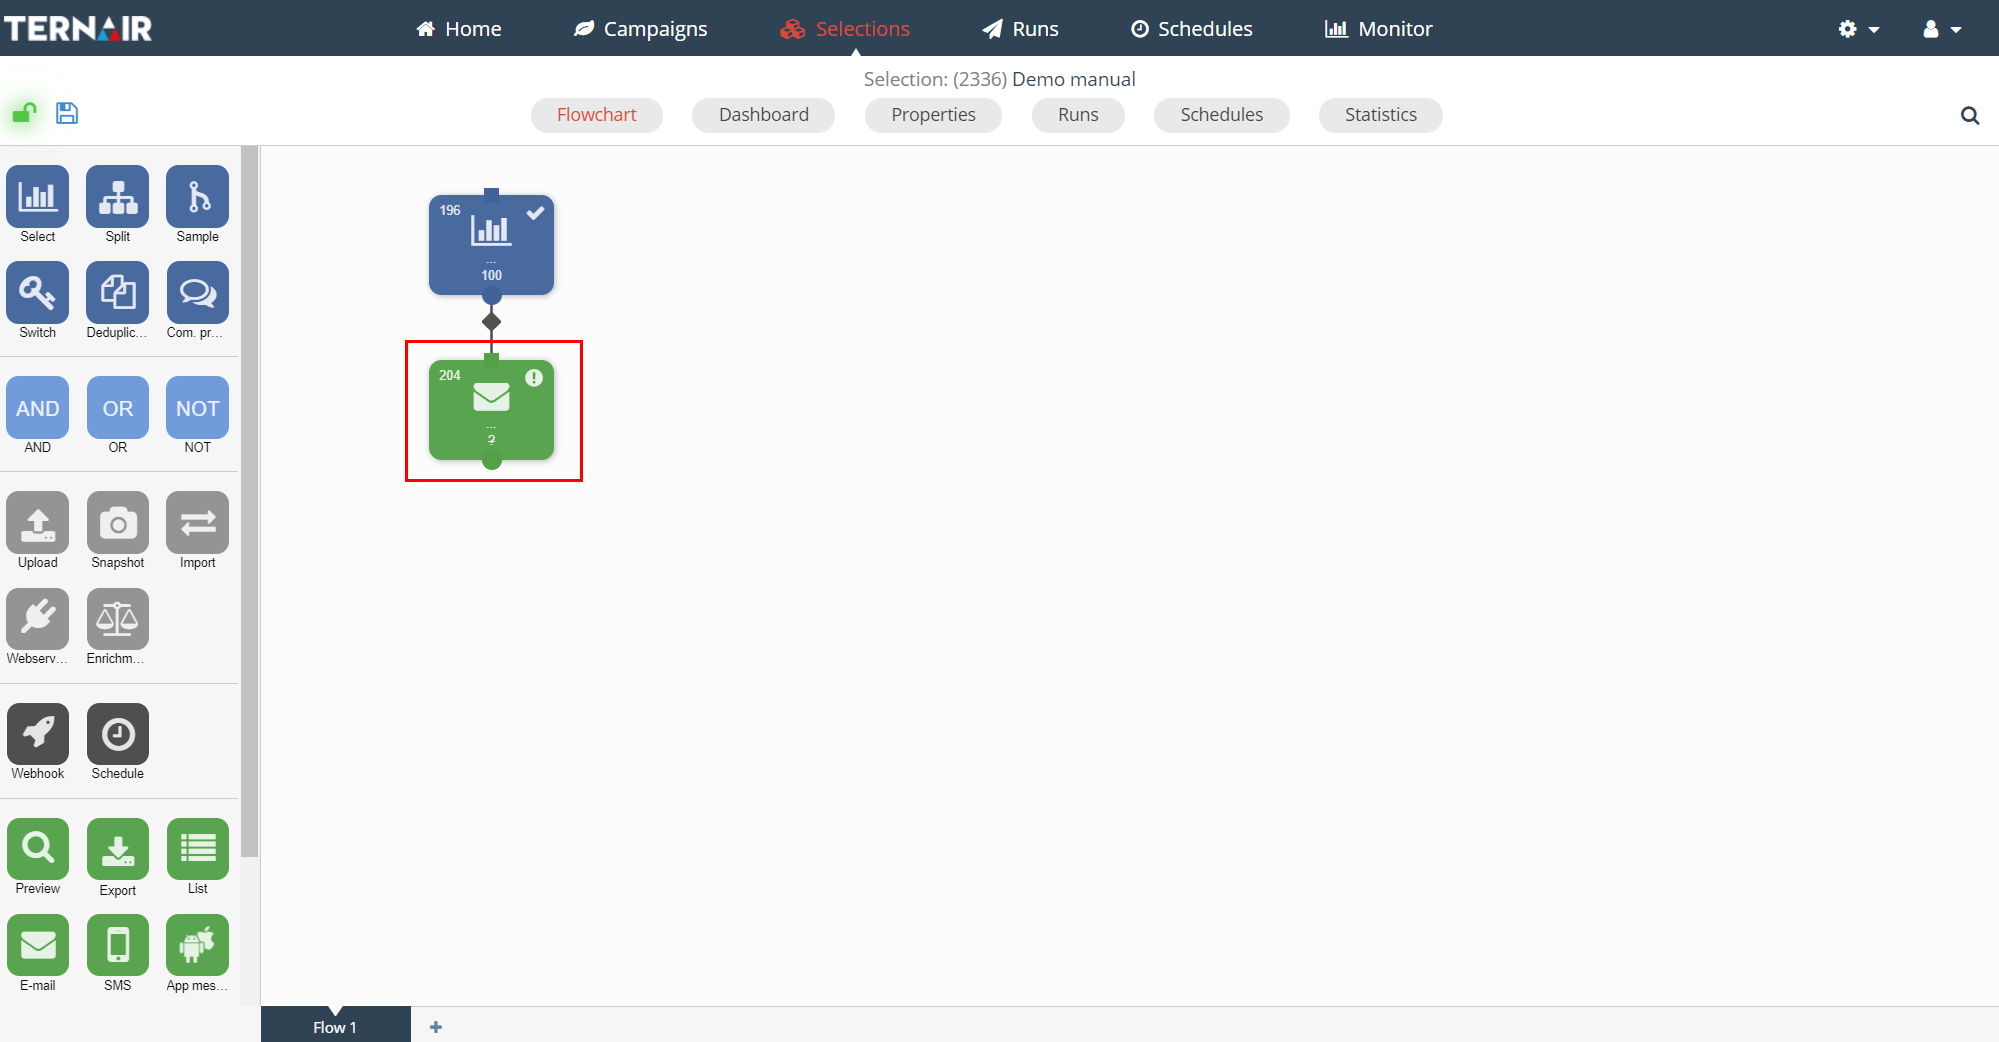
Double click the email block to open the setting screen.
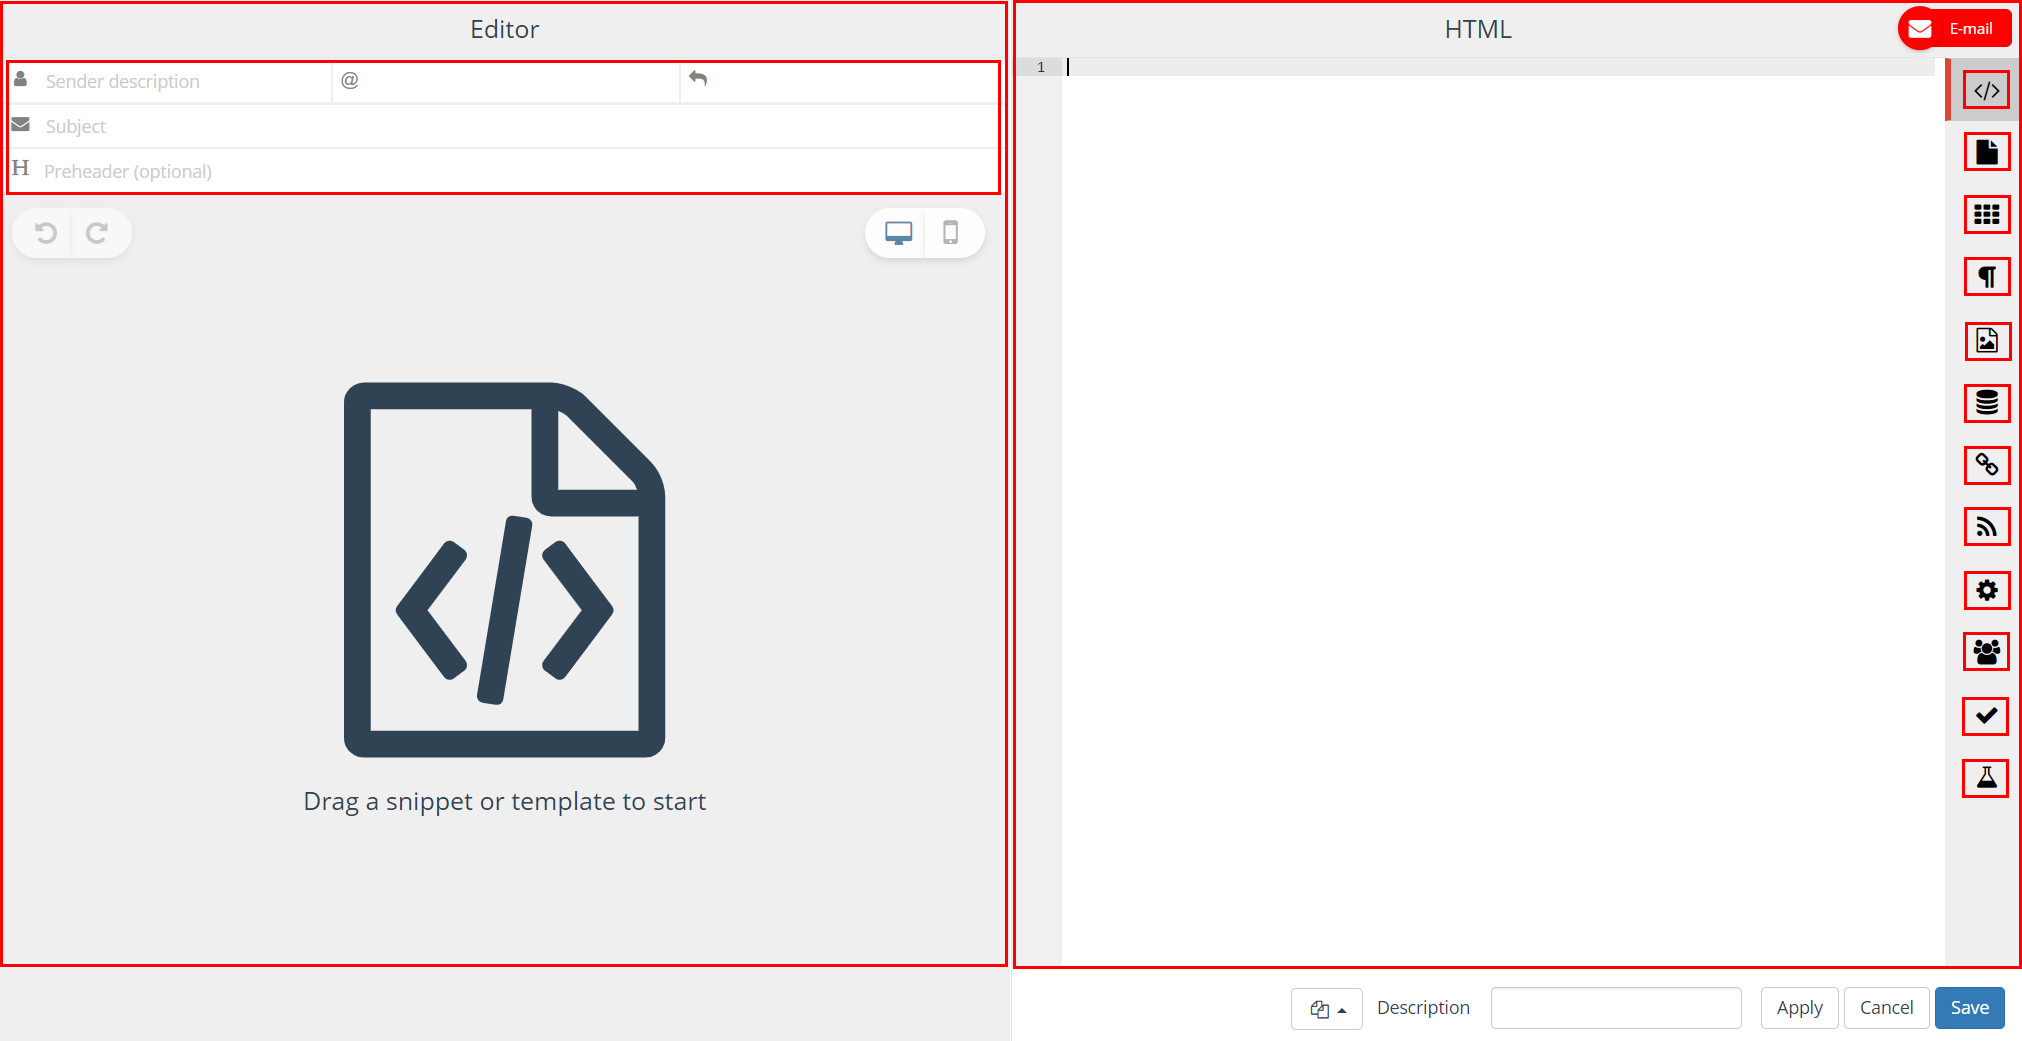
On the left hand side the email editor is displayed. On the right hand side the settings can be found.
A email can only be made when a selection is saved.
This section focuses on the following topics; each topic consists of a tab in the settings (right hand side) of an email block.
| Icon | Option | Description |
| HTML | Add HTML | |
| Templates | Select email templates | |
| Snippets | Select snippets | |
| User Content | Save user content block | |
| Images | Managing email images | |
| Mapping | Mapping personalized email fields | |
| Hyperlinks | Overview hyperlinks and tags & trackers | |
| RSS | Manage RSS feeds and select RSS messages | |
| Settings | Settings for email block: for example confirmation email and content transformation | |
| Contacts | Create contacts of the records in the export | |
| Validation | Validate email content and mapping | |
| Test | Sending test email(s) | |
| A/B test | Sending A/B test |
Apart from these topics the email editor (left hand side of the screen) is available on all tabs.
Sender description & subject line
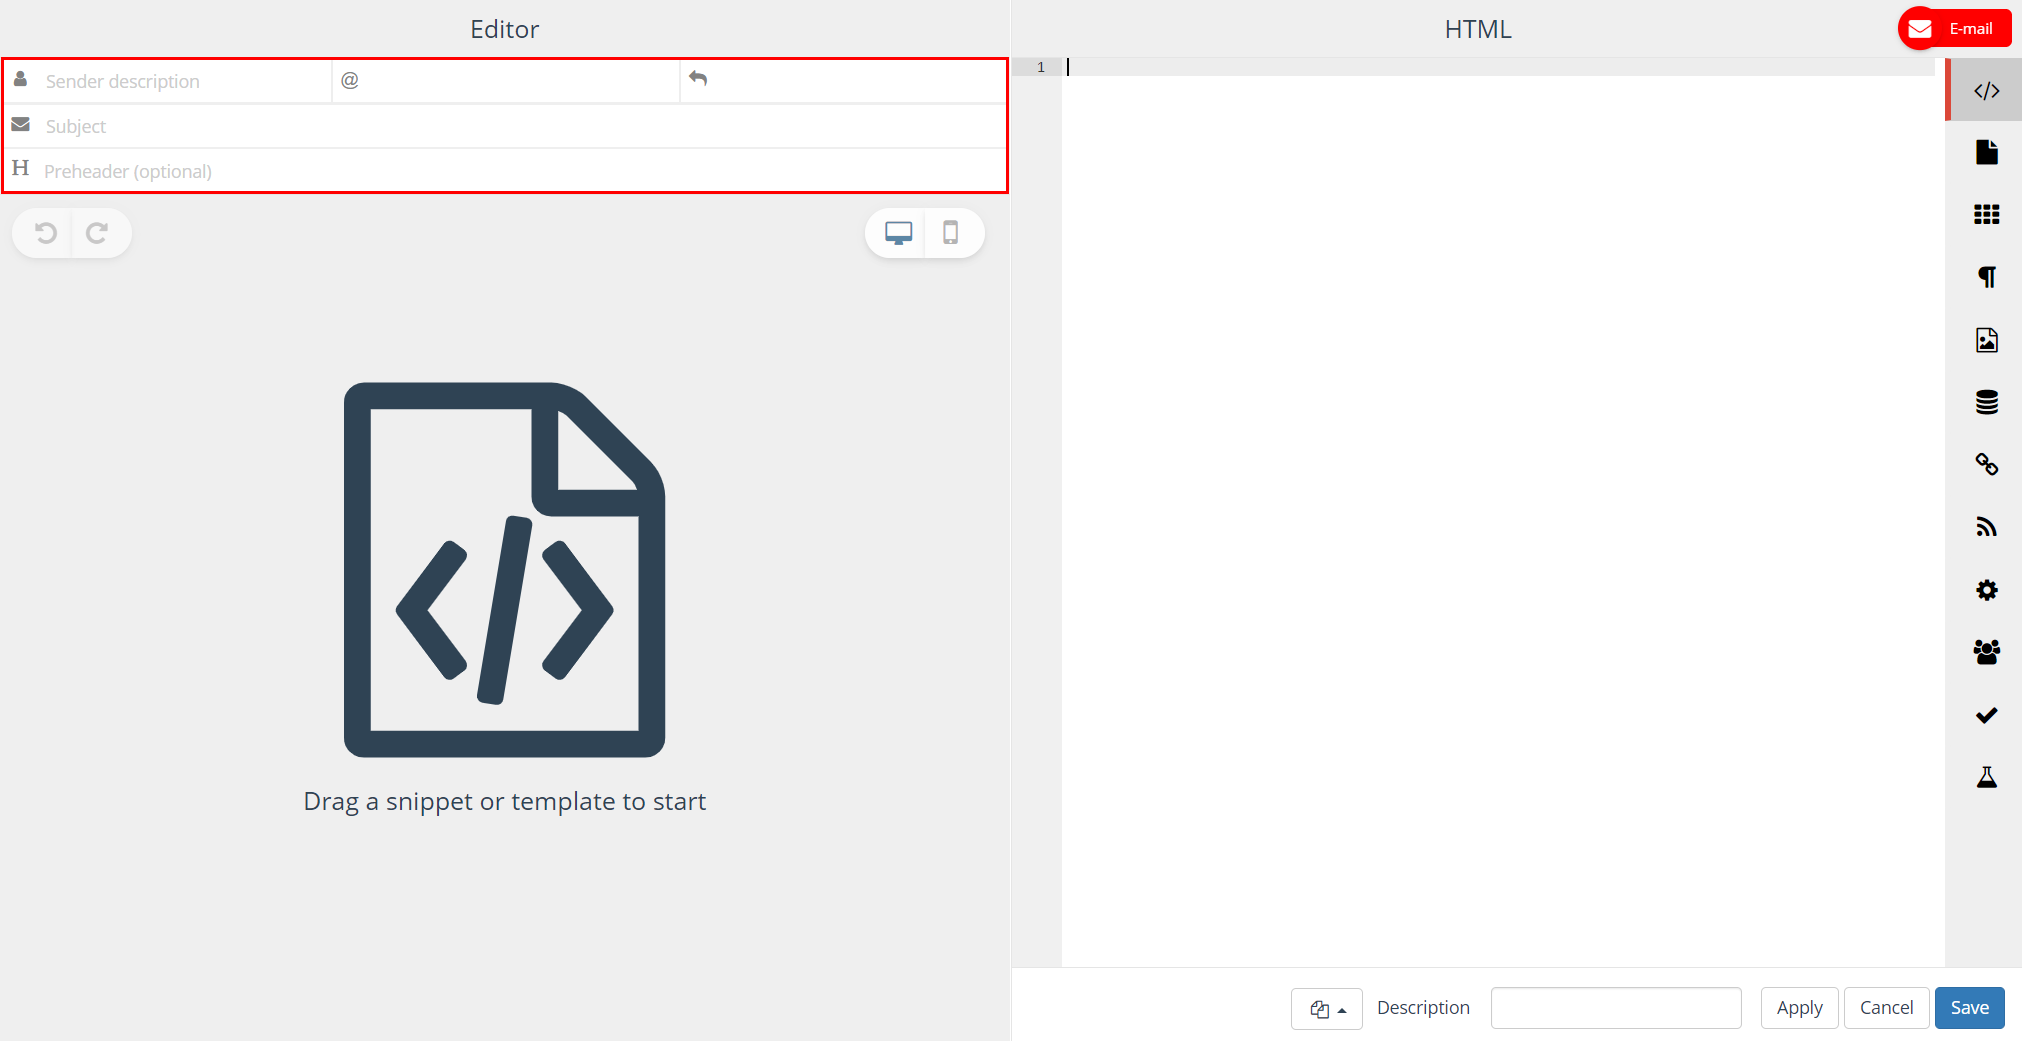
On the top left of the email block the following fields can be defined:
- Sender description; for example: Ternair
- Sender email address; for example: newsletter@ternair.com
- Reply to email address: when this field is empty, replies are send to the sender email address; for example: support@ternair.com
- Subject line for the email
- Pre-header (optional): the pre-header for the email
A fixed list of allowed sender and/or reply-to email addresses can be defined in the Ternair Marketing Cloud backoffice. Only values from the pre-defined list(s) can be selected and it is not possible to manually enter another email address.
The subject line of the email can be filled manually or dynamically (see Personalization & dynamic content) or with a value from an RSS feed (see RSS subject line).
Create your email
For creating content of an email there are multiple options; by using your own HTML (1), use an existing template (2) or create your own email with snippets (3).
HTML
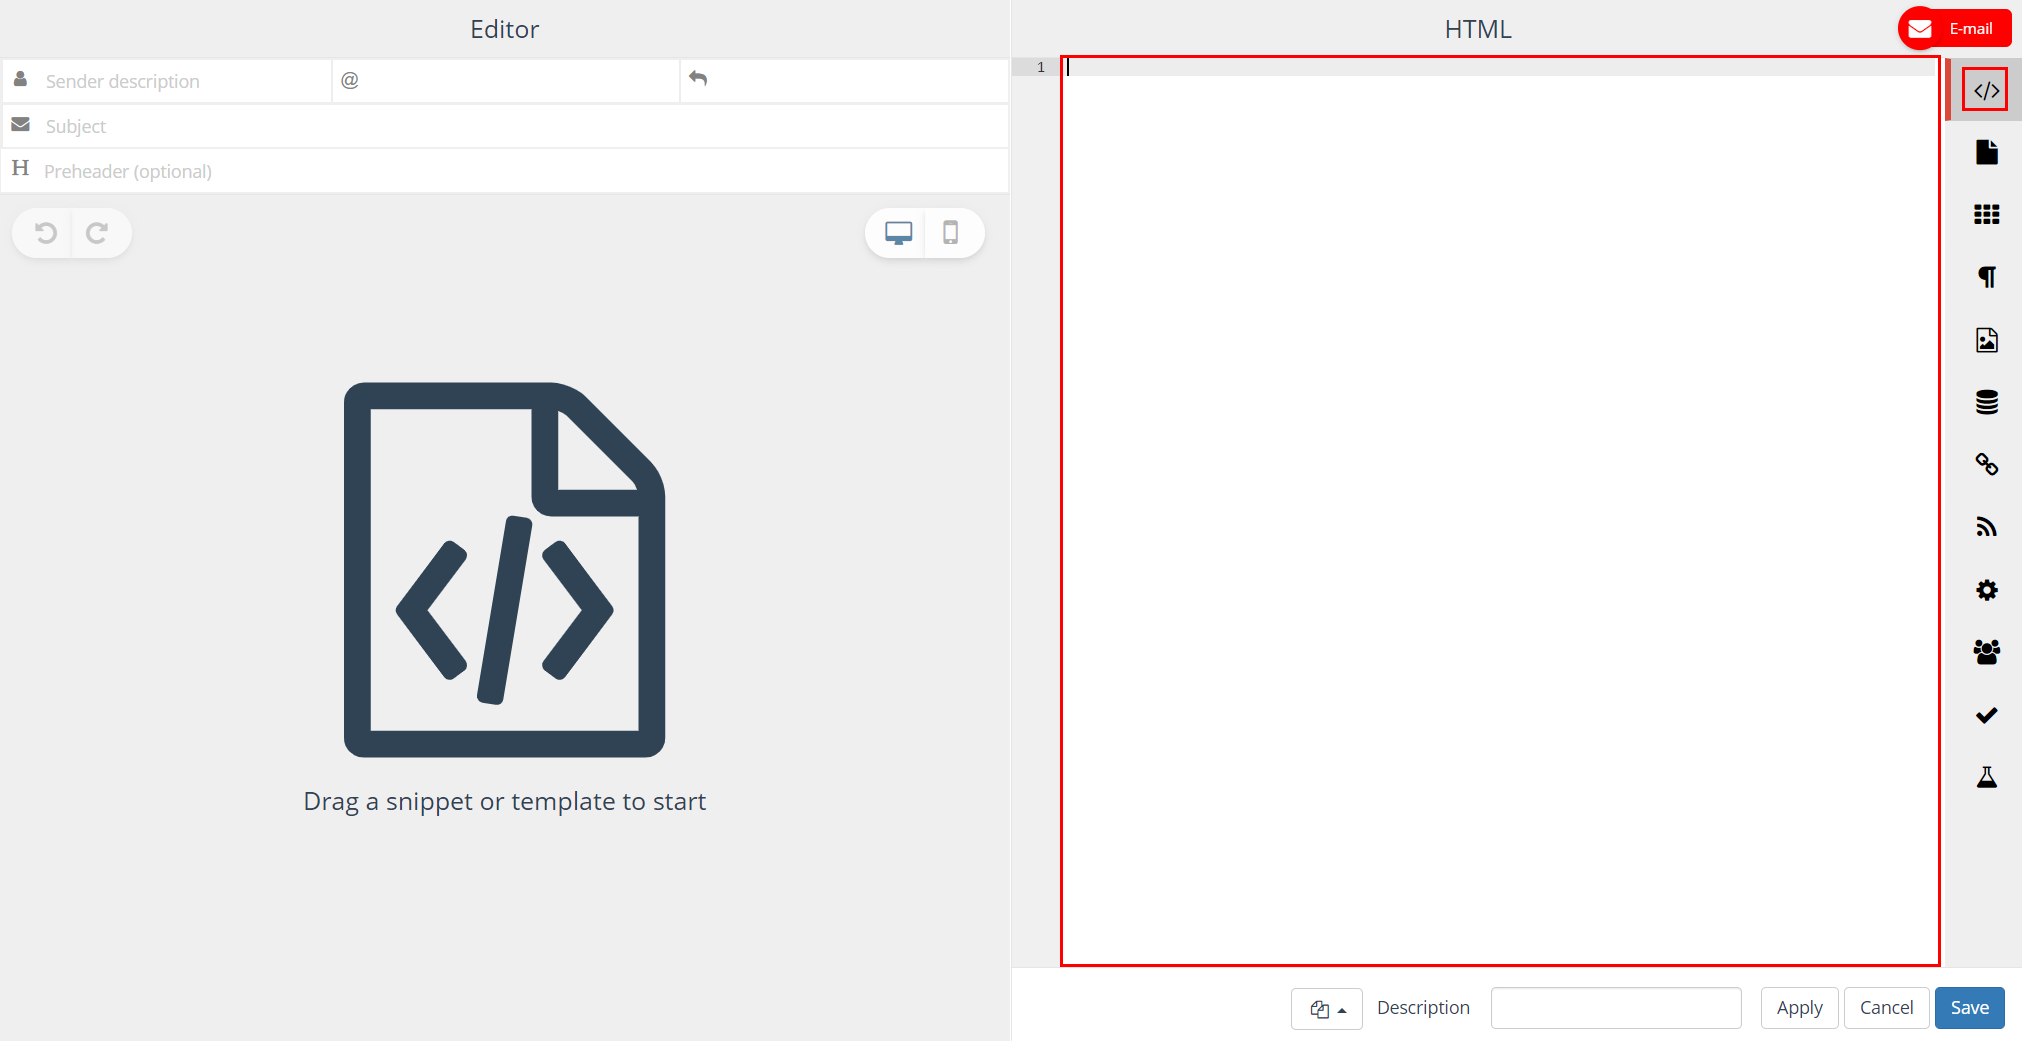
| For option one the HTML-editor can be used to type or copy-paste your own existing HTML code into the editor. |
Document outline view
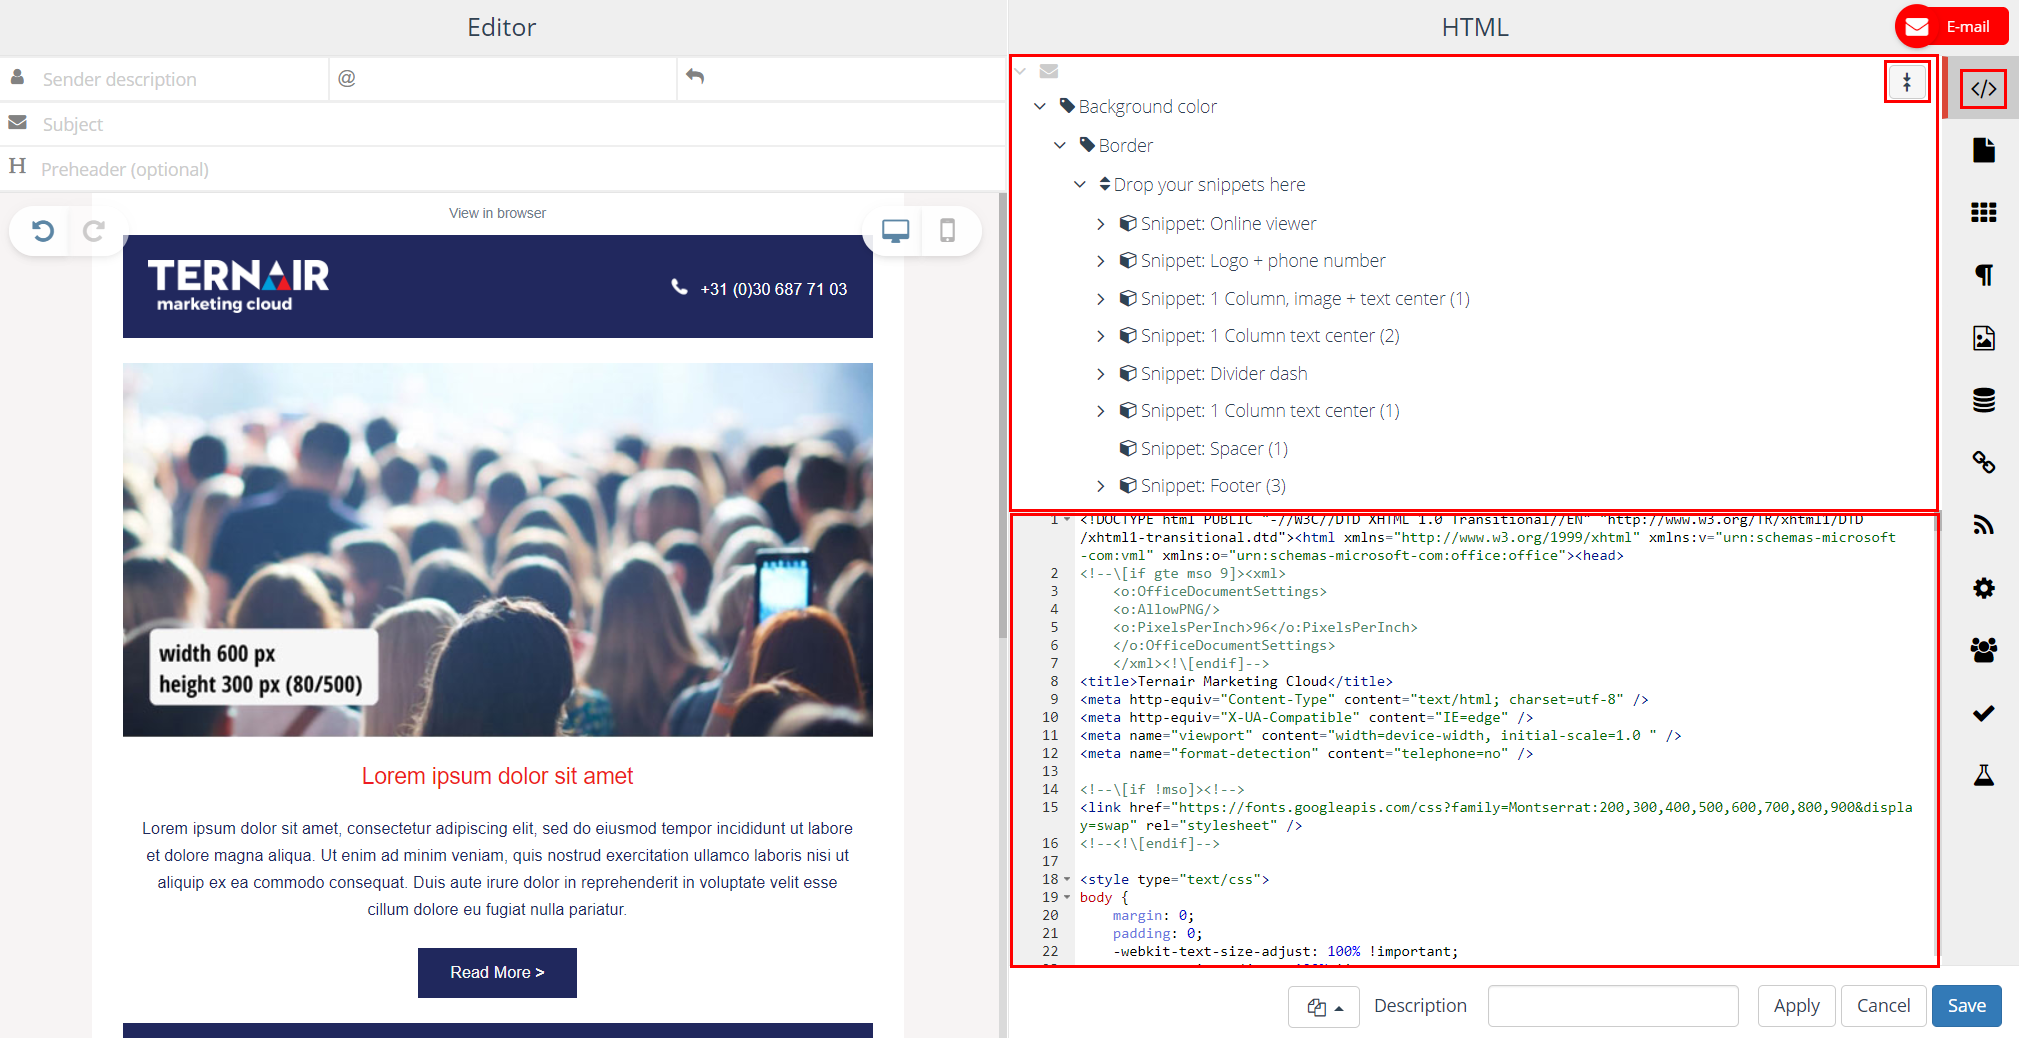
When a template is created or selected, the email can be edited (on the left hand side).
In de document outline view (on the right hand side) it is possible to select the email snippet.
Click on the arrow at the right top to collapse the document outline.
Templates
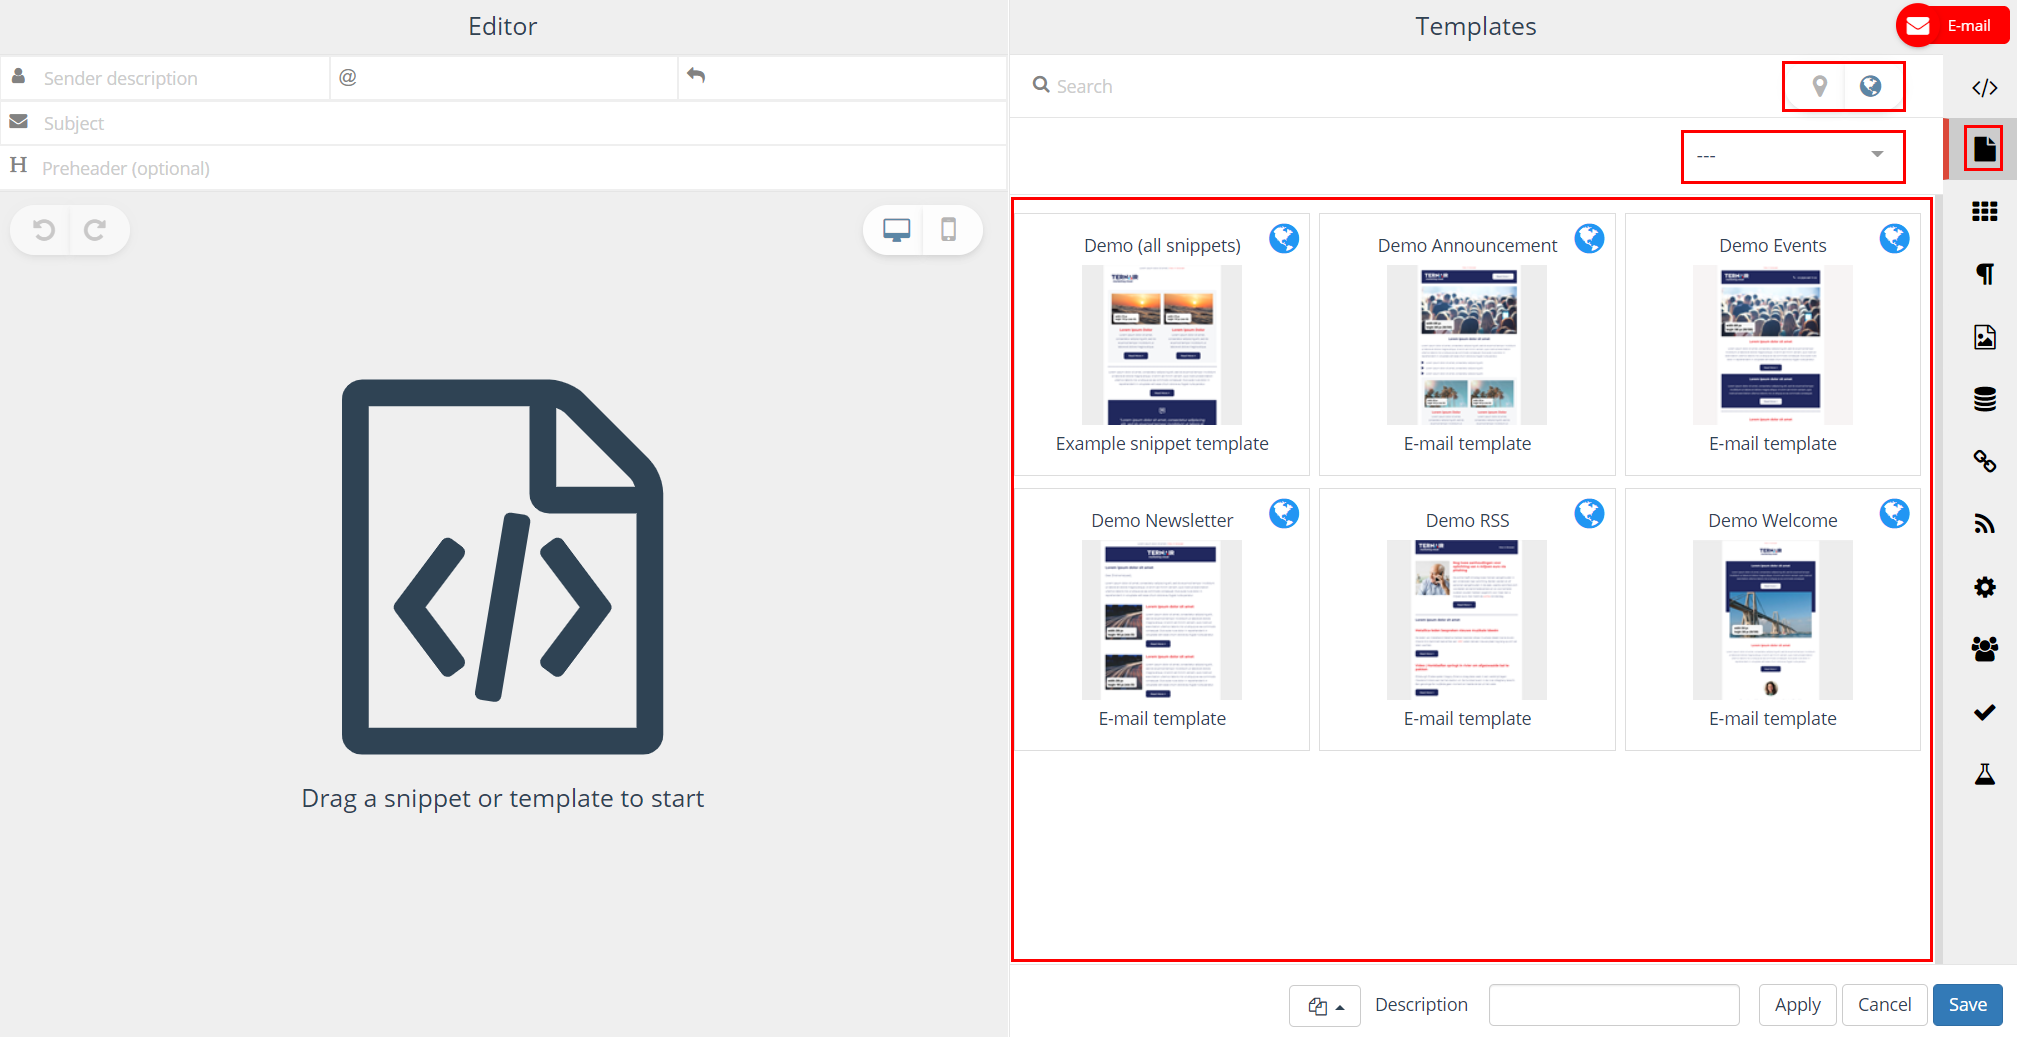
| Option two selecting an existing template.
You can find your own templates in the local repository (recognizable by the marker icon). You can find standard templates in the global repository (recognizable by the globe icon). Select your theme to create theme based content in your email. See themes for more details. |
Snippets
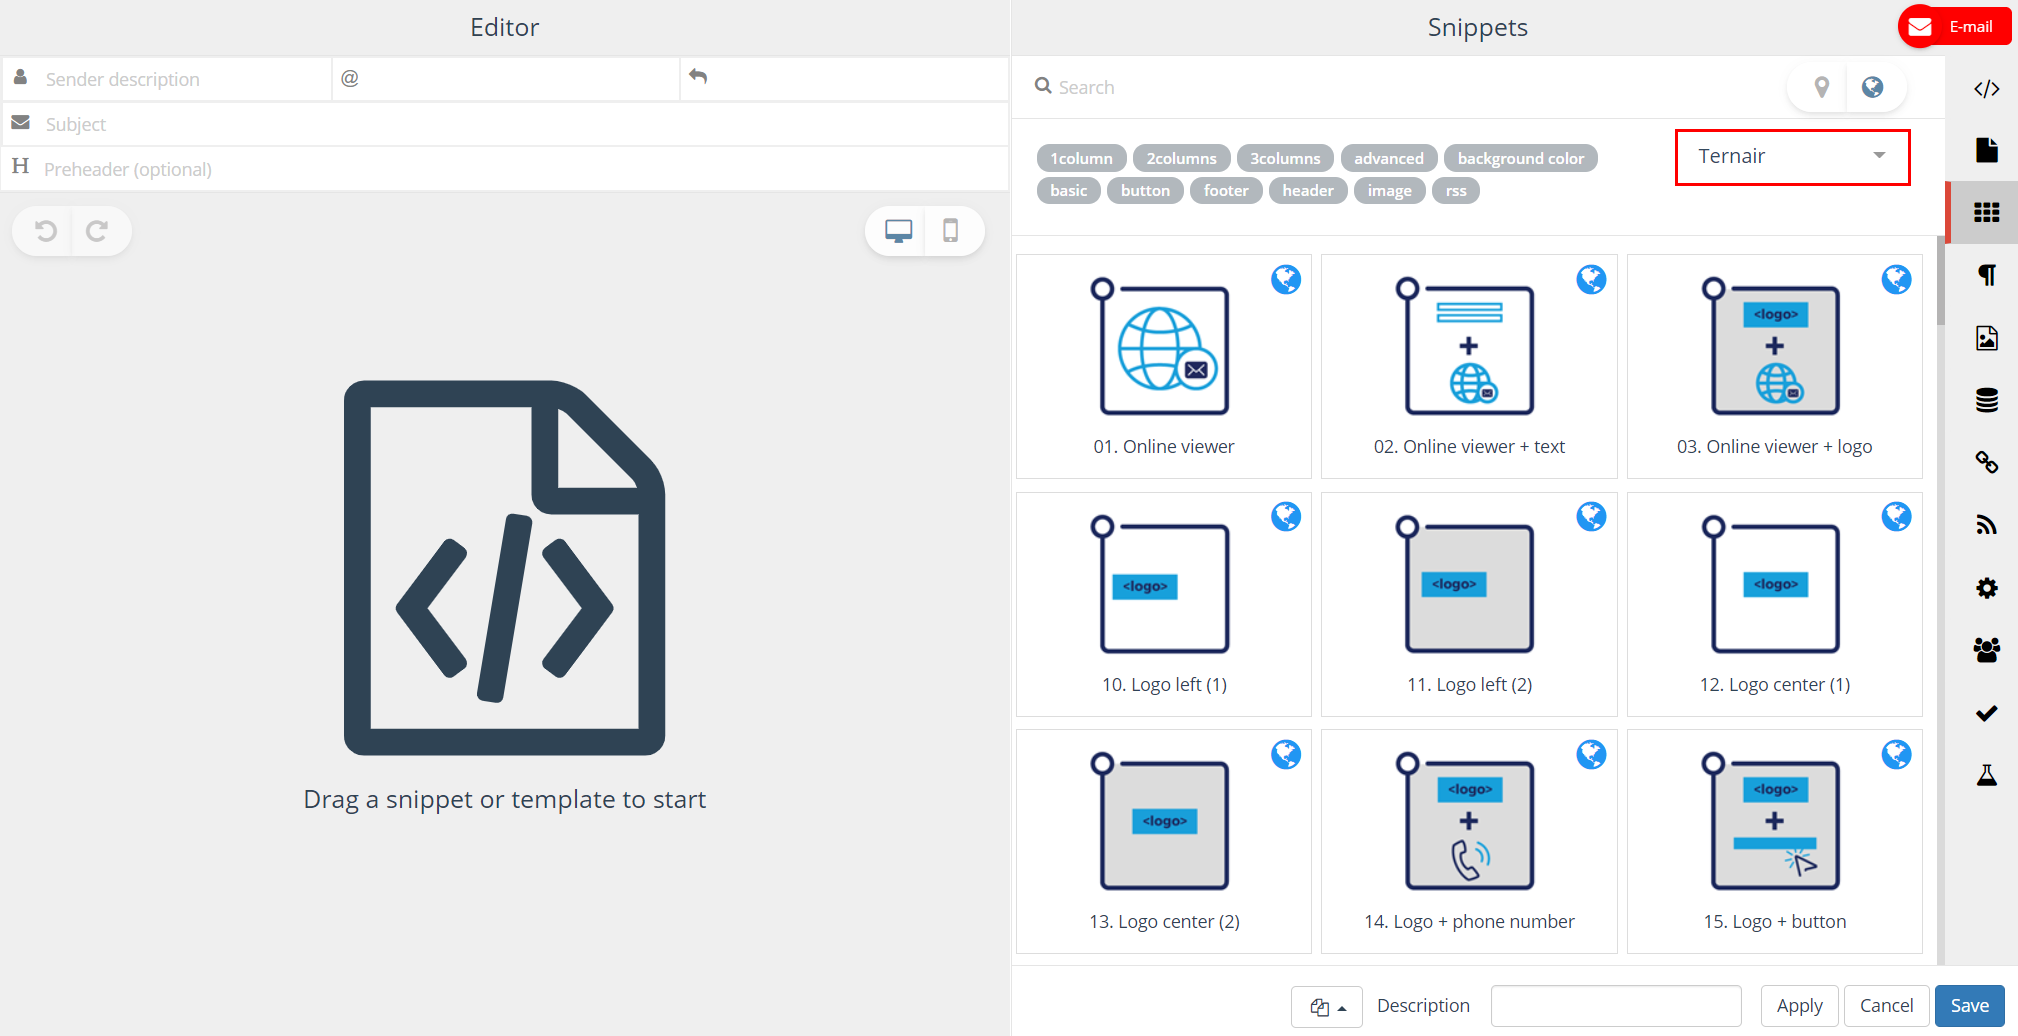
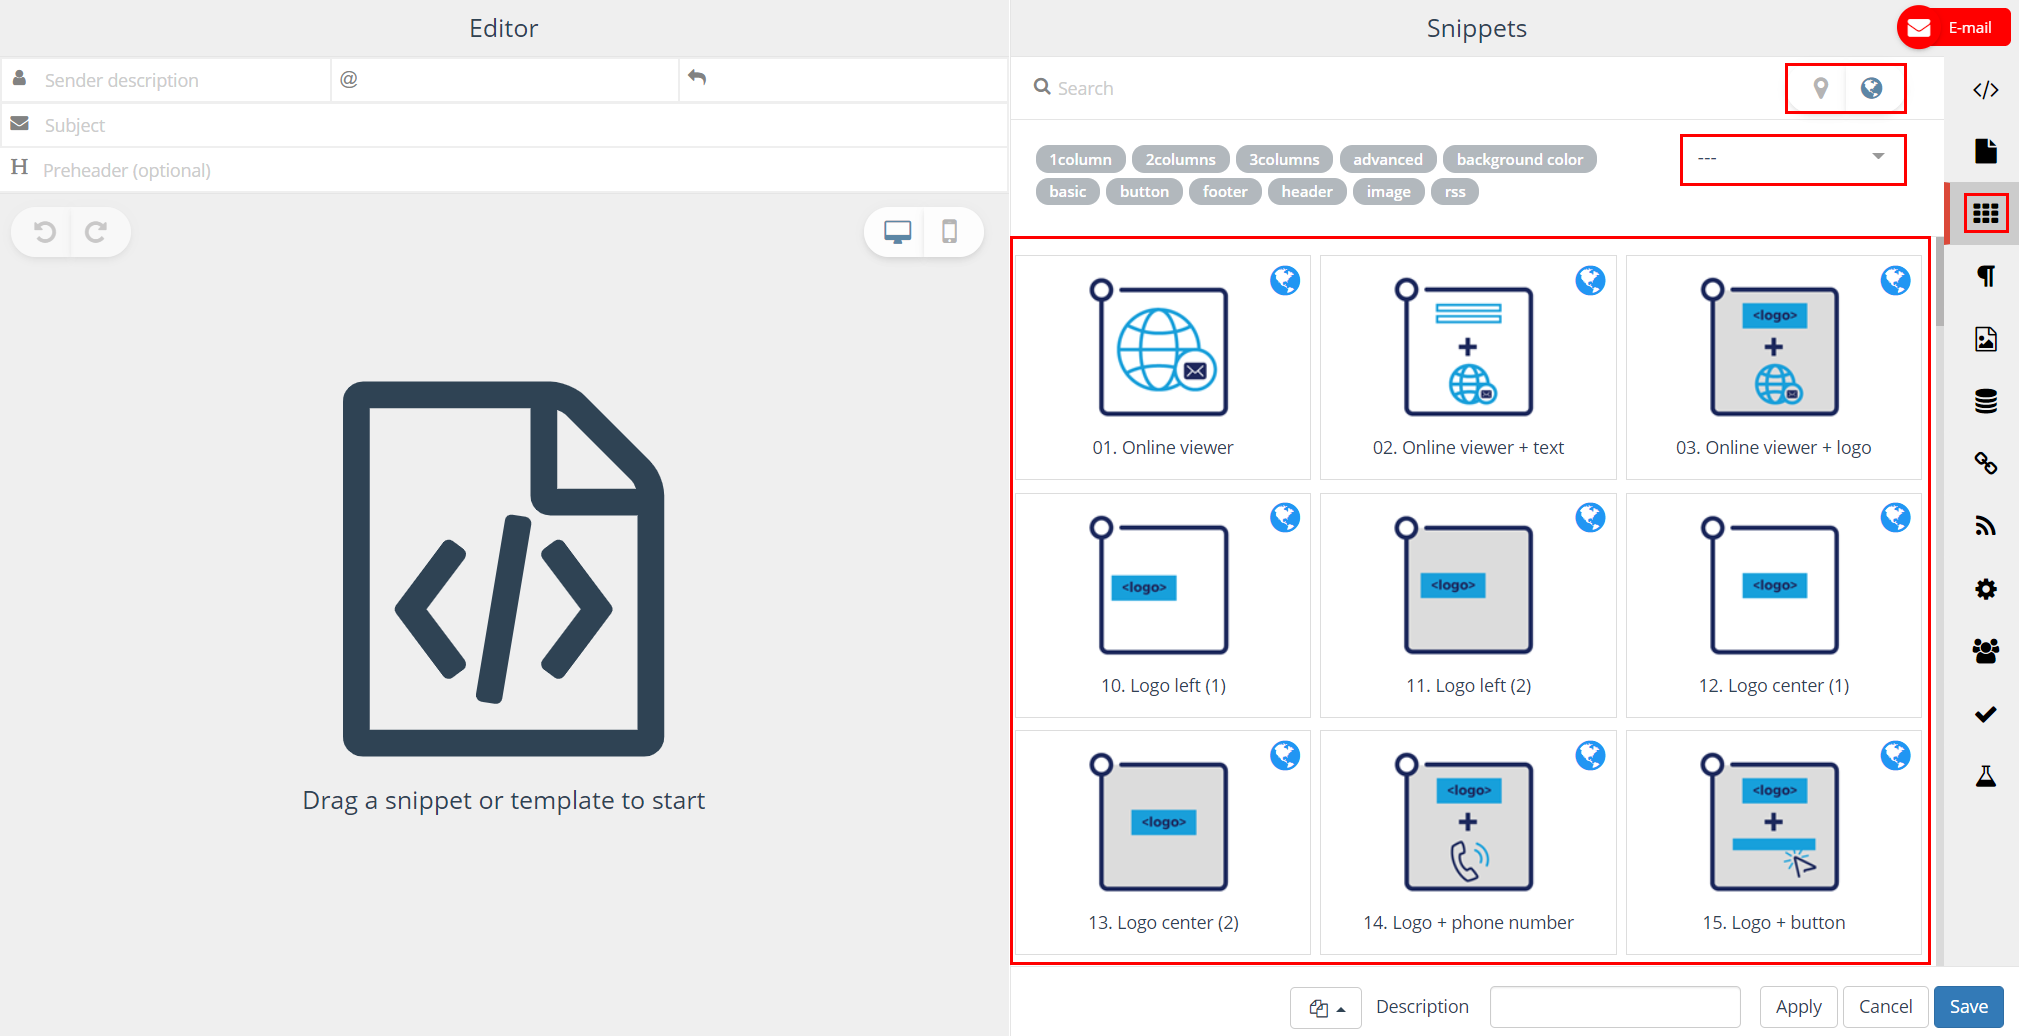
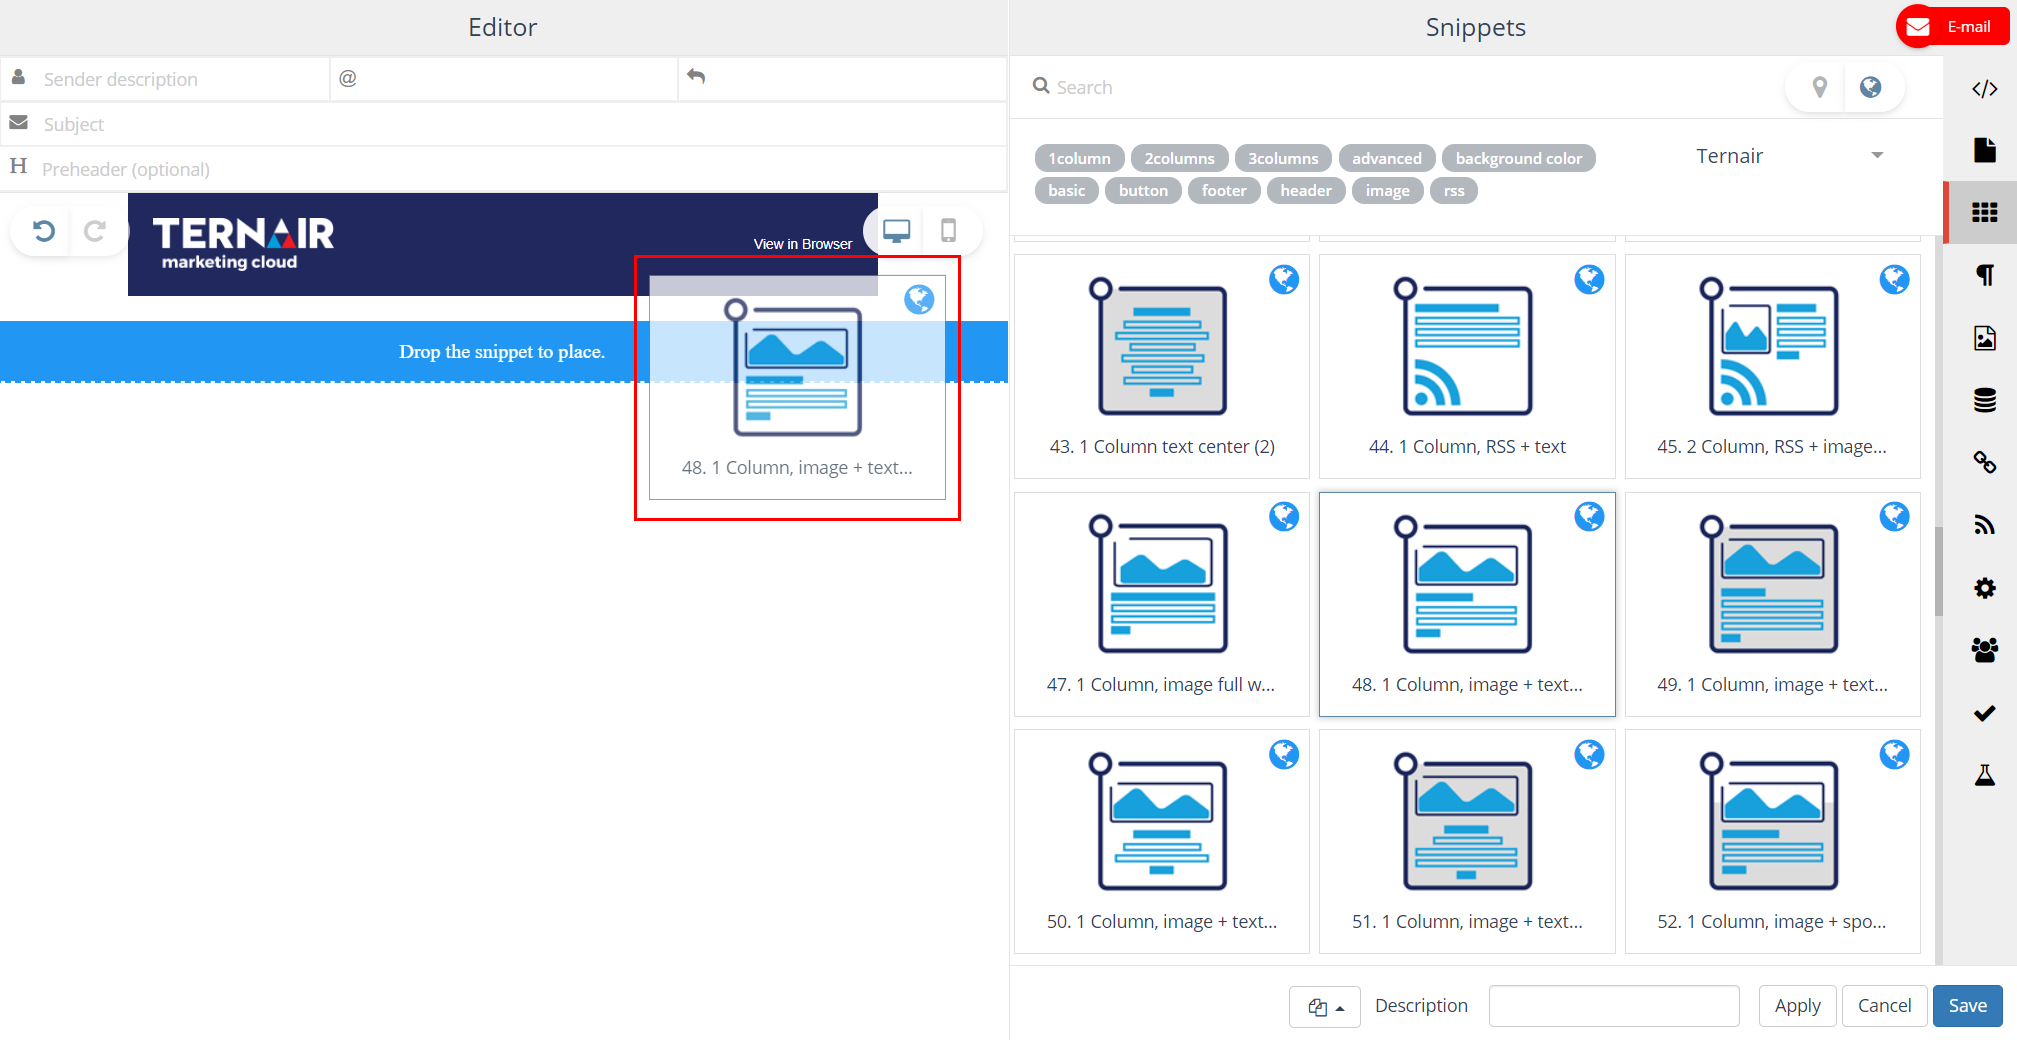
| For option three; drag one or more snippets from the snippets tab to the left hand side of the email block in order to build an email with snippets.
You can find your own snippets in the local repository (recognizable by the marker icon). You can find the global snippets in the global repository (recognizable by the globe icon). Select your theme to create theme based content in your email. See themes for more details. |
Furthermore snippets can be used in templates containing snippet blocks.
A blue dotted (out)line of the drop zone is shown when dragging an item (snippet, RSS message, image, etc.) onto the worksheet. Snippets can be ordered by dragging them up/down in the content.
Themes
| Create theme based content in your email.
Select your theme. You can find your themes on the right hand side. |
