A preview can be used to show an example of the output data of your selection.
Drag a preview block onto the selection screen. Connect the preview block to one or more selection blocks.
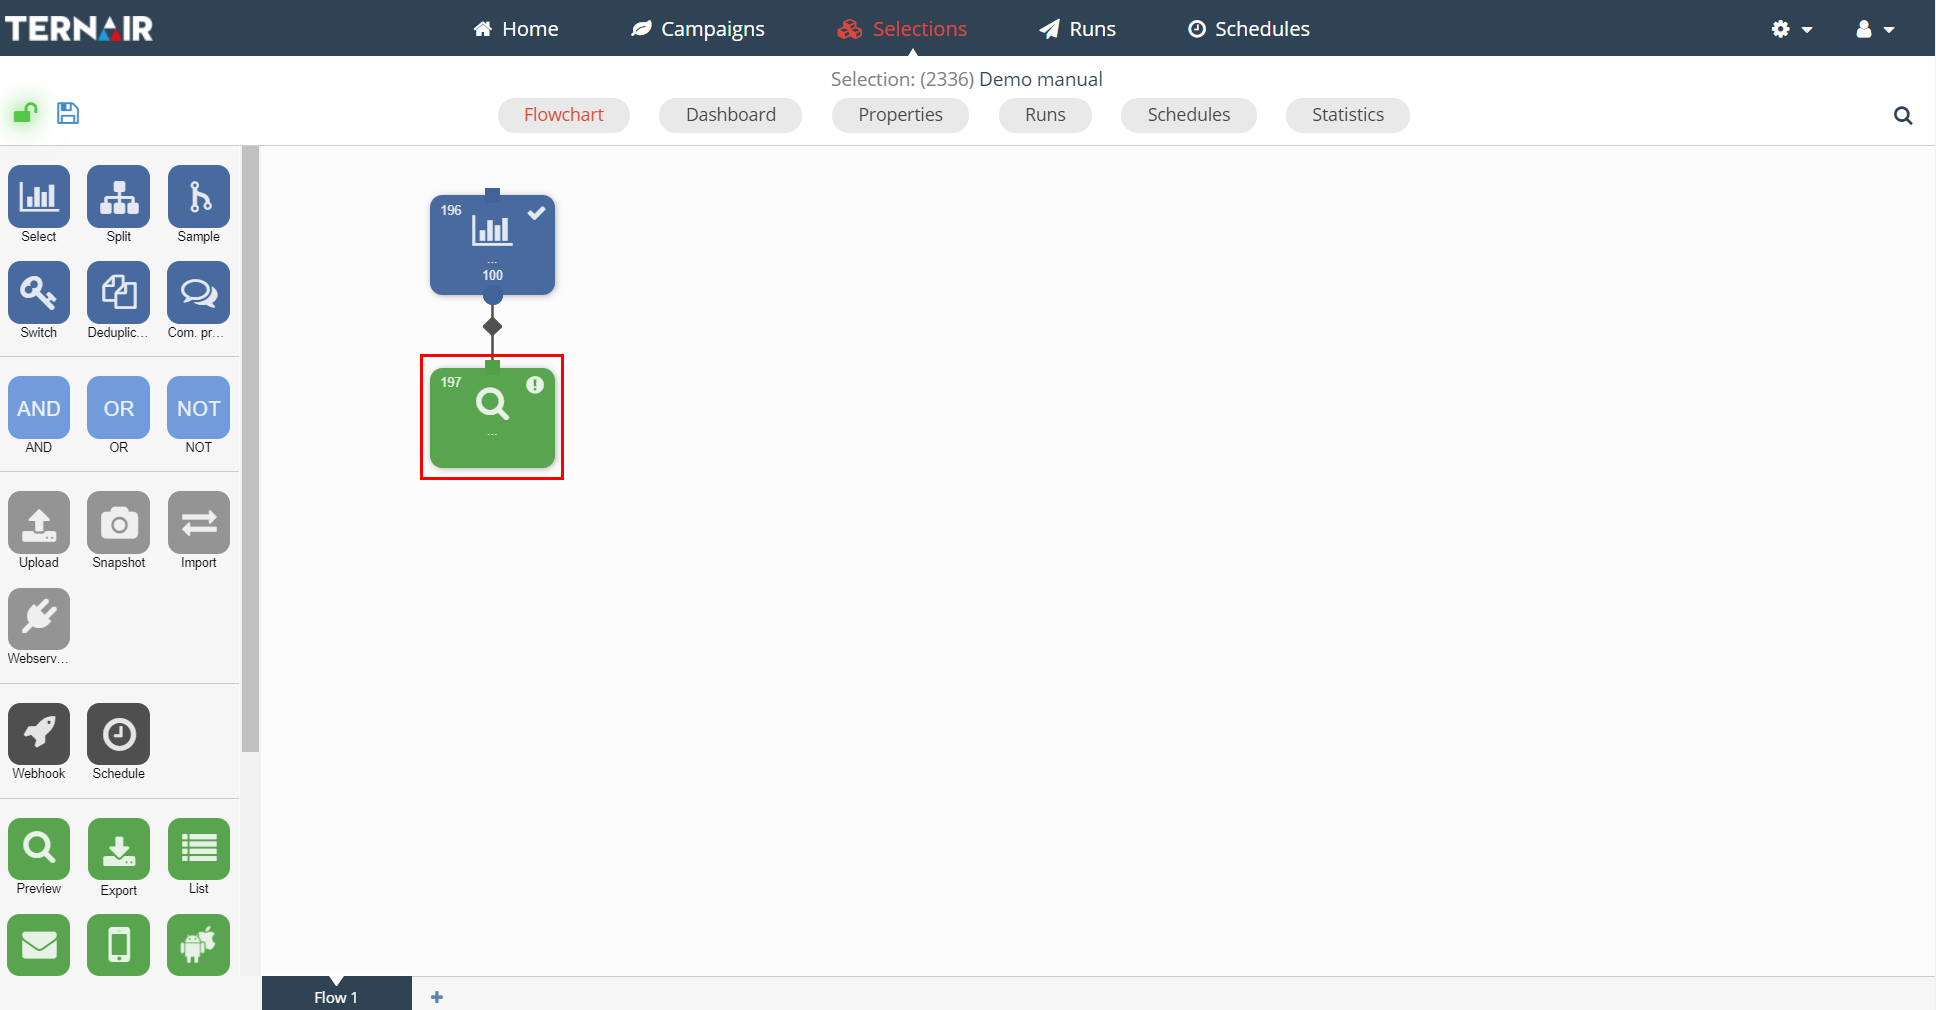
A preview can only be made when a selection is saved.
Double click the preview block to open the setting screen.
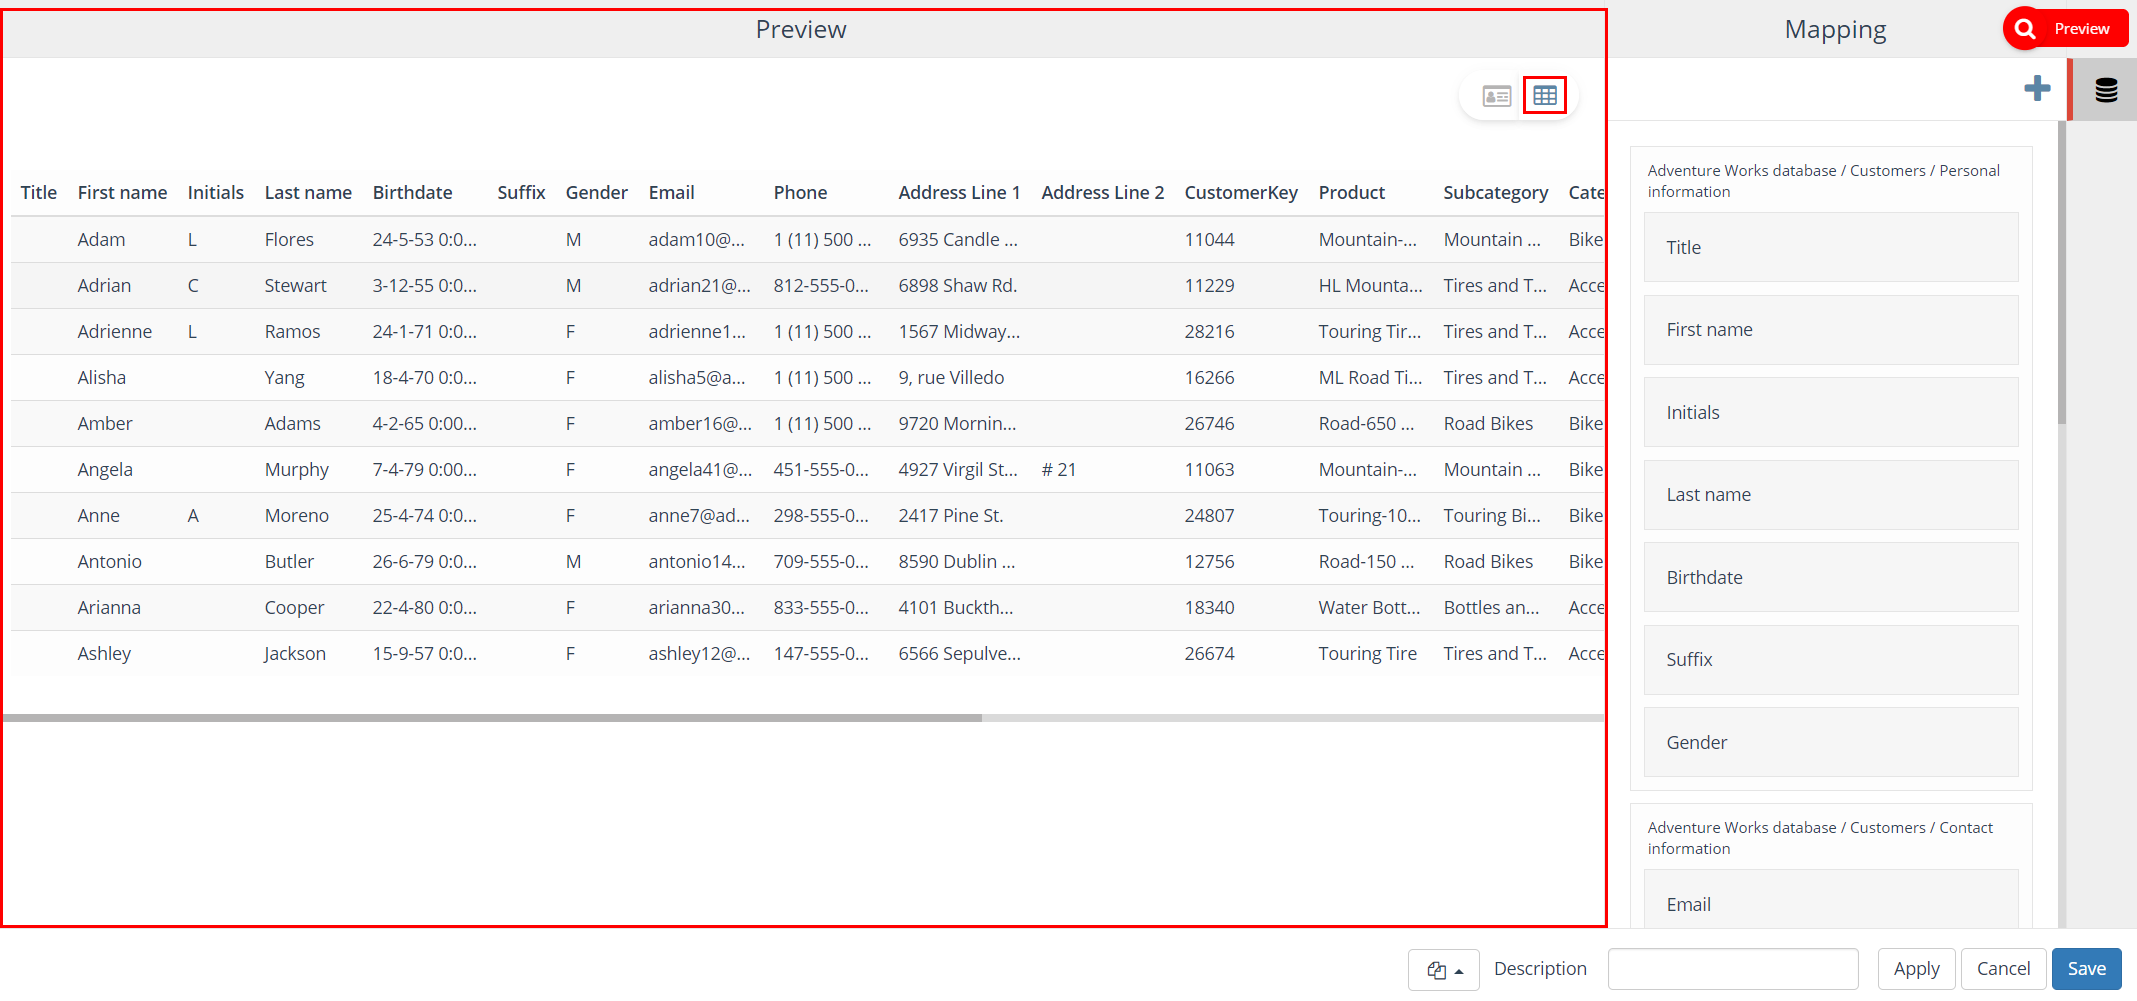
On the left hand side the preview is displayed. On the right hand side the settings can be found.
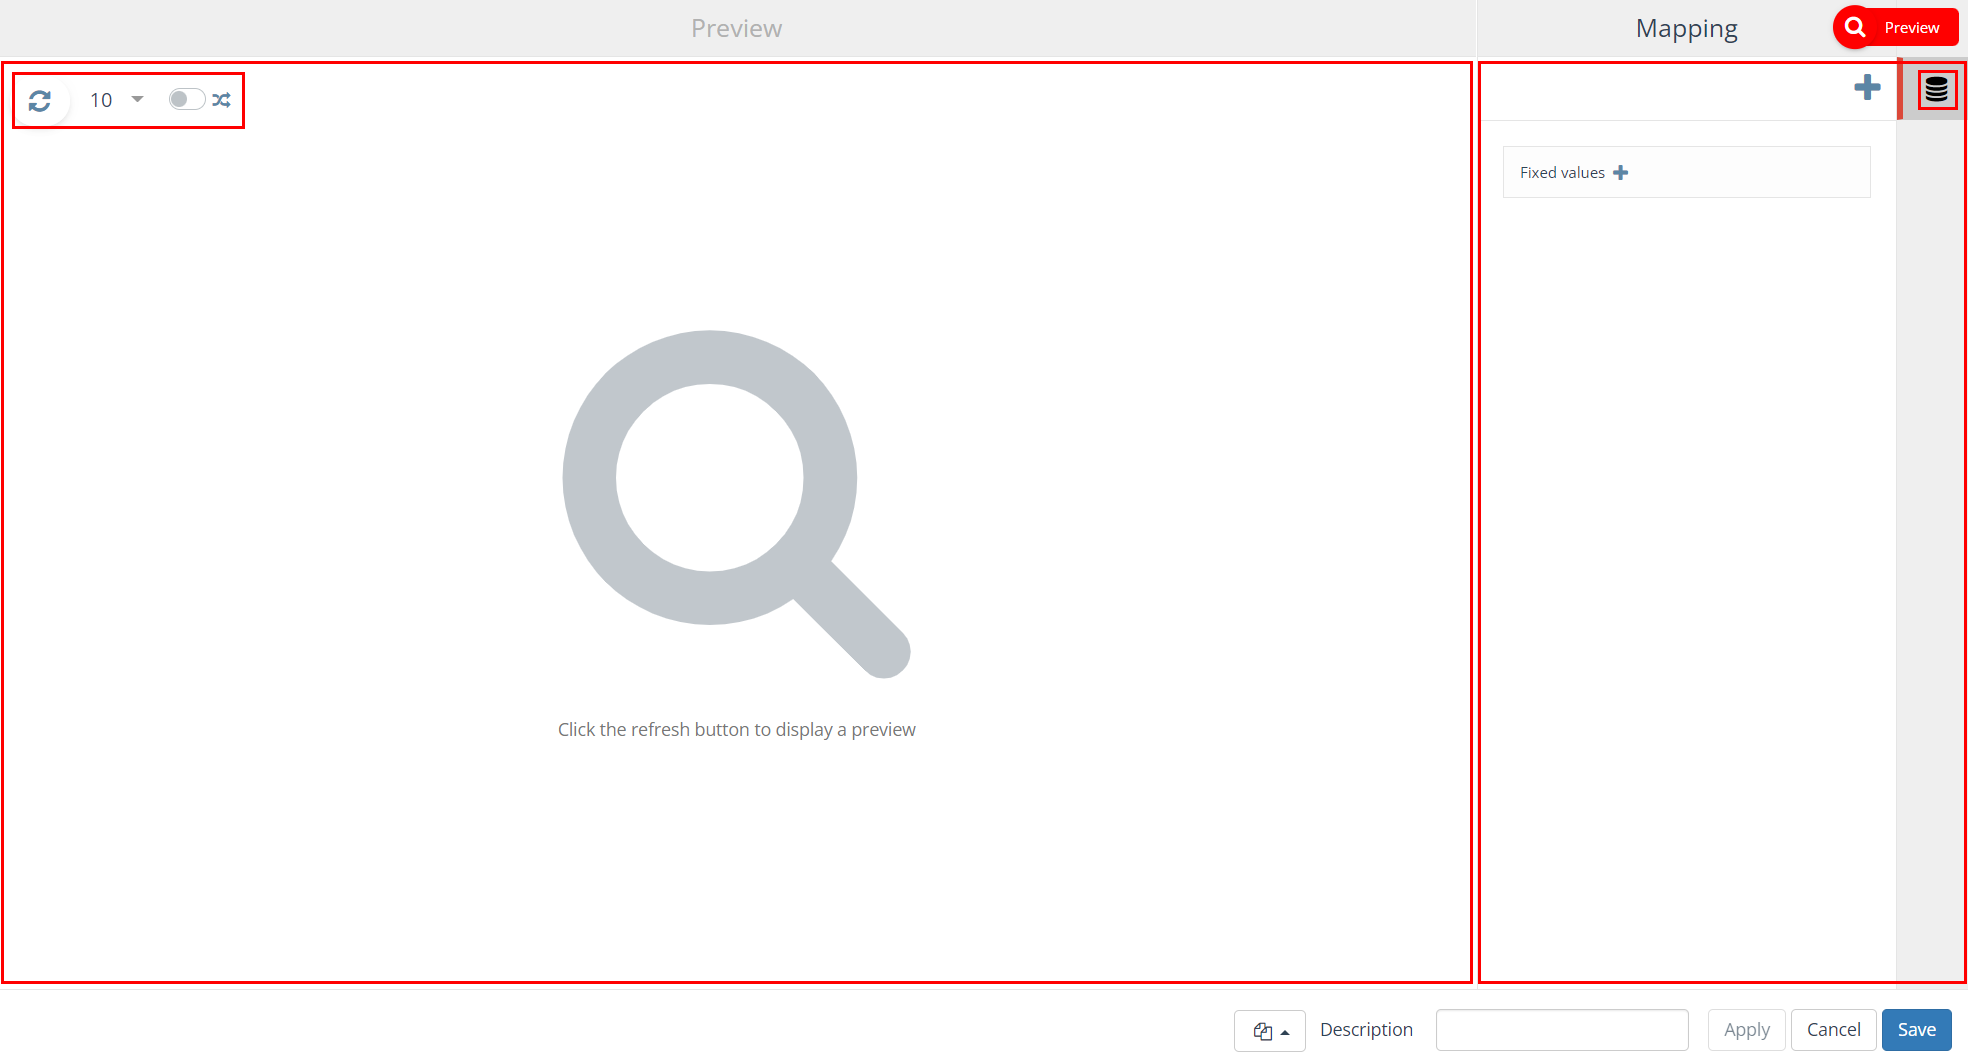
The Preview block settings screen contain the following tab.
| Icon | Tab | Description |
| Mapping | What data is included in the preview and in which order is it shown |
Mapping
All fields you would like to use in the preview need to be selected (‘mapped’) on this tab.
On the ‘+‘ icon you will find an overview of all the available entities and, under coding, a standard set of data relating to the campaign/selection (for example TID, selection code, campaign code, run date, etc.).
Apart from the available database fields it is possible to include fields with a fixed text value. Click on the ‘Fixed values +’ field in order to add a fixed value text field. Both the header as well as the value of the field needs to be provided.
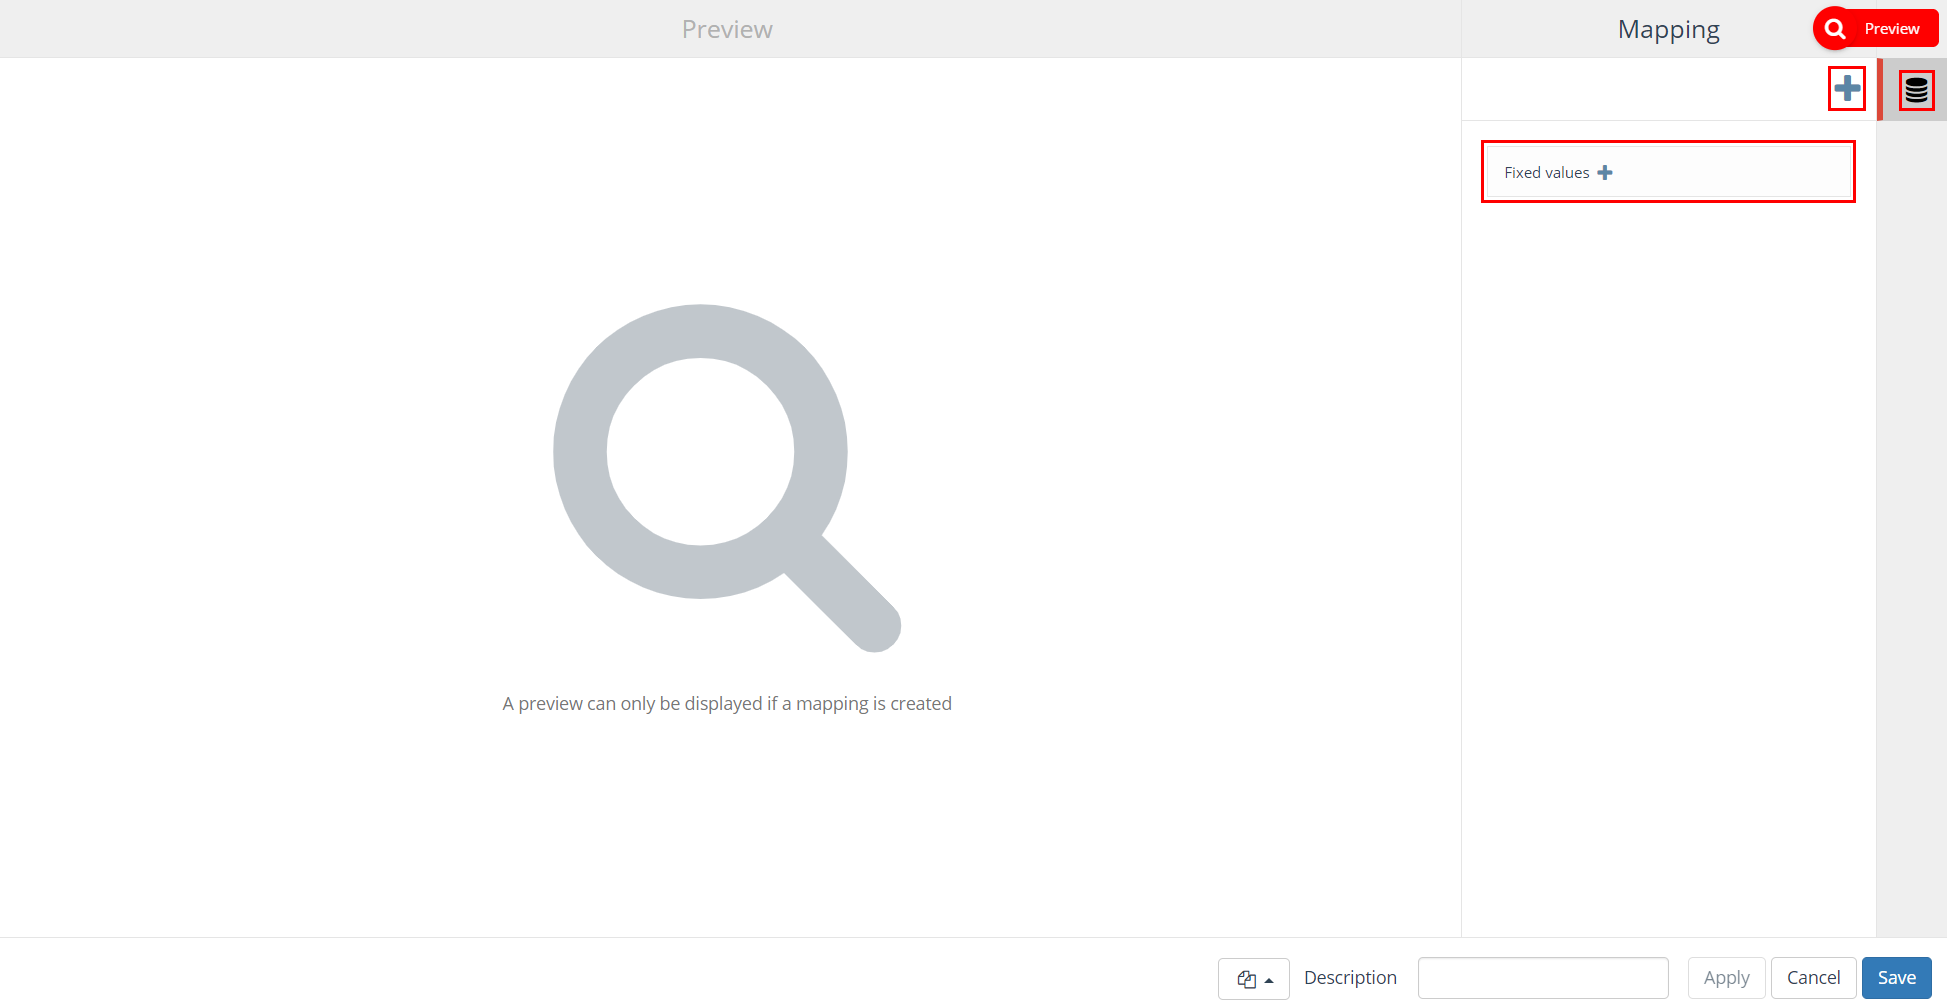
Select an item to move it to the preview on the left.
N.B.: By selecting an entity type in the search screen all (underlying) entities will be selected at once (max 25 fields at once).
In very specific cases, it is possible that there are two email address fields in one entity. In case one of those is called email and you want to use the other one, the field email needs to be renamed.
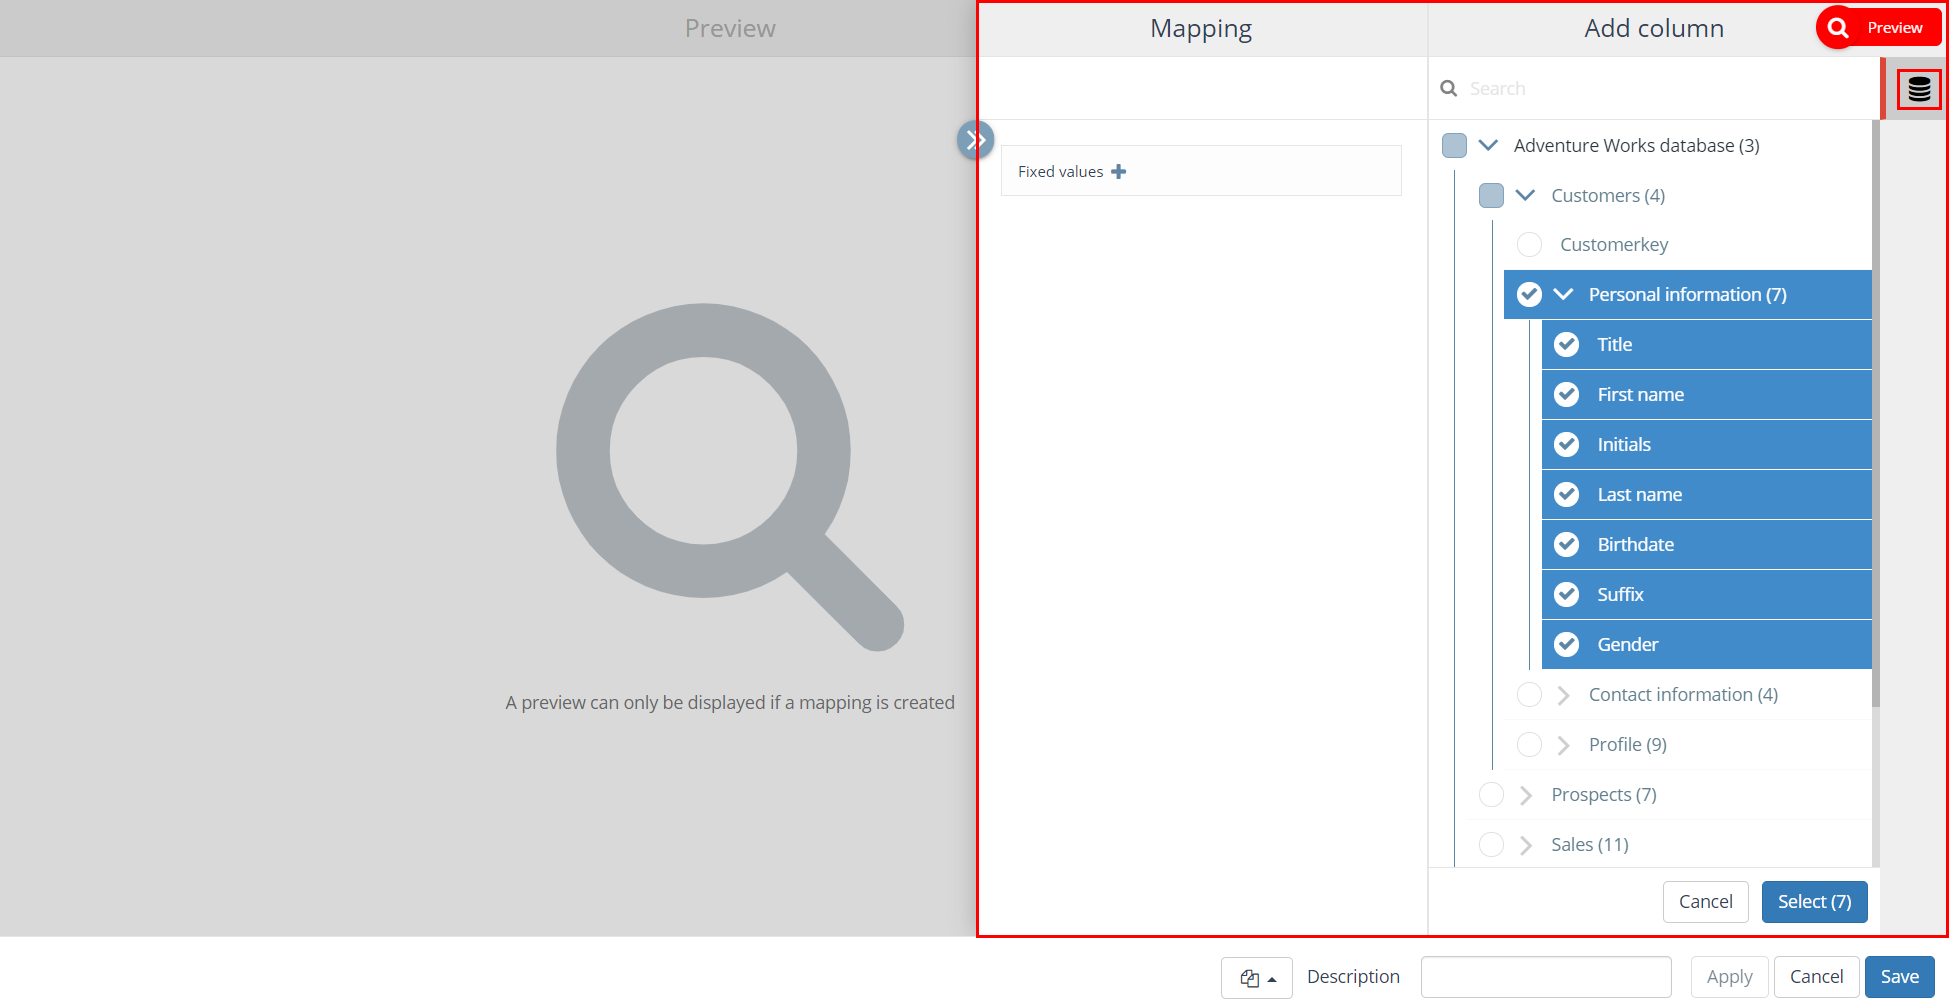
Adding / renaming columns
After adding an item it is possible to edit the column header in the preview. The name of the columns can be changed by clicking on an item.
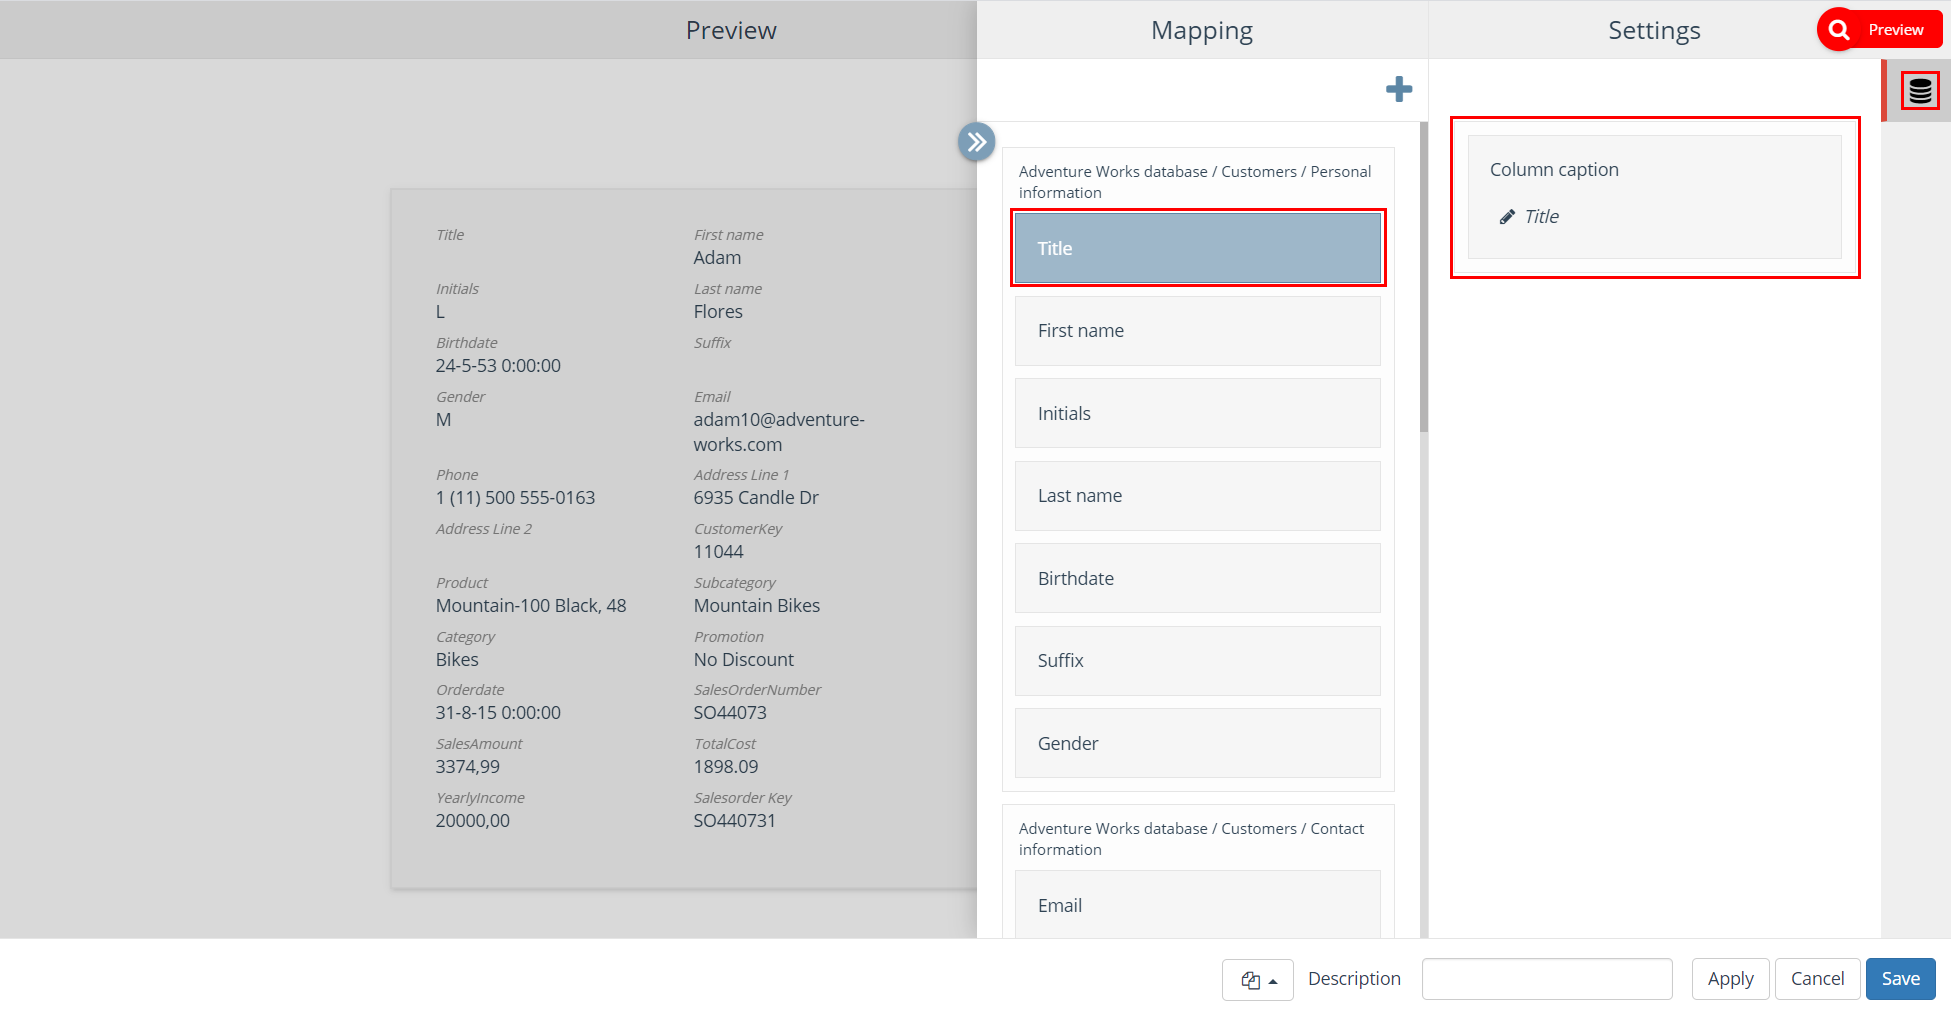
Preview
The ‘Preview’ tab show an example of the output data of your selection. The default view shows the first 10 records in the selection.
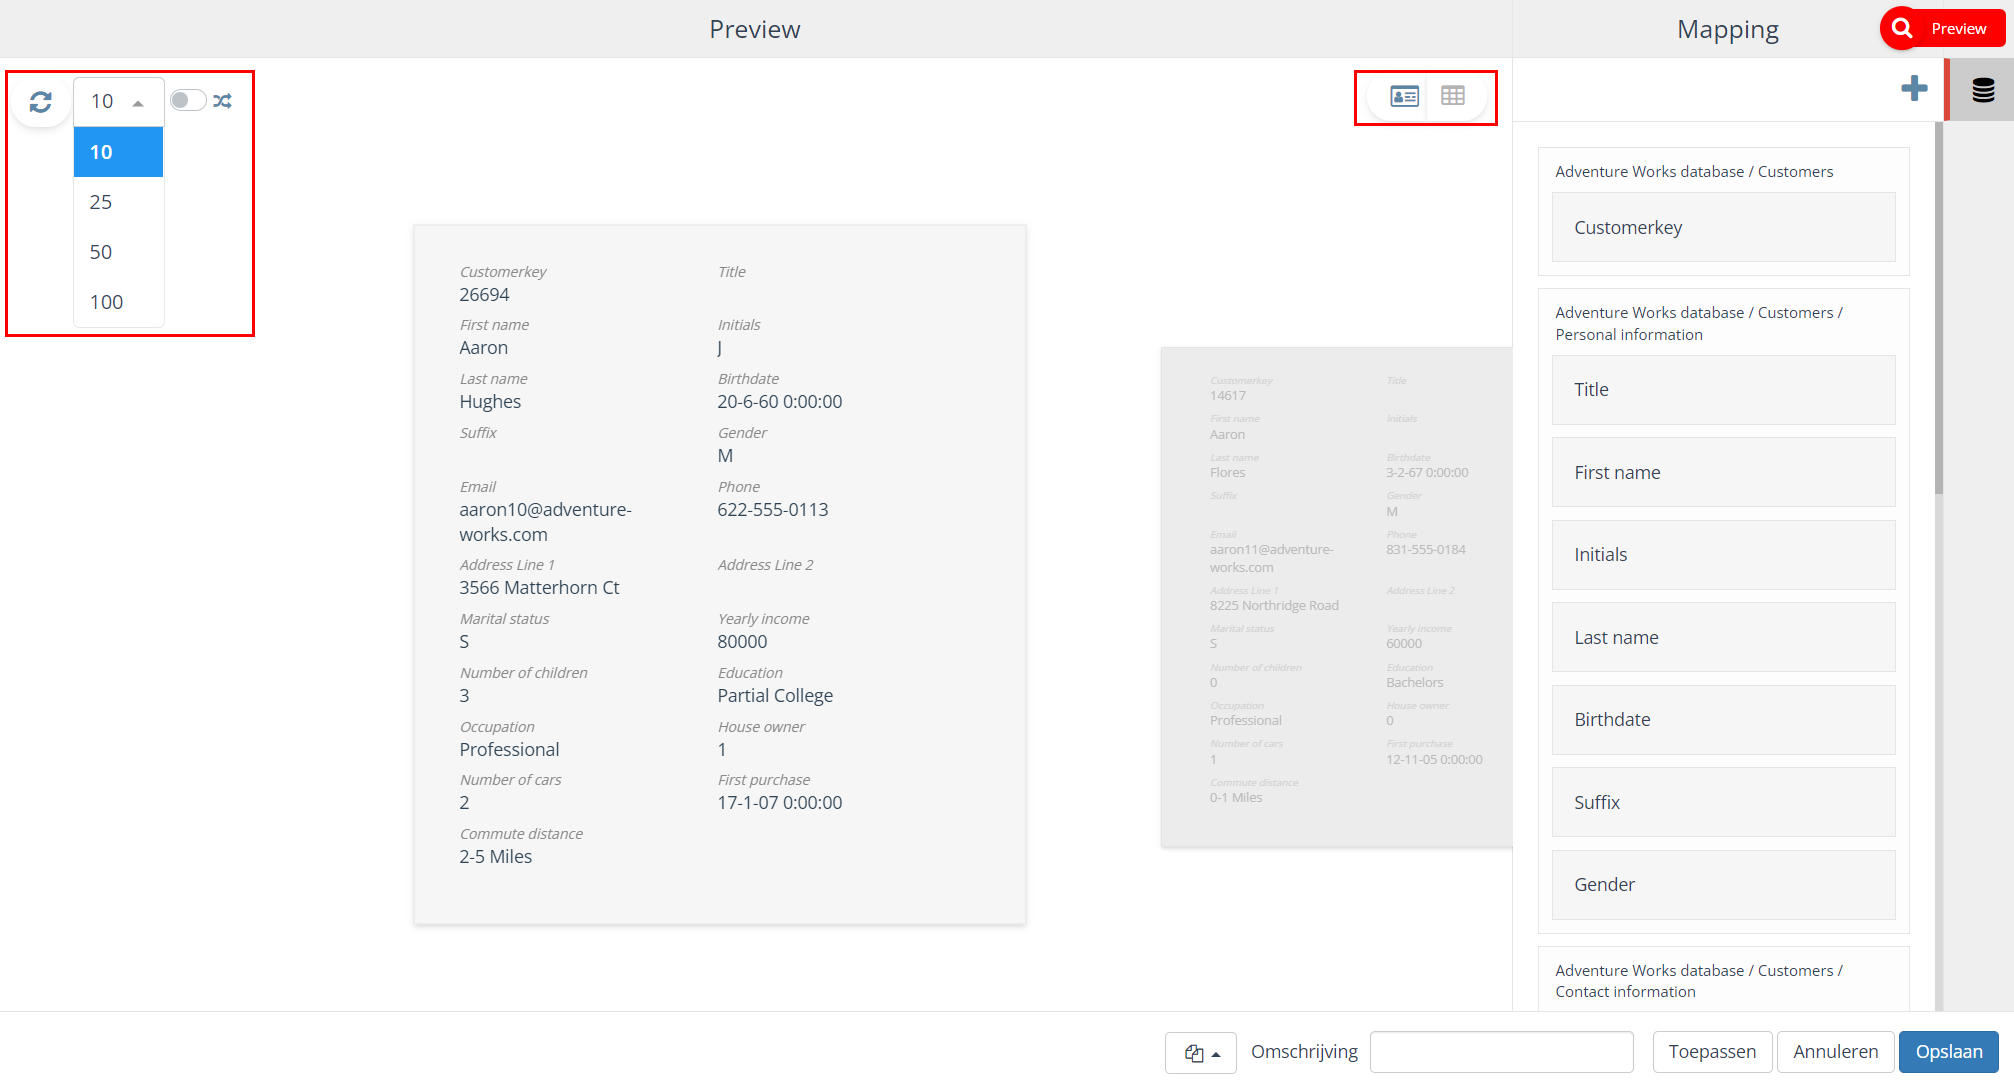
In the upper left corner, you can customize the preview data with the following options:
| Refresh data N.B. If an existing preview block is reopened, the preview is outdated. Click the button to refresh the preview. |
|
| Show 10, 25, 50 or 100 records | |
| Show random data |
In the upper right corner, you can change the preview mode from an individual record to table view.
| Show individual record | |
| Show table overview of the X records in the selection |
Preview of individual record
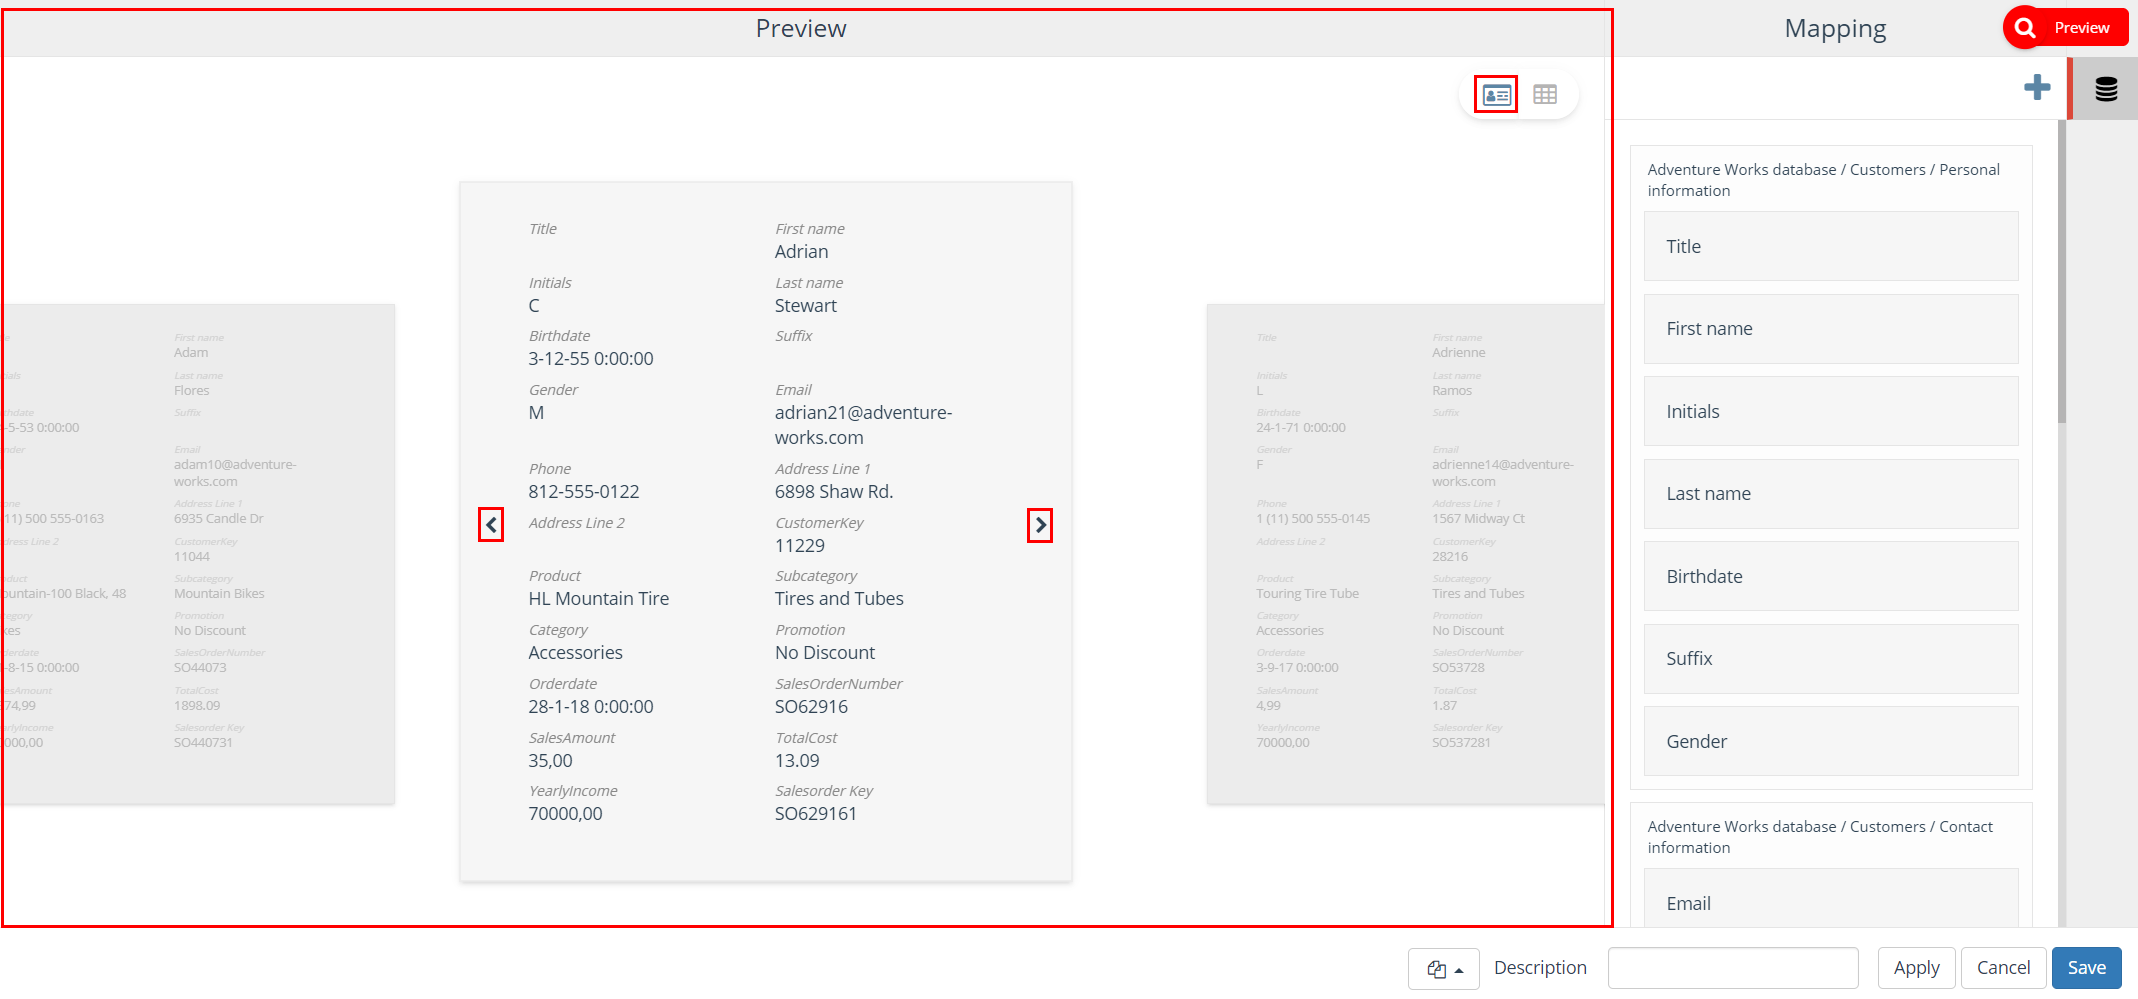
Preview table overview of the X records in the selection
General settings
| Options | Description |
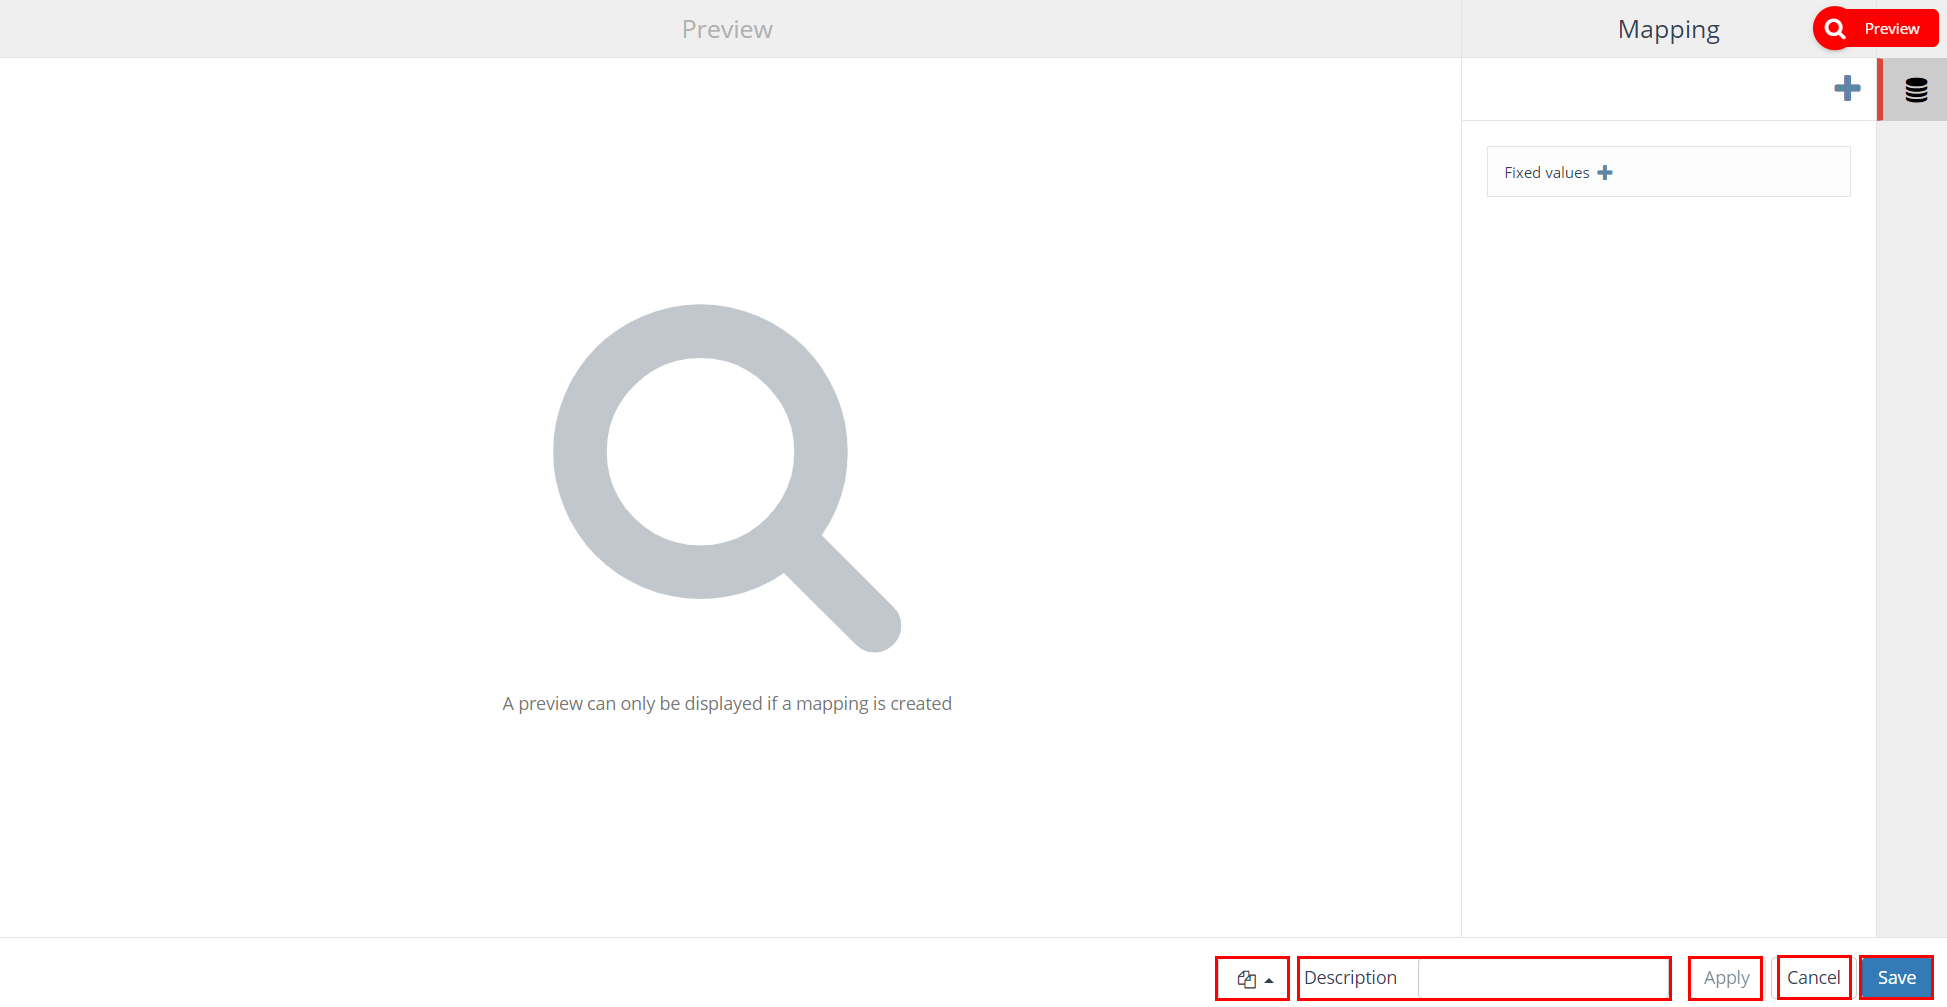
| Block template | Each preview block can be saved as a template. After saving a preview block as a template it is available as template for other preview blocks. A block template can be re-used by clicking ‘Open block template’ in the bottom left corner of a preview block and selecting the template from the list. |
| Description | You can define a description for a preview block. The description field is intended to provide a logical description for the block. As a result, the content of the preview block is easy to recognize in the selection flowchart. |
| Apply | Clicking the ‘Apply’ button will save the provisional selection block settings. |
| Cancel | Use the ‘Cancel’ button to undo your changes. |
| Save | The ‘Save’ button can be used to save your changes without (re-)calculating the block.
|
