With the ‘Webhook’ block you can trigger a flow from external systems.
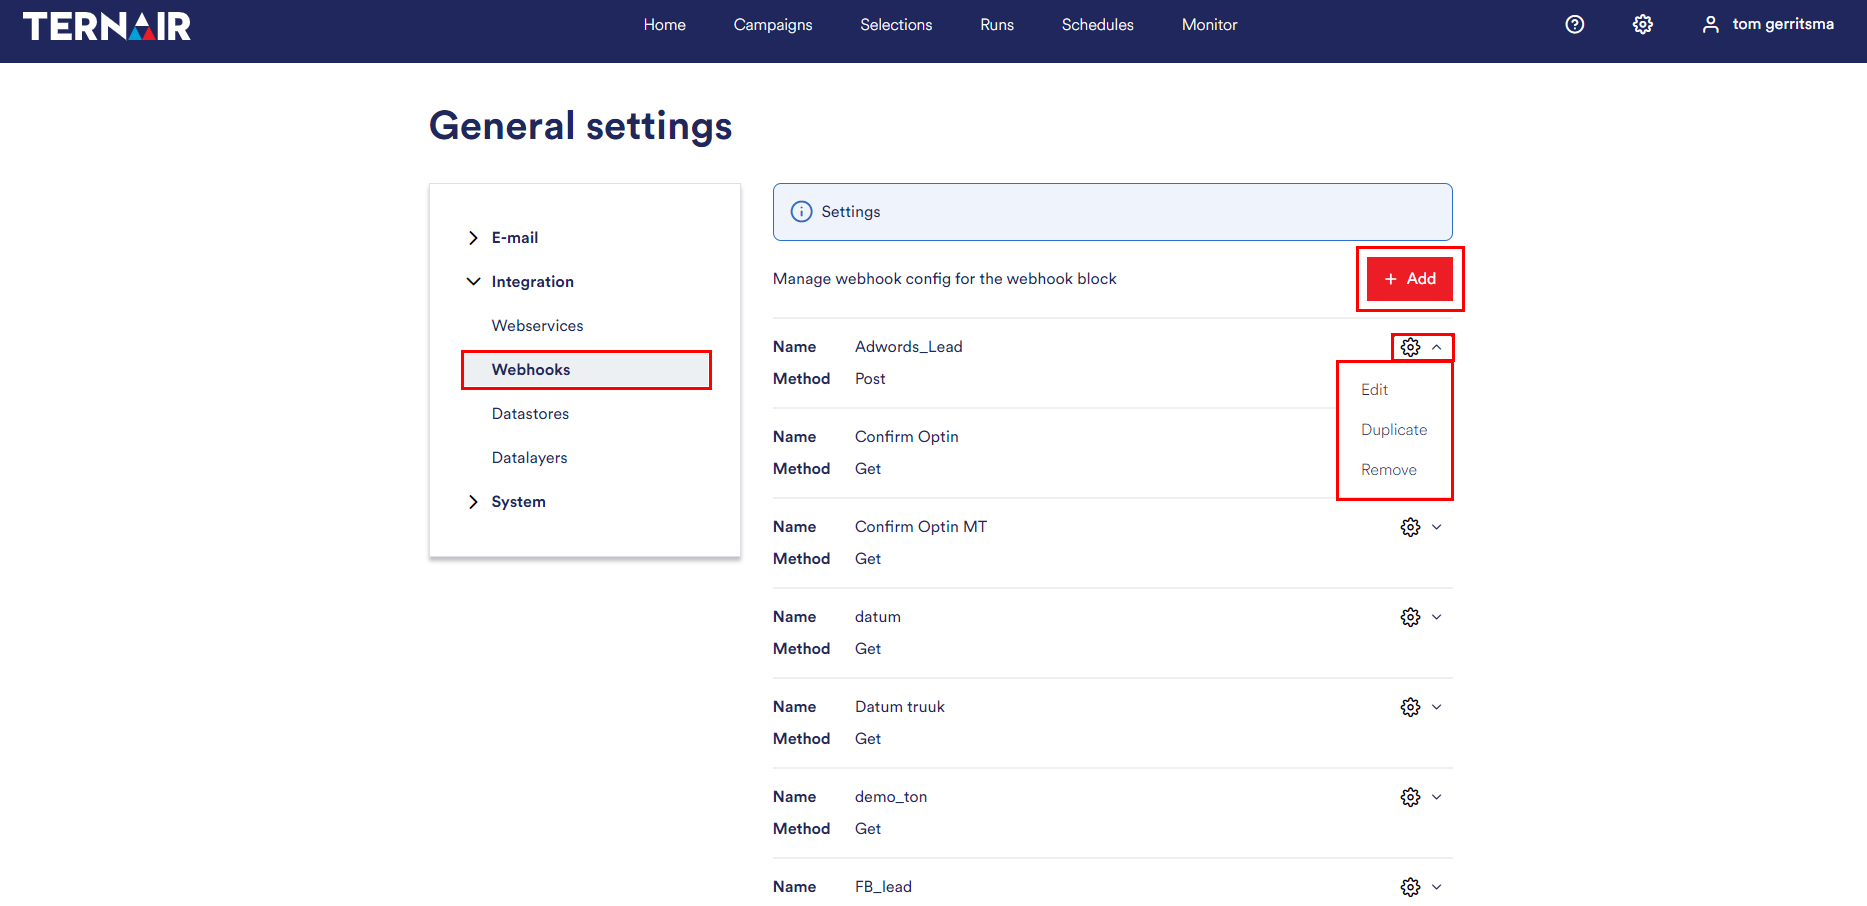
In the global settings you can define webhooks.
Via the ‘Add new webhook’ button a new webhook can be added. Webhooks previously added are displayed on this tab. The webhook can be edited and removed by clicking the gear icon.
N.B.: in order to use a webhook block a configuration in the global settings is required.
Add webhook
Settings
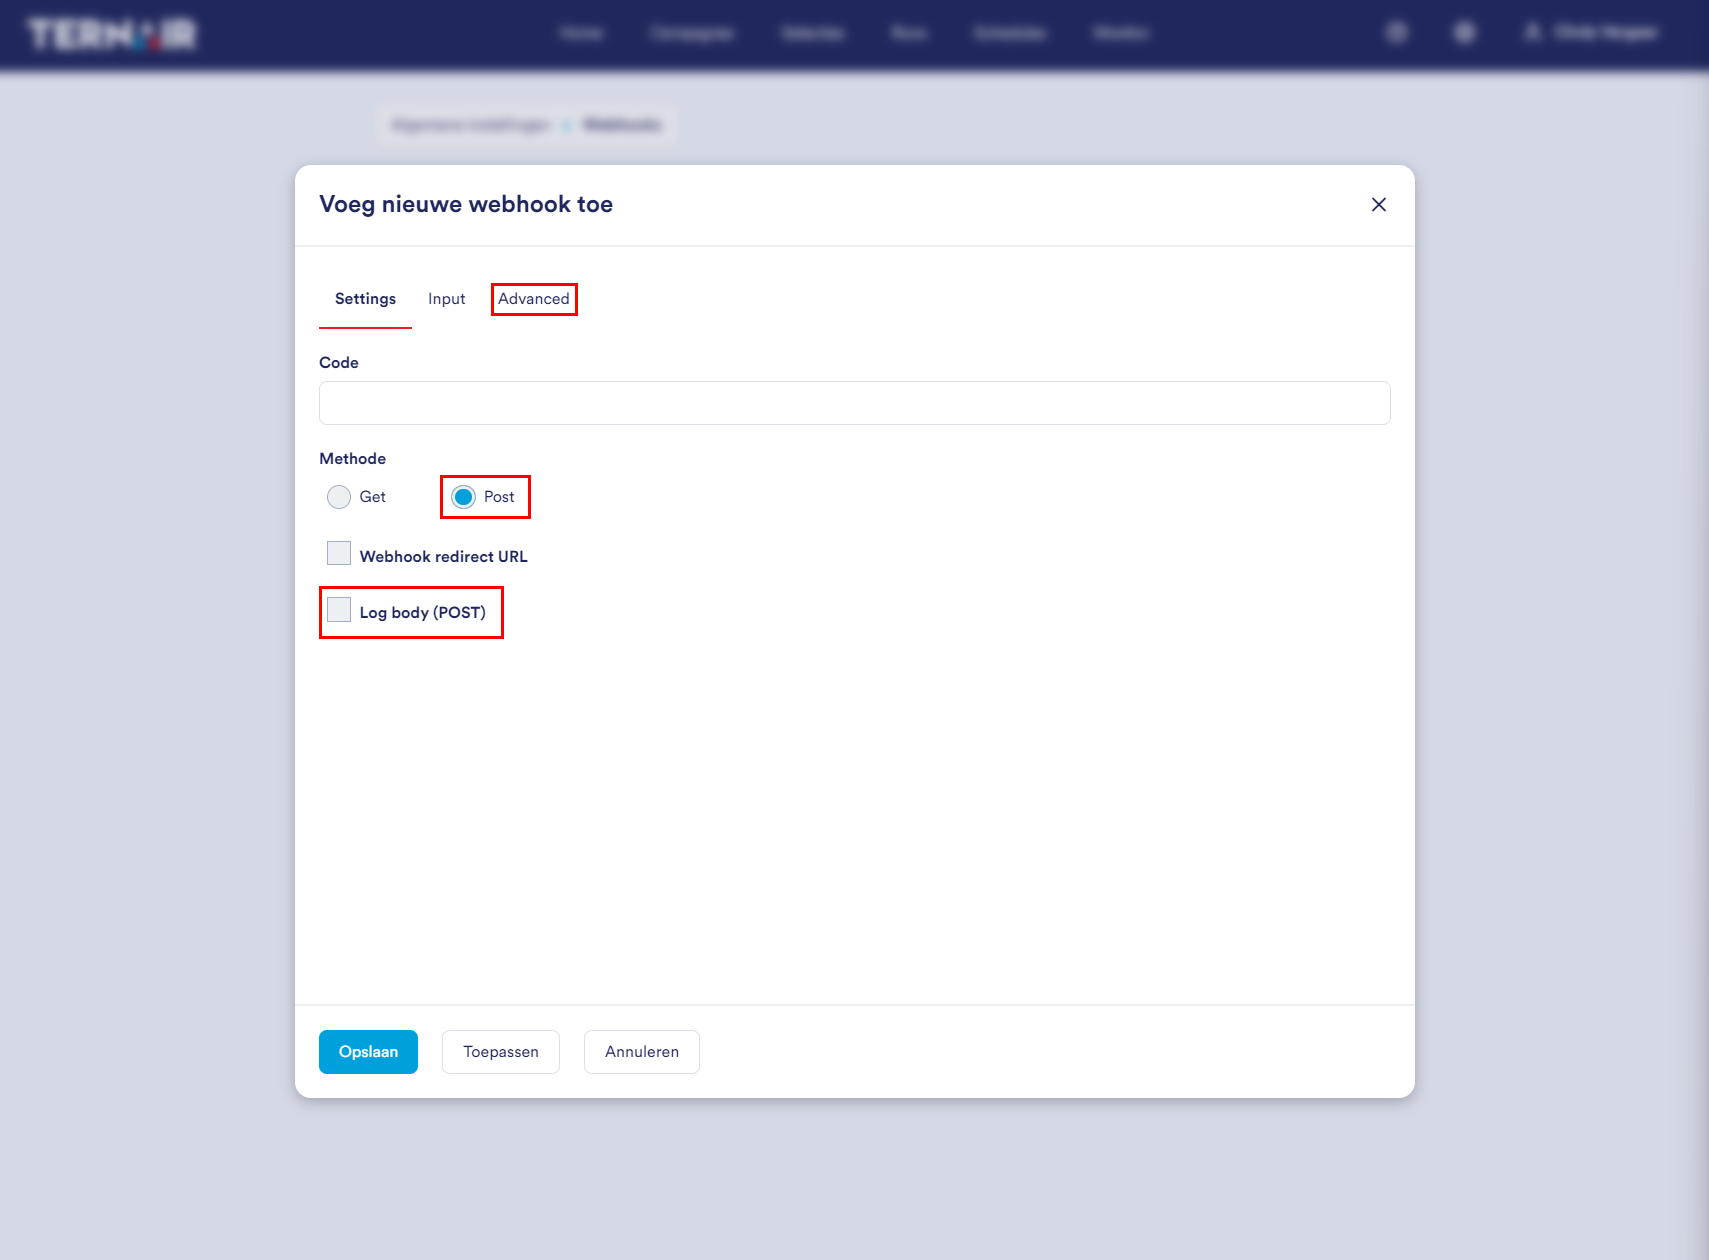
Provide the settings to add a new webhook.
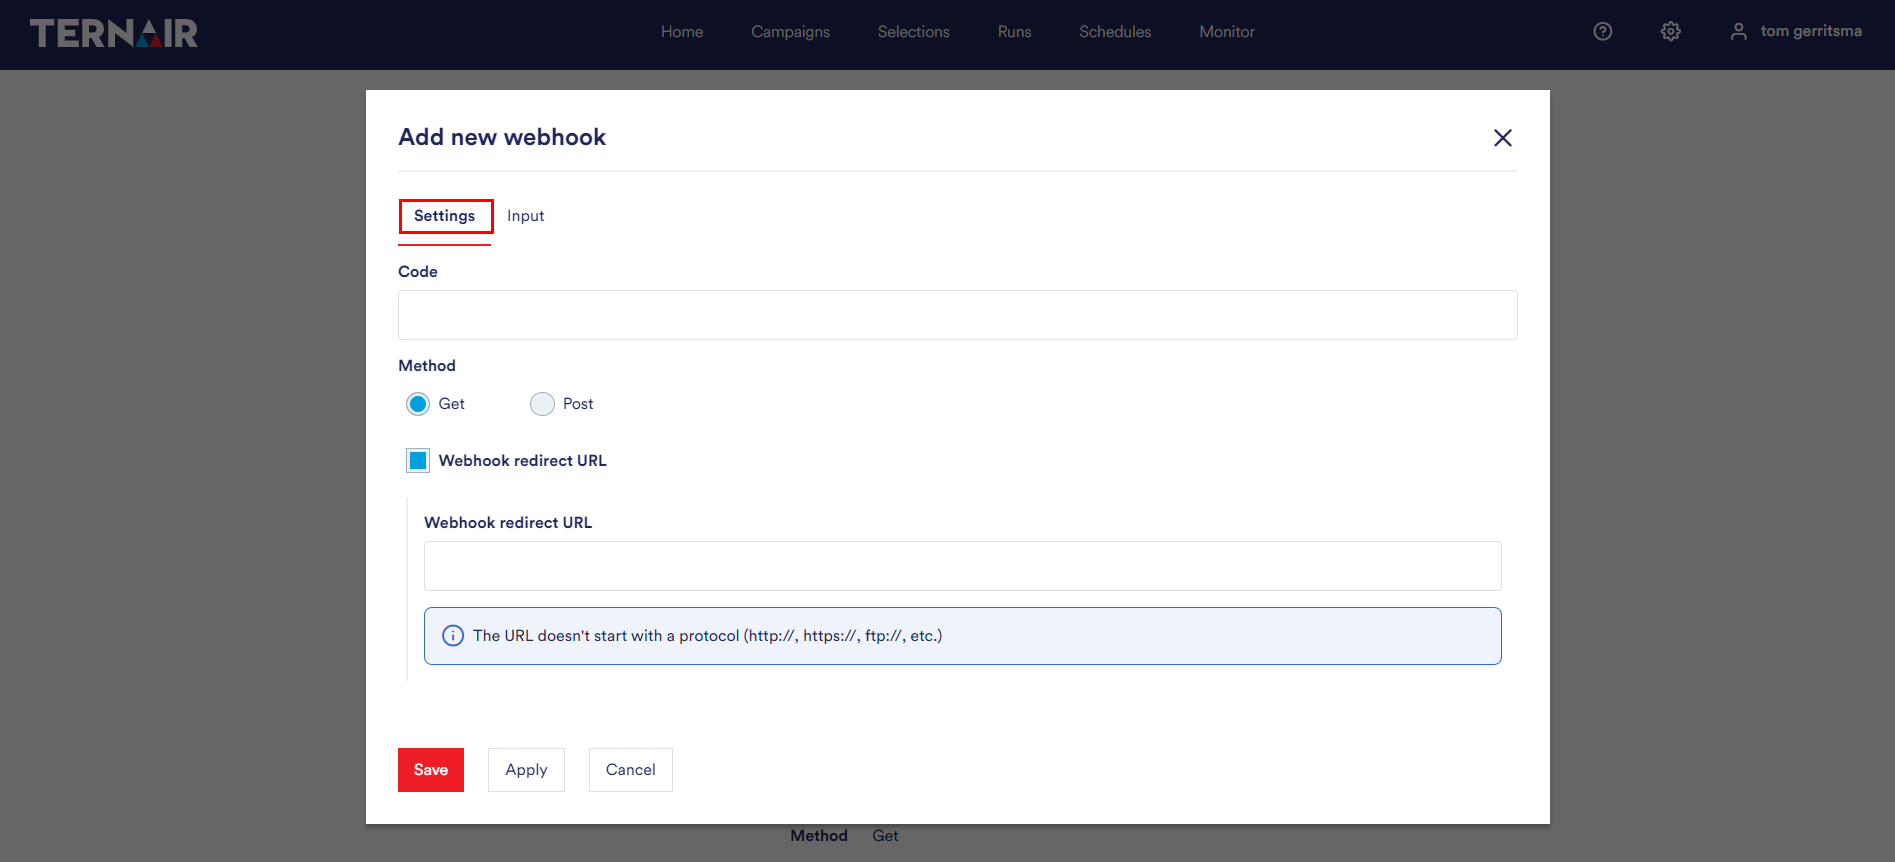
| Code | Unique name for the webhook |
| Method | Select the webhook method (GET, POST) |
| Webhook redirect URL (optional) | Enable ‘Redirect URL’ button in webhook block |
Method
GET is used to request data from a specified resource.
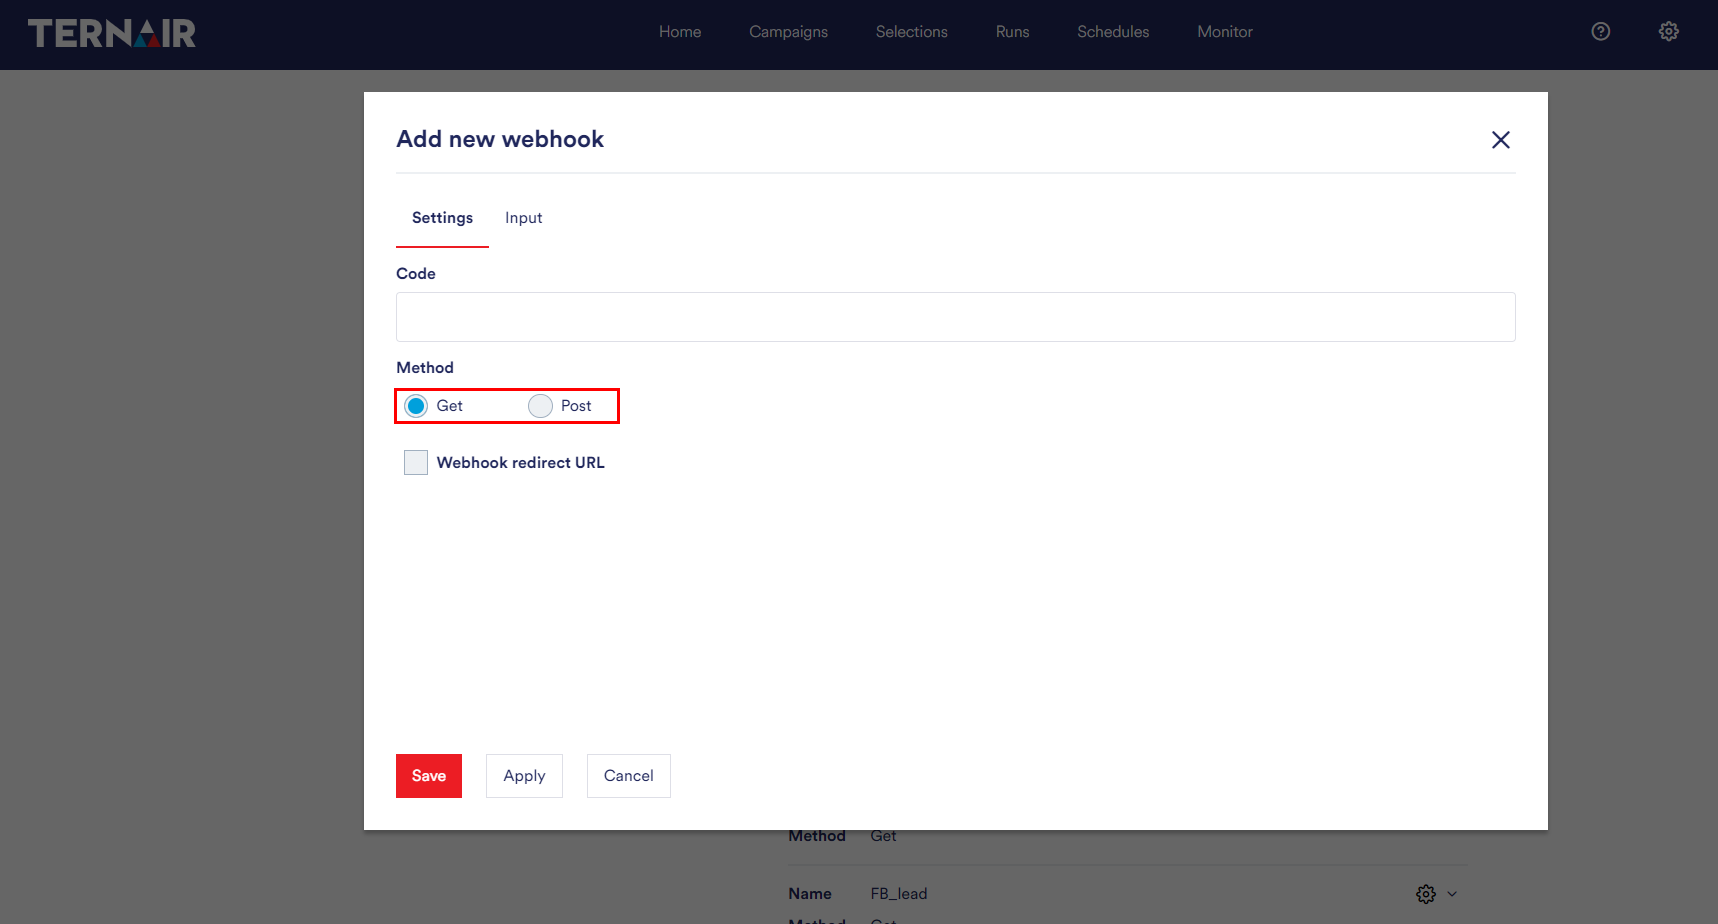
POST is used to send data to a server to create/update a resource.
When you choose the method POST, the Log Body (POST) option will appear. If you choose this option, the Body of the POST will be logged. You can use this for example for testing your POST. The body can be seen in the webhook log in the Campaign Admin menu. By default the log is set to 1 day.
In addition, the Advanced tab appears.
Redirect URL
When a redirect URL is set, this URL will be loaded after loading the webhook URL. Within the redirect URL it is also possible to include webhook parameters. Parameters can easily be entered using {{parameter name}}. Example: http://www.ternair.com/?leadid={{leadid}}. On the “Input” tab parameter names for the webhook can be defined.
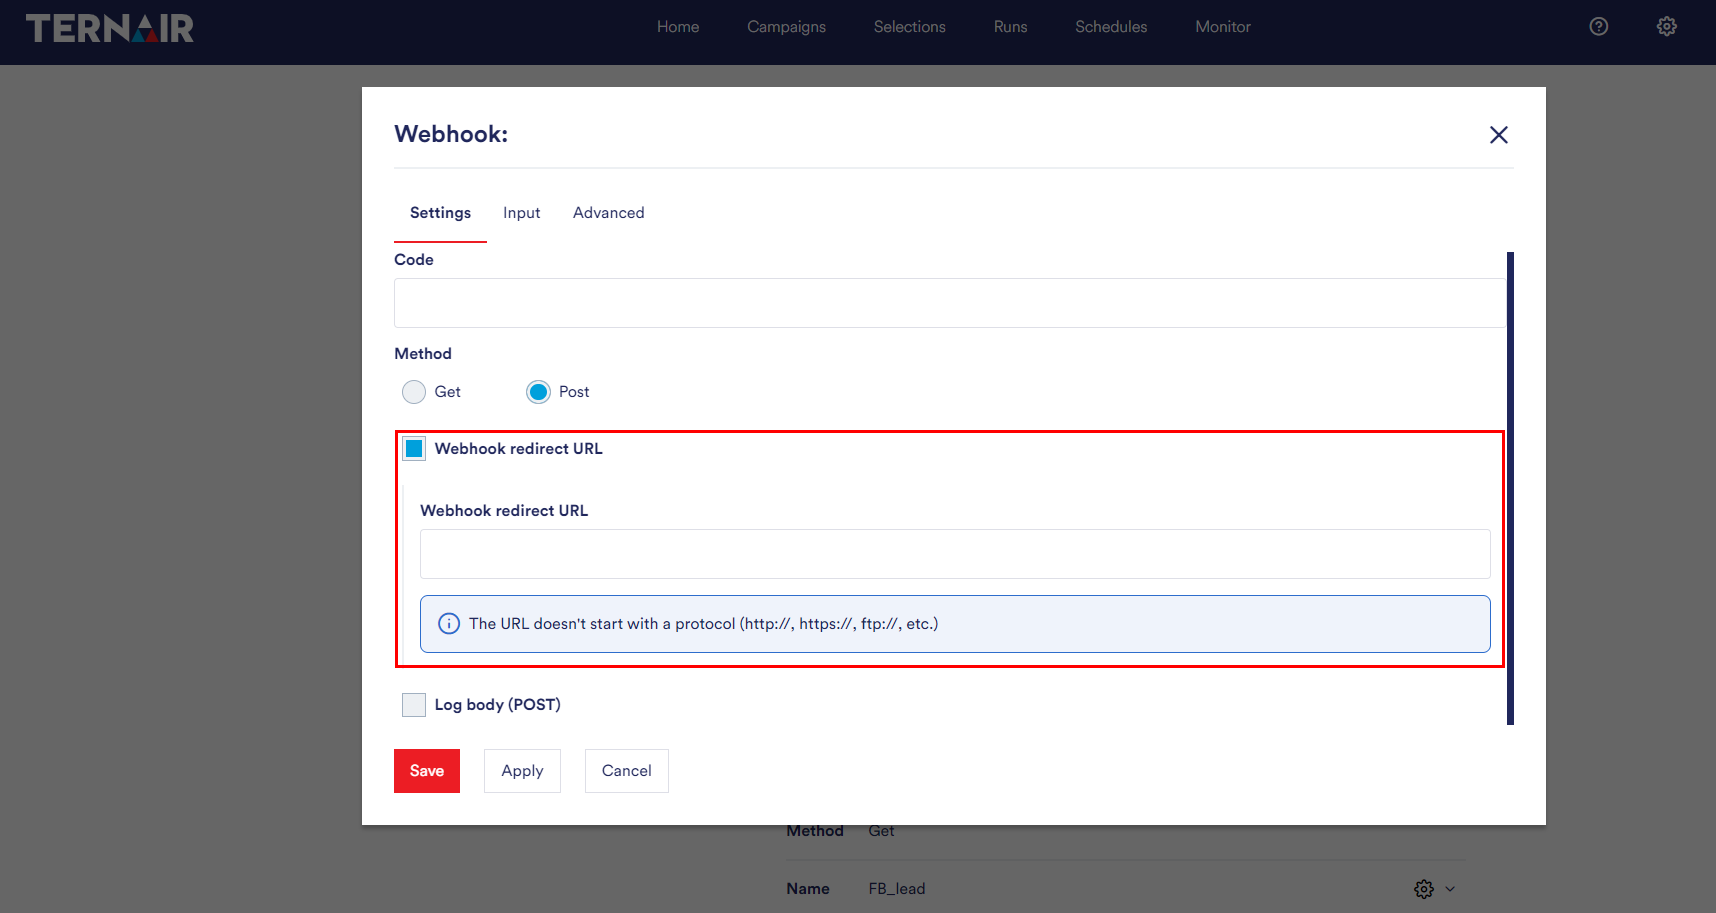
For example, you can use the redirect URL to completely set up your own double opt-in process within Ternair Marketing Cloud. Set a redirect URL on the webhook that refers to your thank-you page after confirming the double opt-in and place the URL of the webhook behind the ‘confirm’ button in the e-mail that is sent. The webhook allows you to trigger a webservice block in your flow that uses the Ternair Interact API ‘subscription confirmation’ to complete the confirmation. The redirect URL will redirect the user to the thank you page after clicking ‘confirm’.
Input
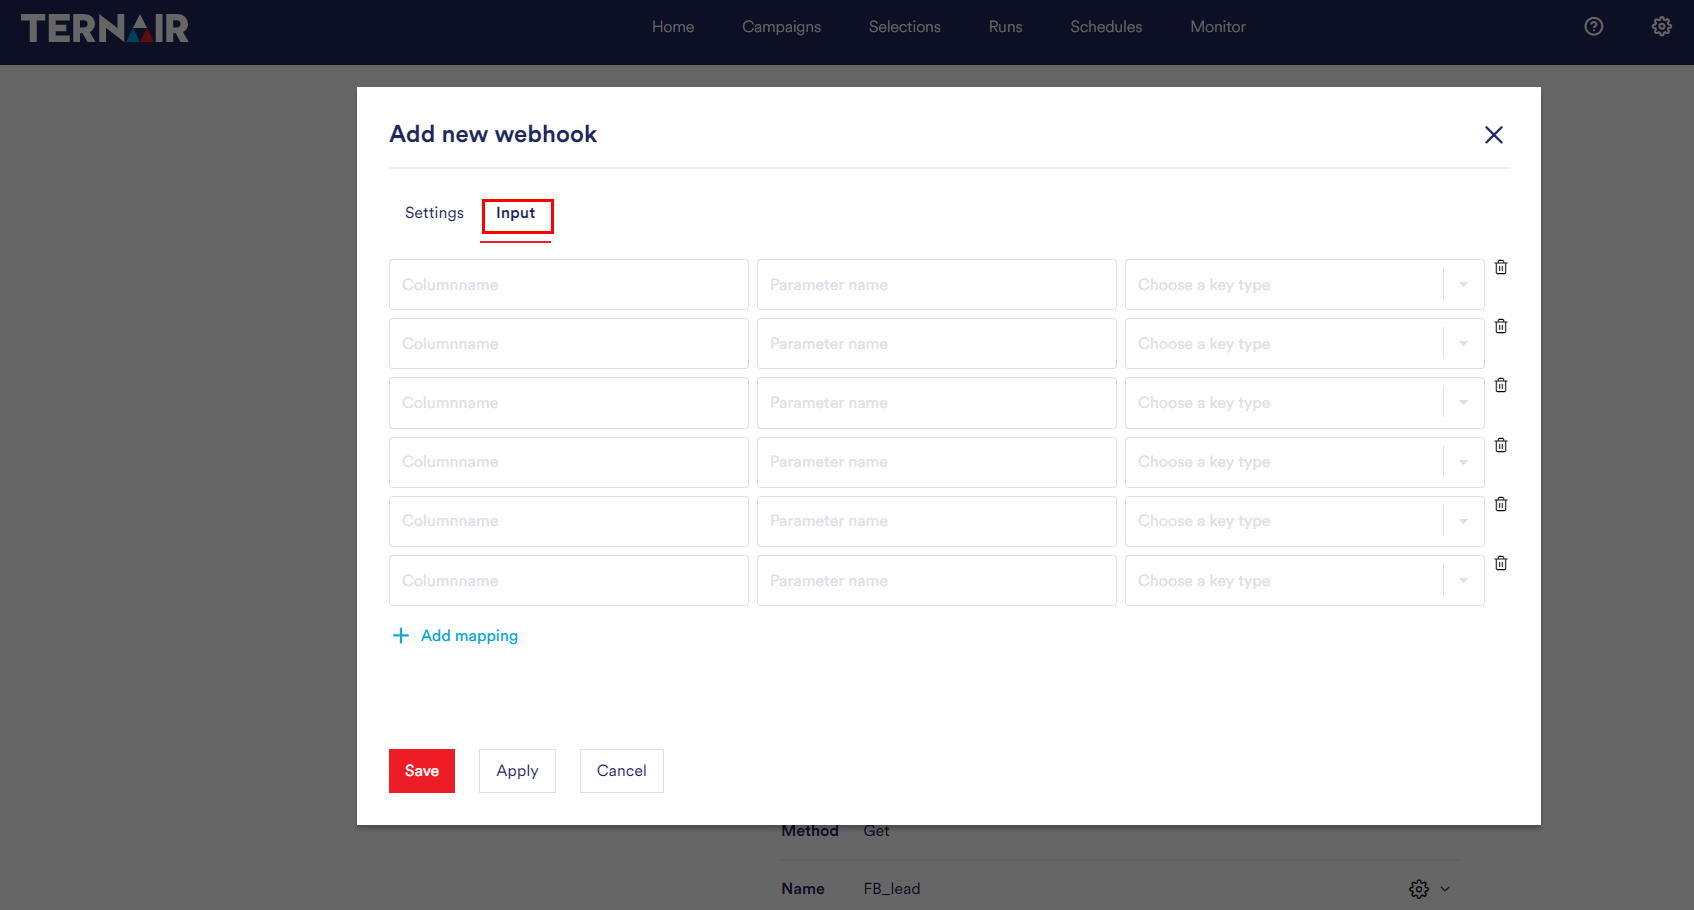
The mapping of the webhook block can be provided on the ‘Input’ tab.
In the first field, you can enter a name.
In the second field, depending on your output format, you can enter an XPath or JSON selector.
In the third field, you choose a key type.
The maximum length of a value per column is 999 characters.
Advanced
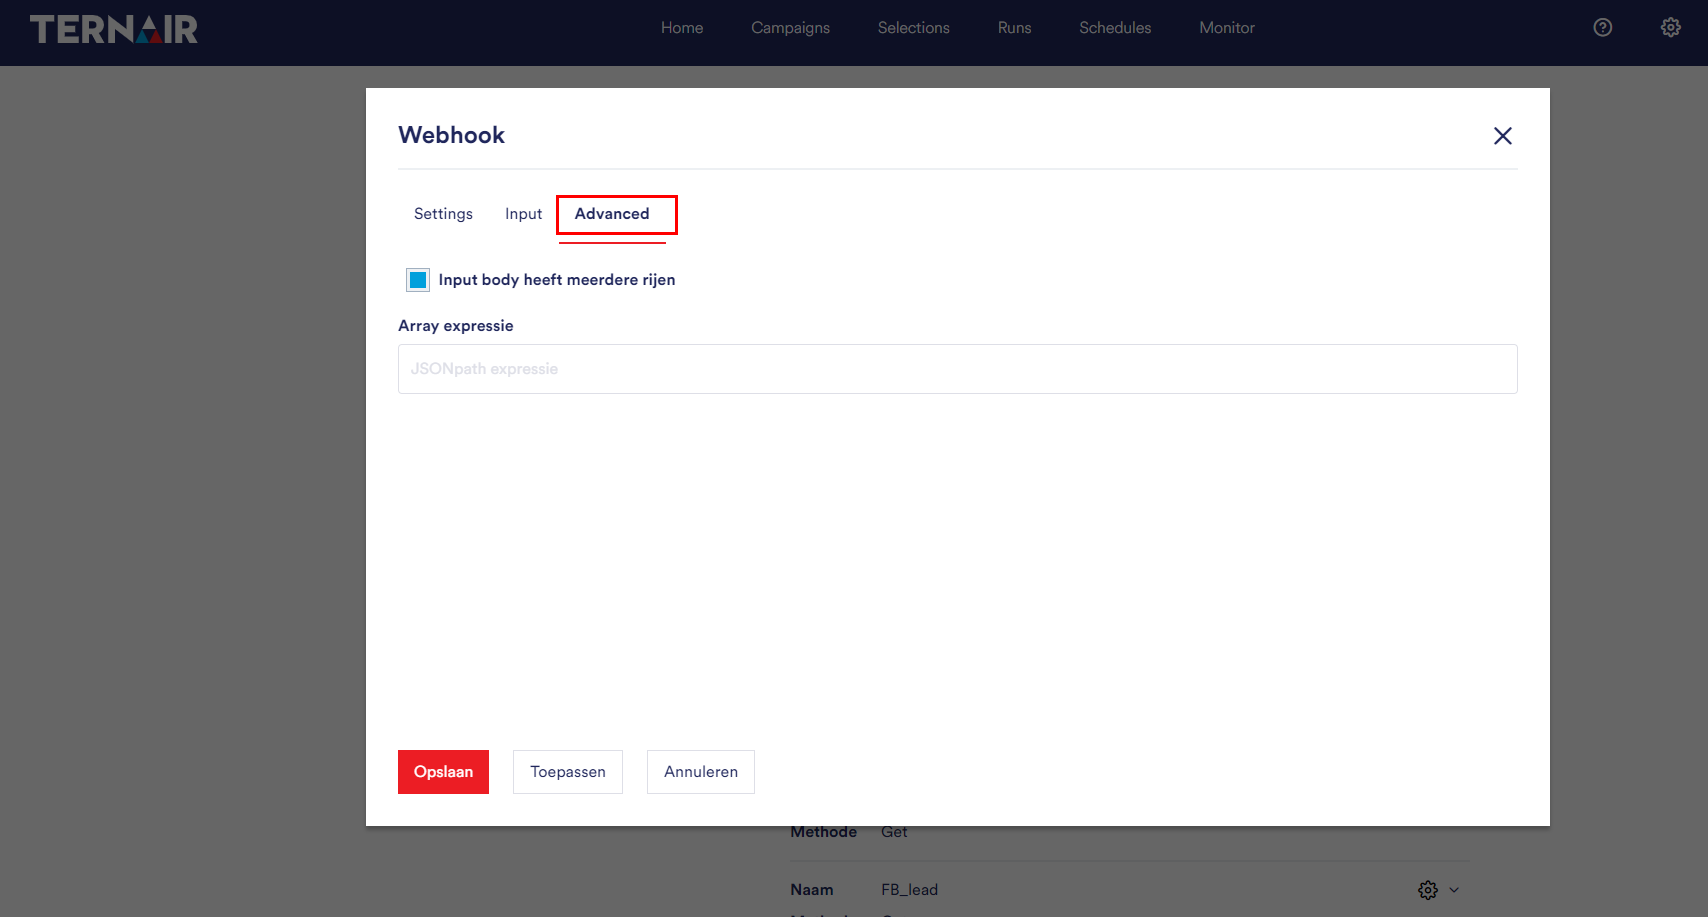
On the ‘Advanced’ tab you can indicate whether the input body contains multiple rows or not.
