With the output function ‘App messages’ an app message can be defined in Ternair Marekting Cloud to send to the users of your mobile app.
Drag an app message block onto the worksheet. Connect the app message block to one or more selection blocks.
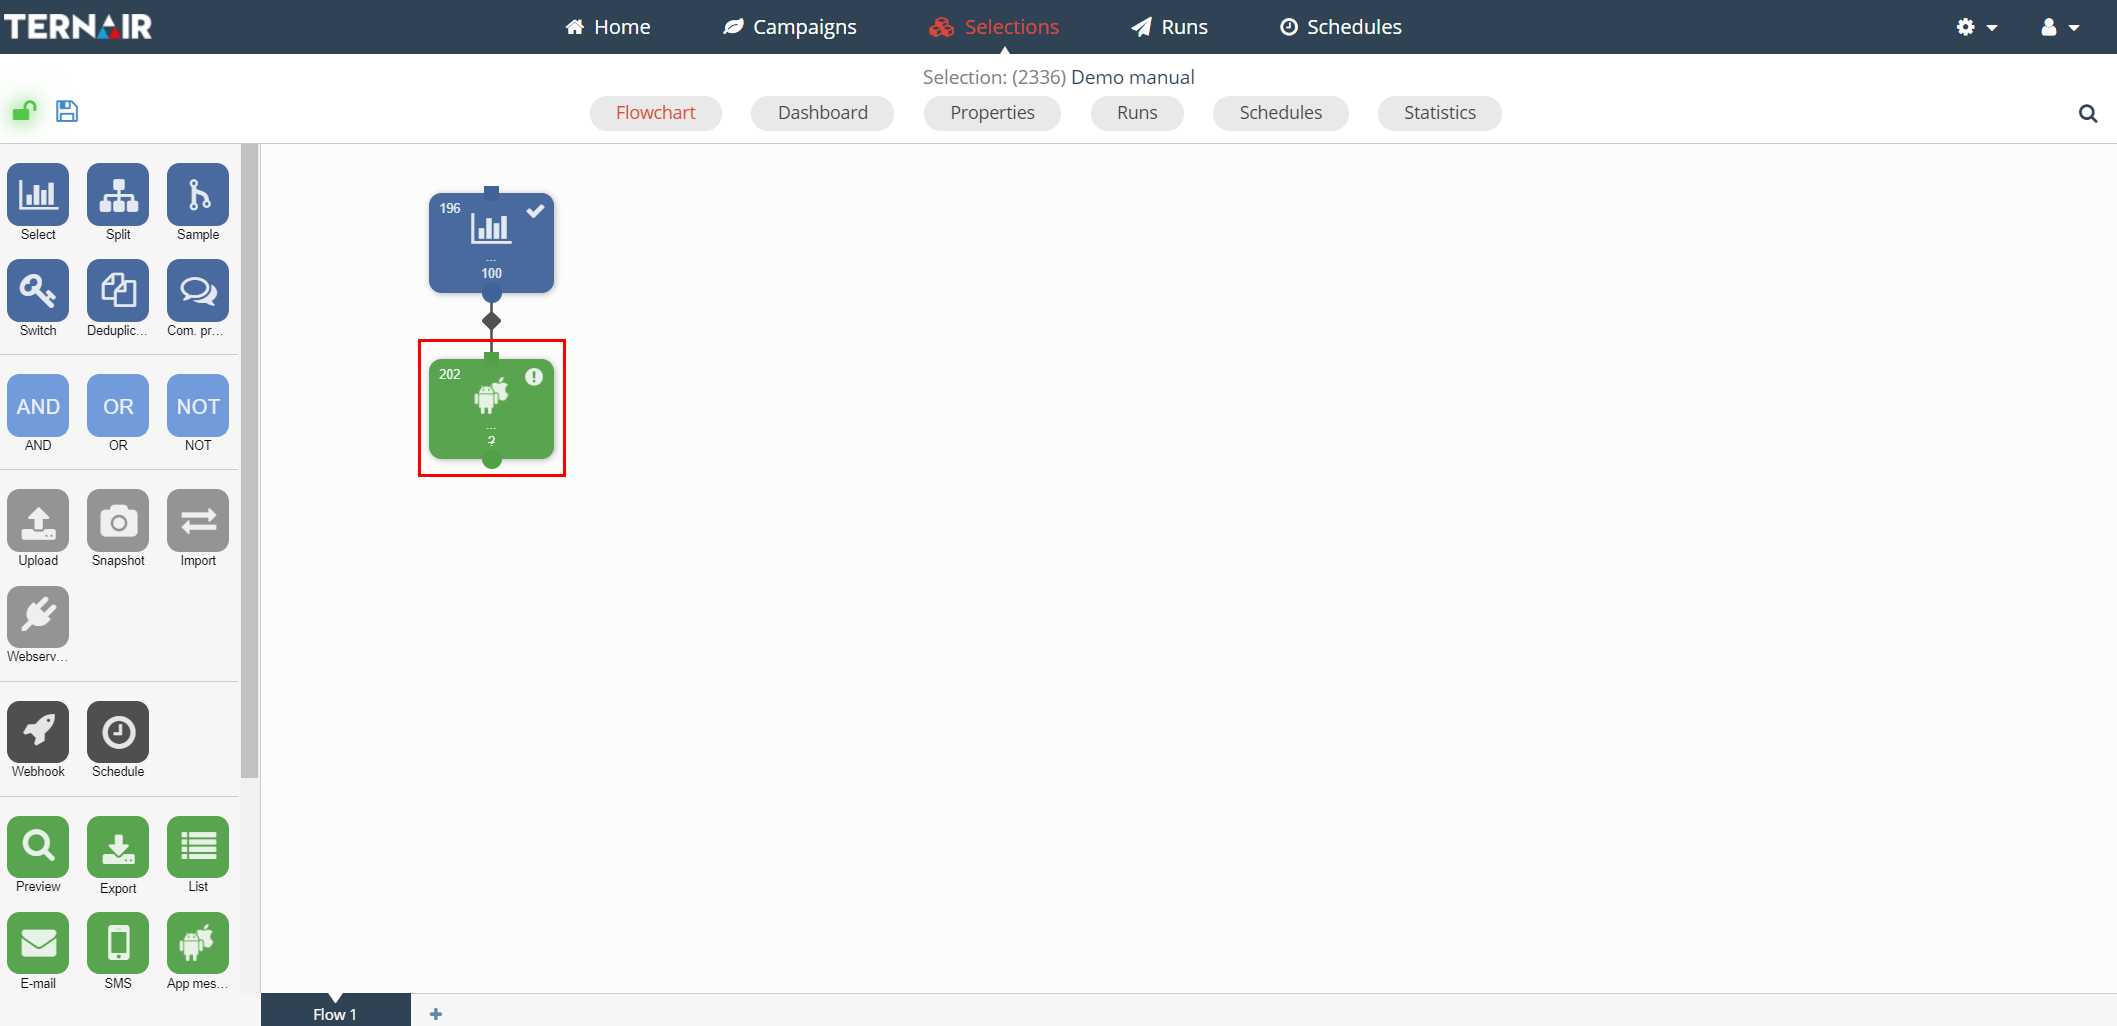
An app can only be made when a selection is saved.
Double click the app message block to open the setting screen.
On the left hand side the app editor is displayed. On the right hand side the settings can be found.
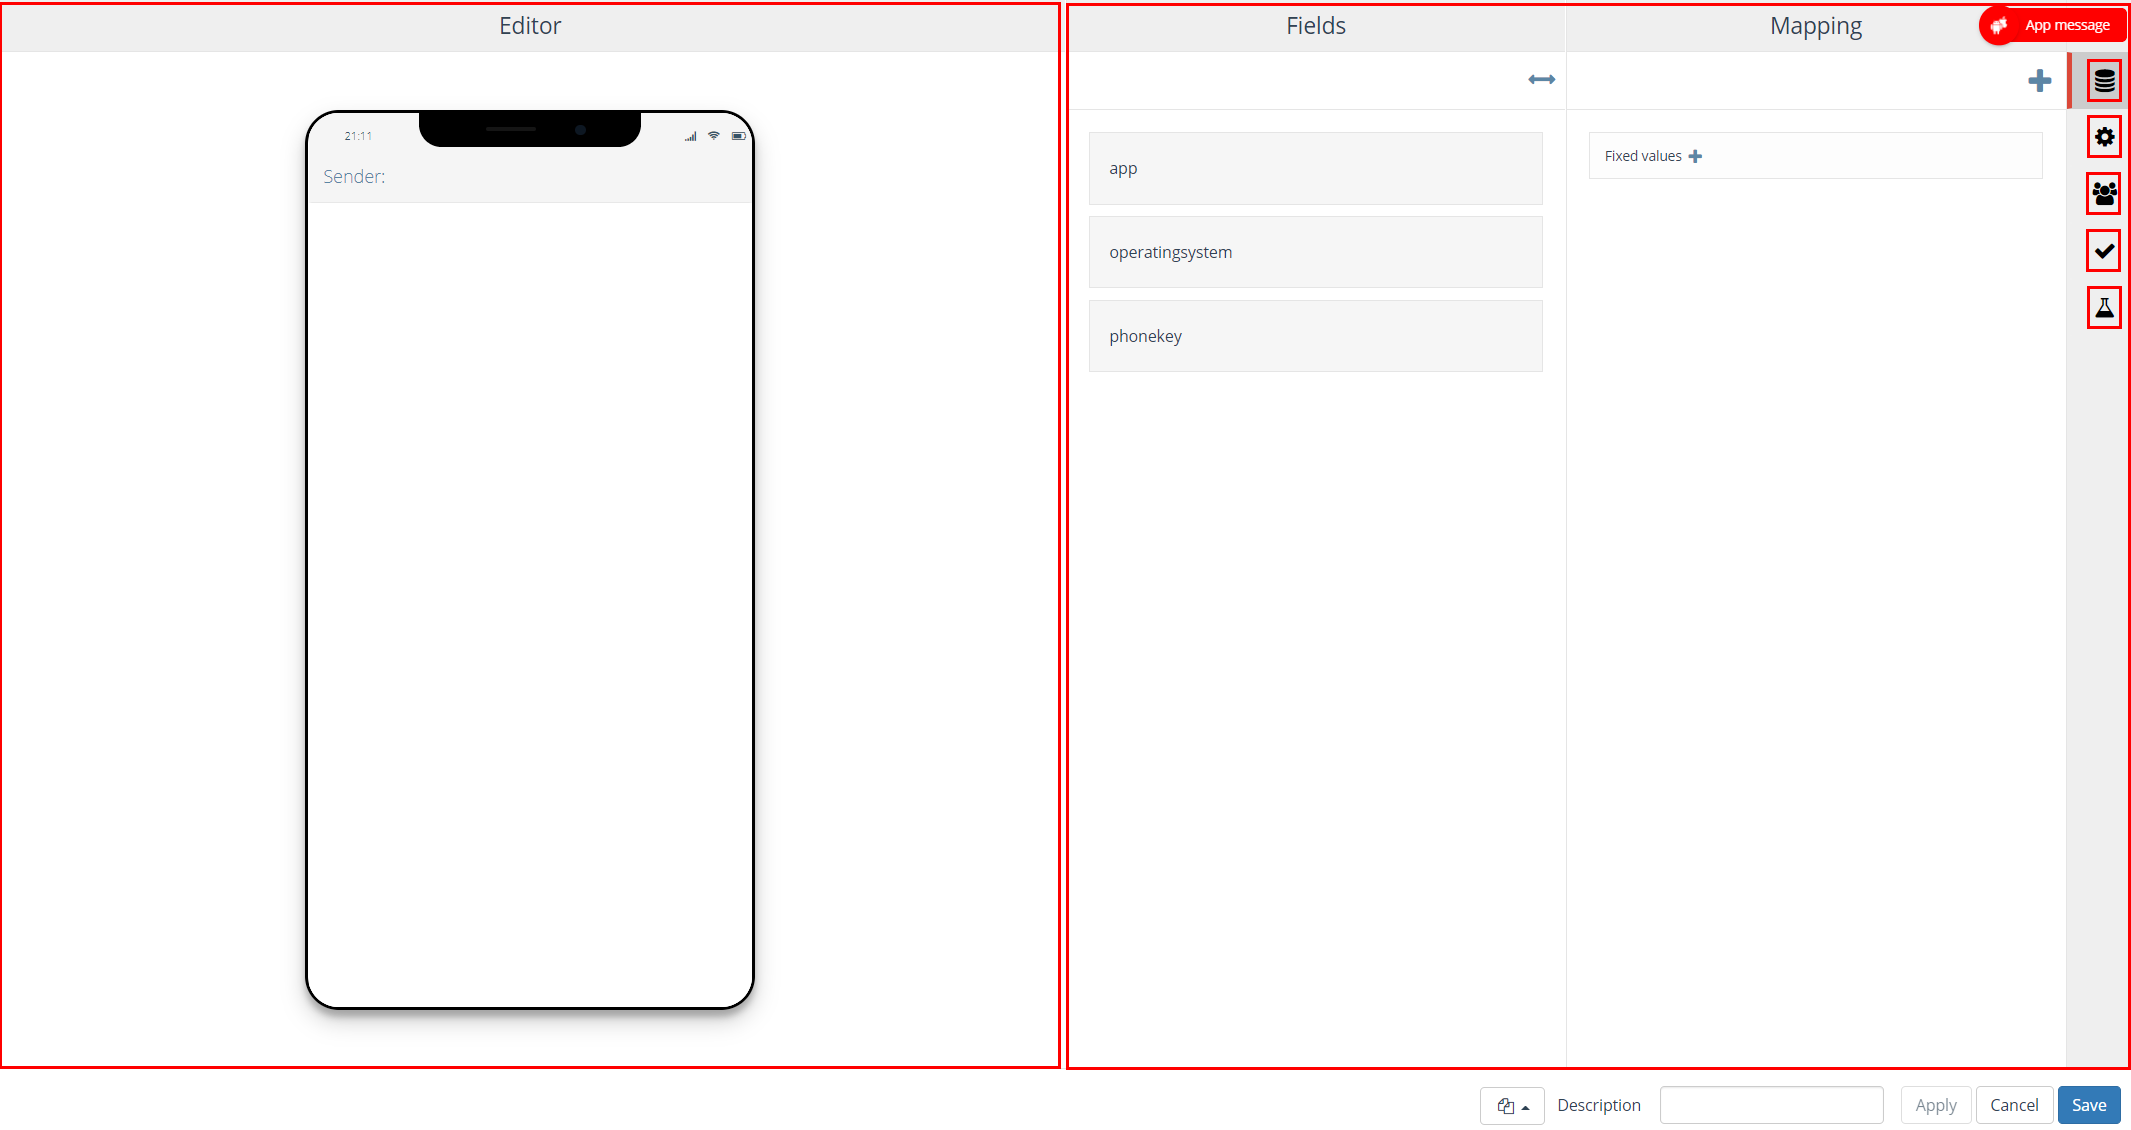
This section focuses on the following topics; each topic consists of a tab in the settings (right hand side) of an App block.
| Icon | Options | Description |
| Mapping | Mapping personalized app message fields | |
| Settings | Confirmation app message after sending | |
| Contacts | Creating contacts for the records receiving the app message | |
| Validation | Validating app content | |
| Test | Recipients test app message |
Filling out the mapping tab is mandatory, settings and contacts is optional.
Apart from these topics the app editor (left hand side of the screen) is available on all tabs.
Editor
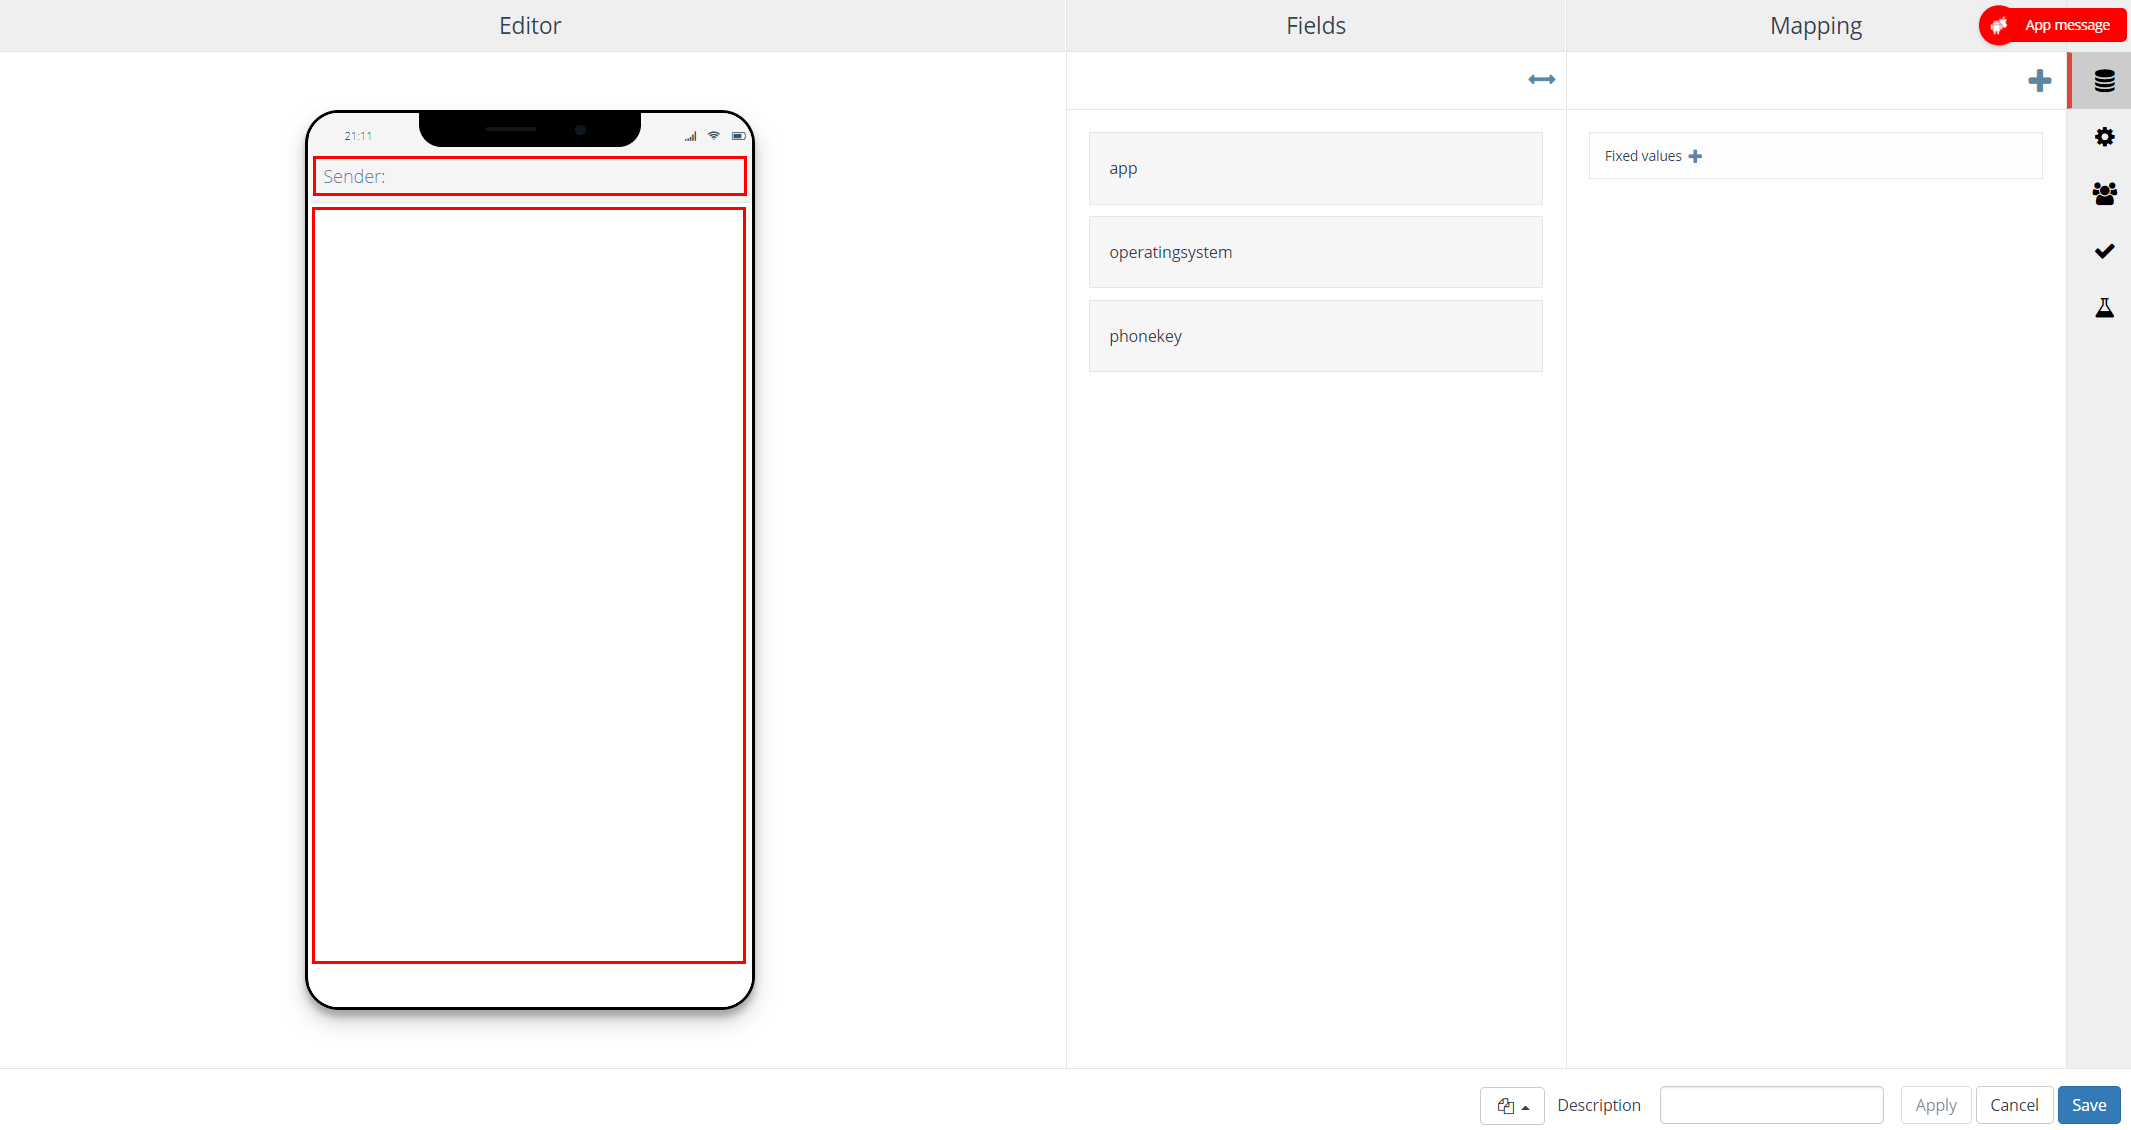
In the editor the content of the app message can be defined.
Follow these steps:
- Enter a description for the sender
- Enter content for the app message by typing in a text
Mapping
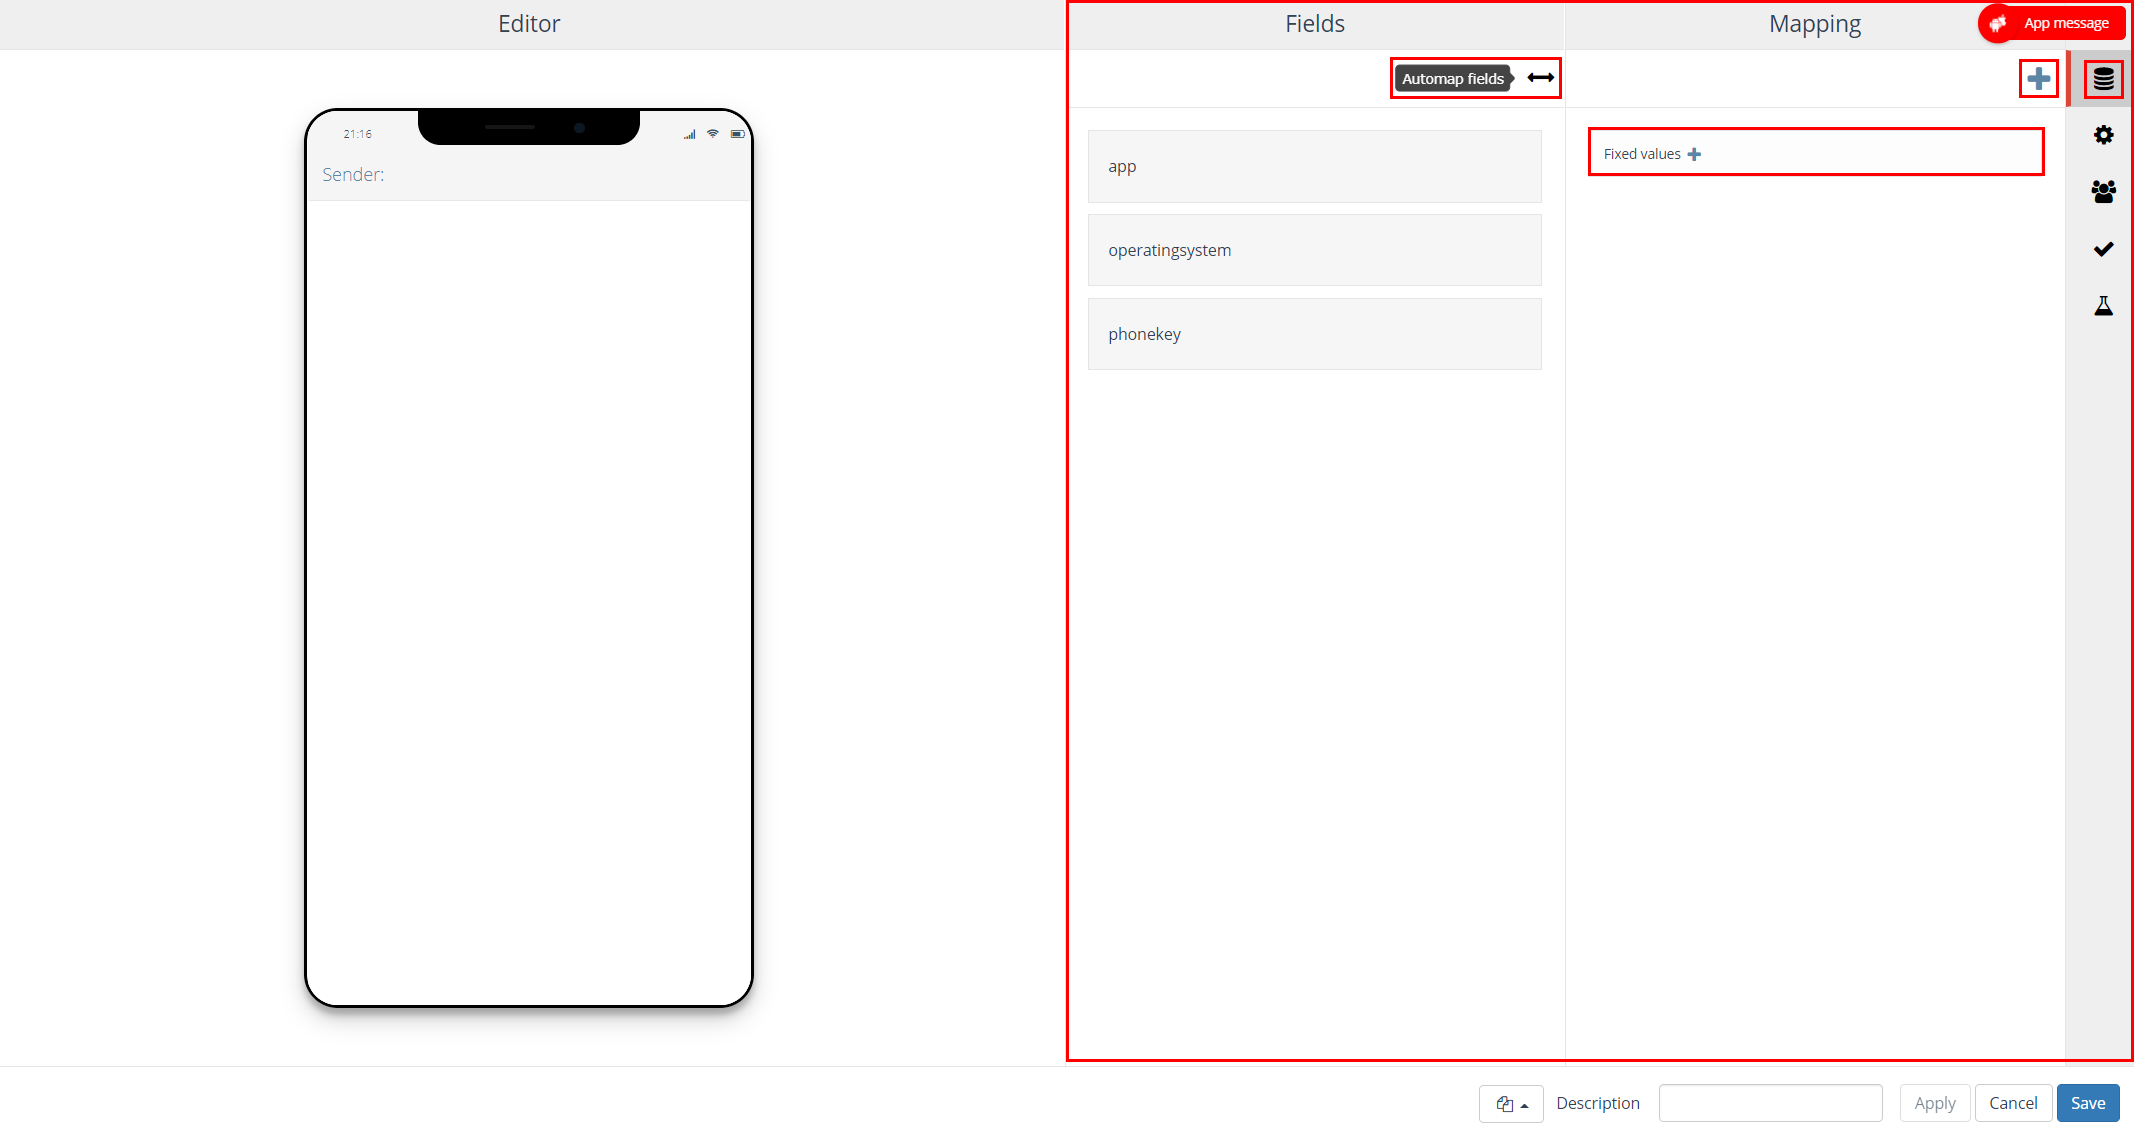
All fields you would like to use in an app message need to be selected (‘mapped’) on this tab.
These fields consist of:
- App, operating system, phone key (= mandatory)
- Fields for personalizing / dynamic content (= optional)
Use the ‘+’ icon on the top right to add one or more fields to the Mapping.
After the fields have been added to the Mapping (right column) they need to be ‘mapped’ to the fields in the left column Fields.
Use the button ‘Automap fields’ or drag the field from the right column to the corresponding field in the left column.
Apart from the available database fields it is possible to include fields with a fixed text value. Click on the ‘Fixed values +’ field in order to add a fixed value text field. Both the header as well as the value of the field needs to be provided.
 More details: Mapping.
Personalization / dynamic content
The content of app messages can be determined dynamically. Personalization fields can be called by placing brackets [ ] before and after the name of the personalization field. For example: [FIRST NAME].
N.B. when personalizing an app message it is important to place the most relevant information at the start of the message. When, for example, a long name is prefilled in a app message it is possible that part of the message is not shown on a mobile device.
More details: Personalizing & dynamic content.
Settings
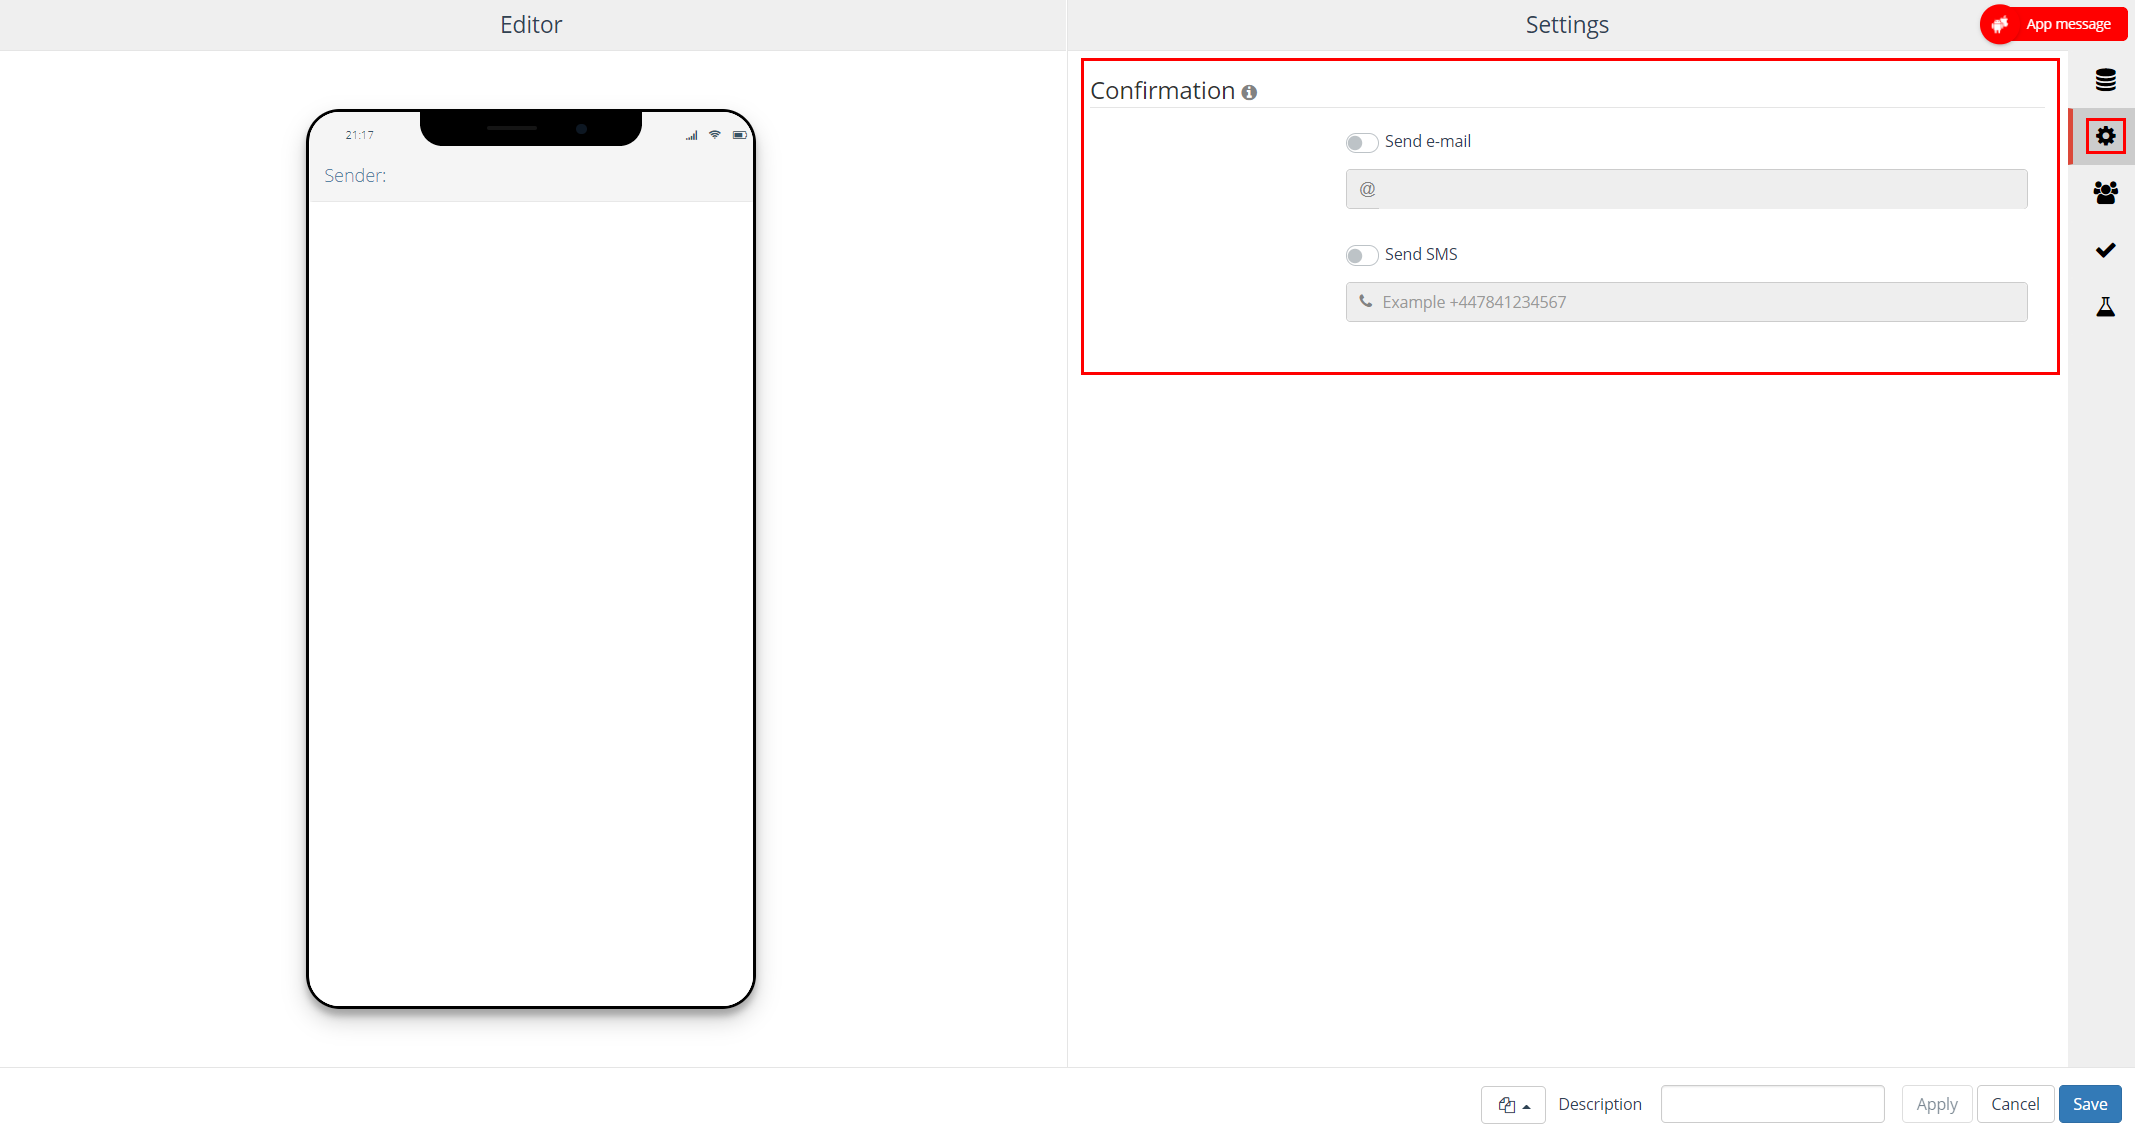
On the ‘Setting’ tab you have the option to automatically send a confirmation text message or email when all app messages are sent. This text message or email notification is a message containing process information which is sent to the provided phone number / email address when all app messages are sent.
Contacts
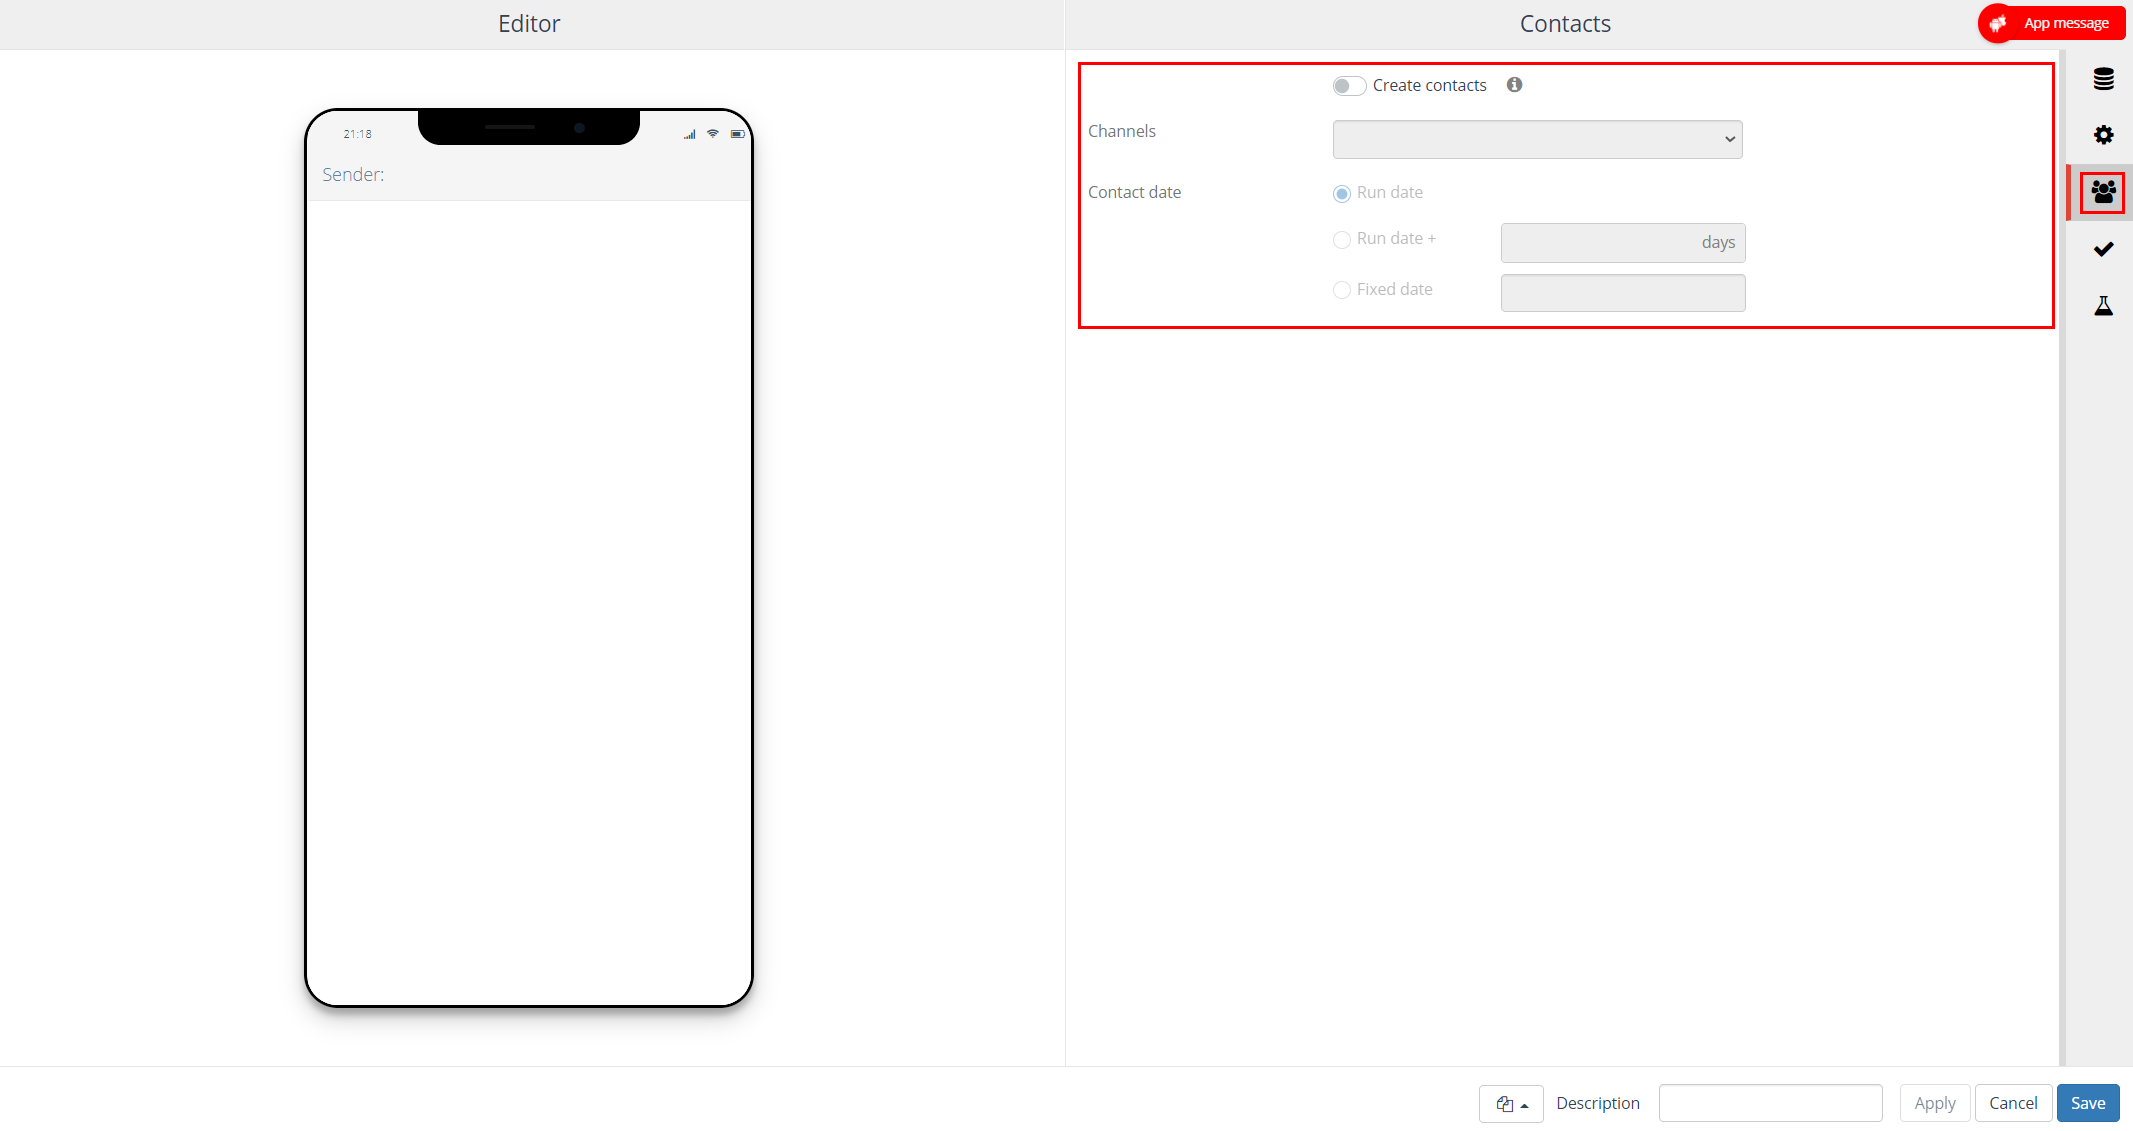
On the ‘Contacts’ tab, provide the channel and contact date you want to register for the contacts (= optional).
More details: Contacts.
Validation
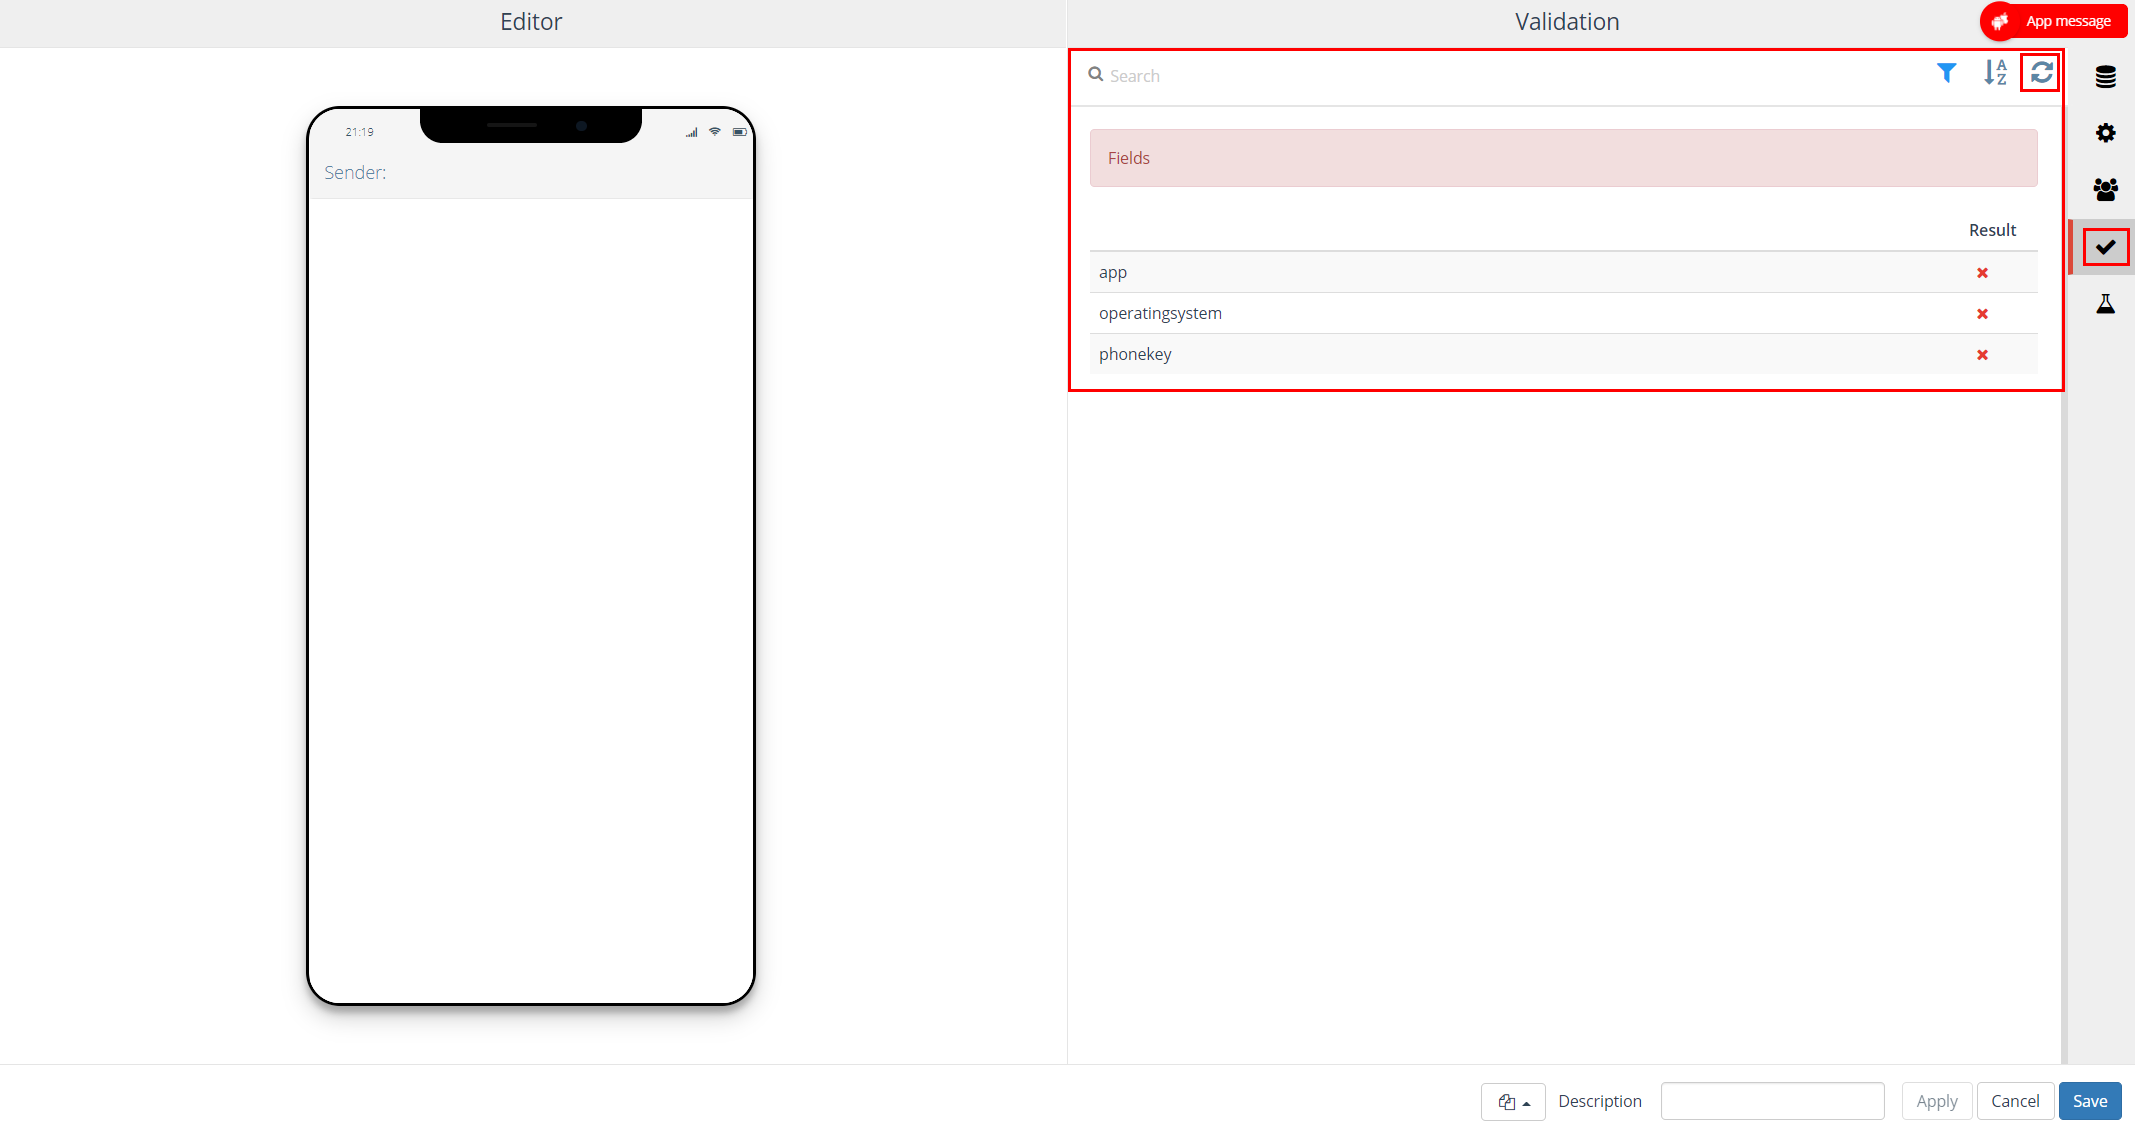
On this tab the following validations are executed:
- Are all of the used personalization fields correct?
- Are all of the used fields mapped?
Use the button on the top right to re-execute the validation.
More details: Validation.
Test
The ‘Test’ tab provides the following options:
|
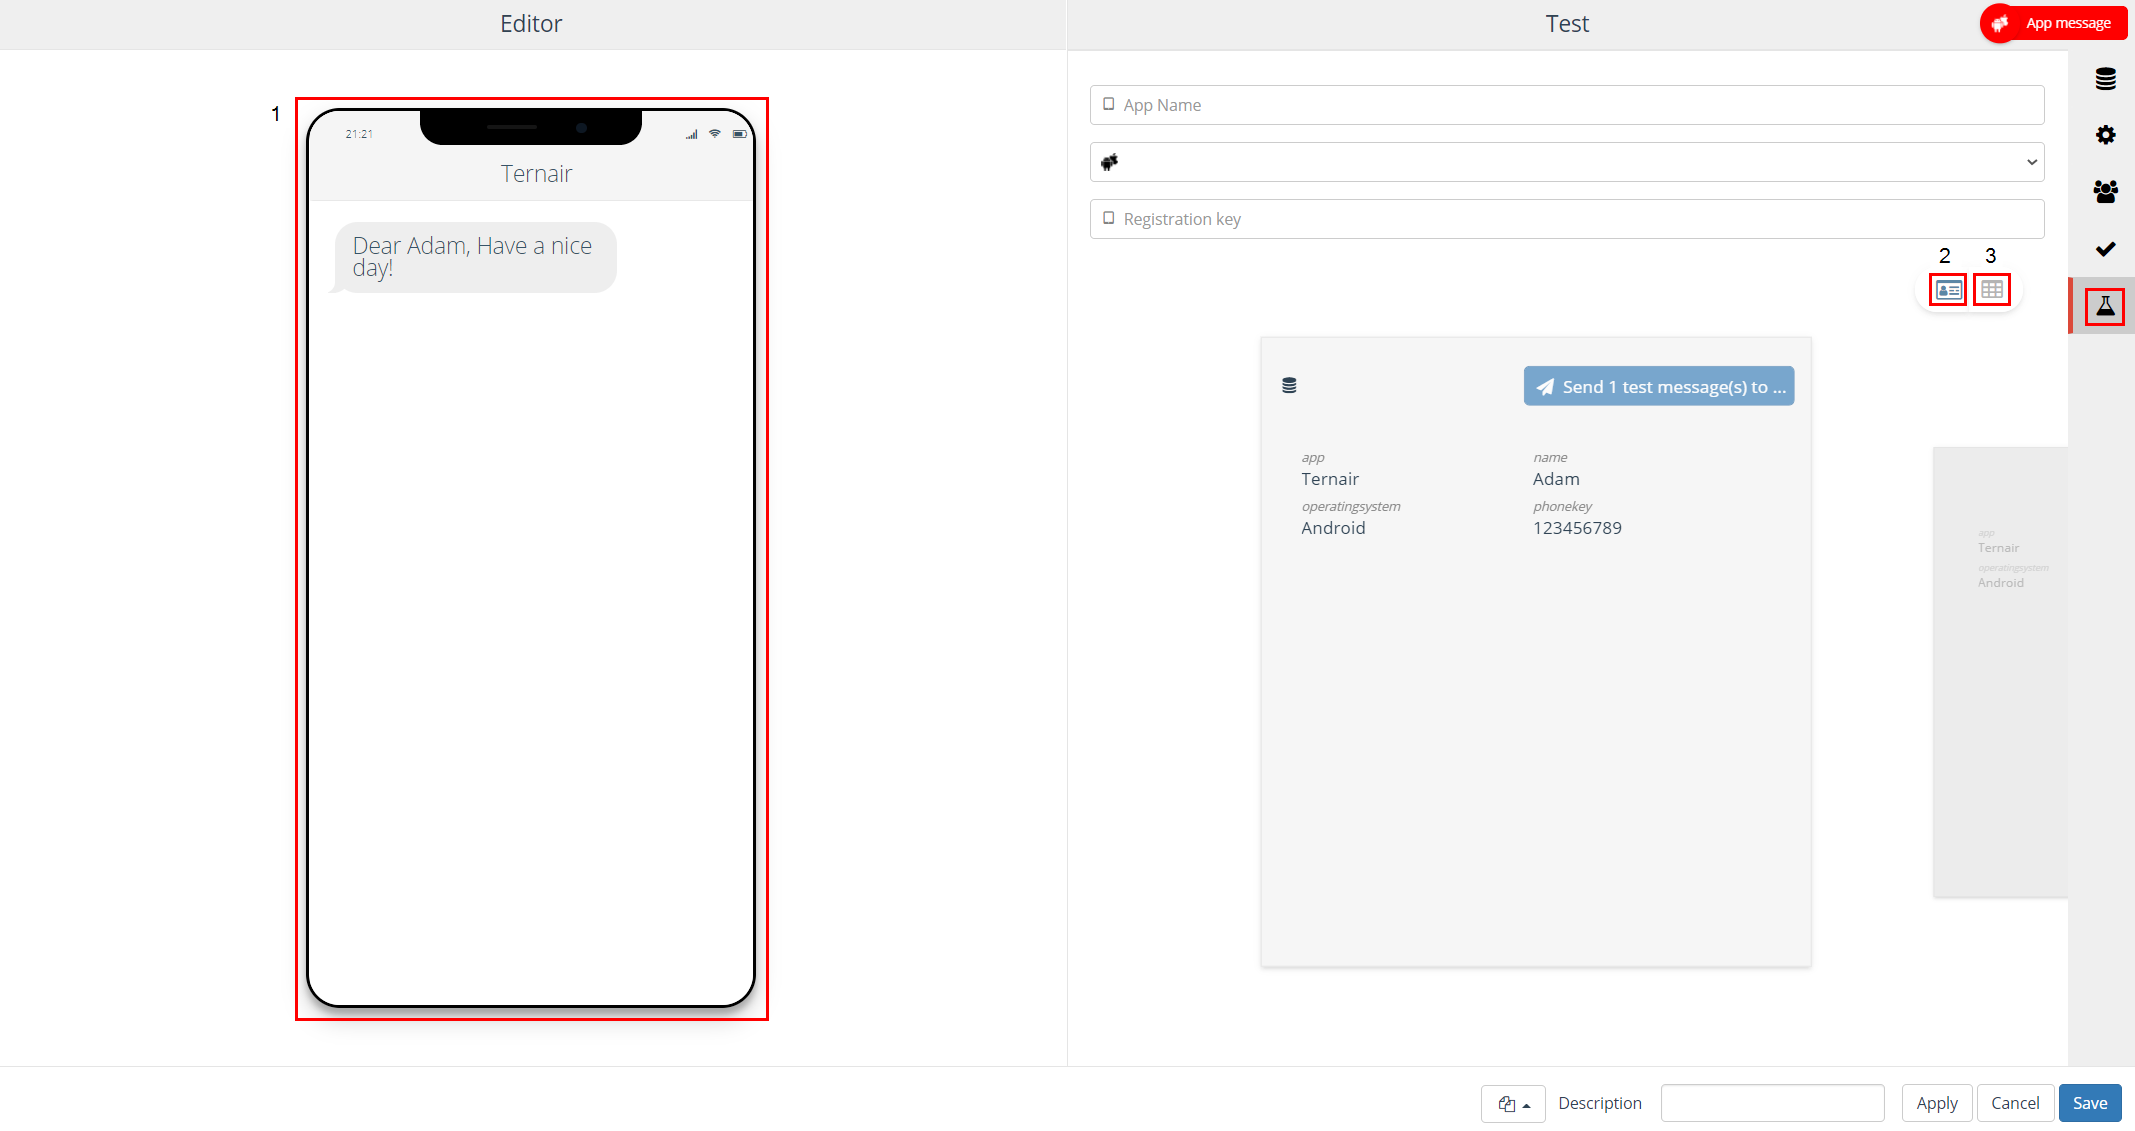
View personalized app messages for all relations in a selection
On the left hand side the preview of the (personalized) app message is displayed.
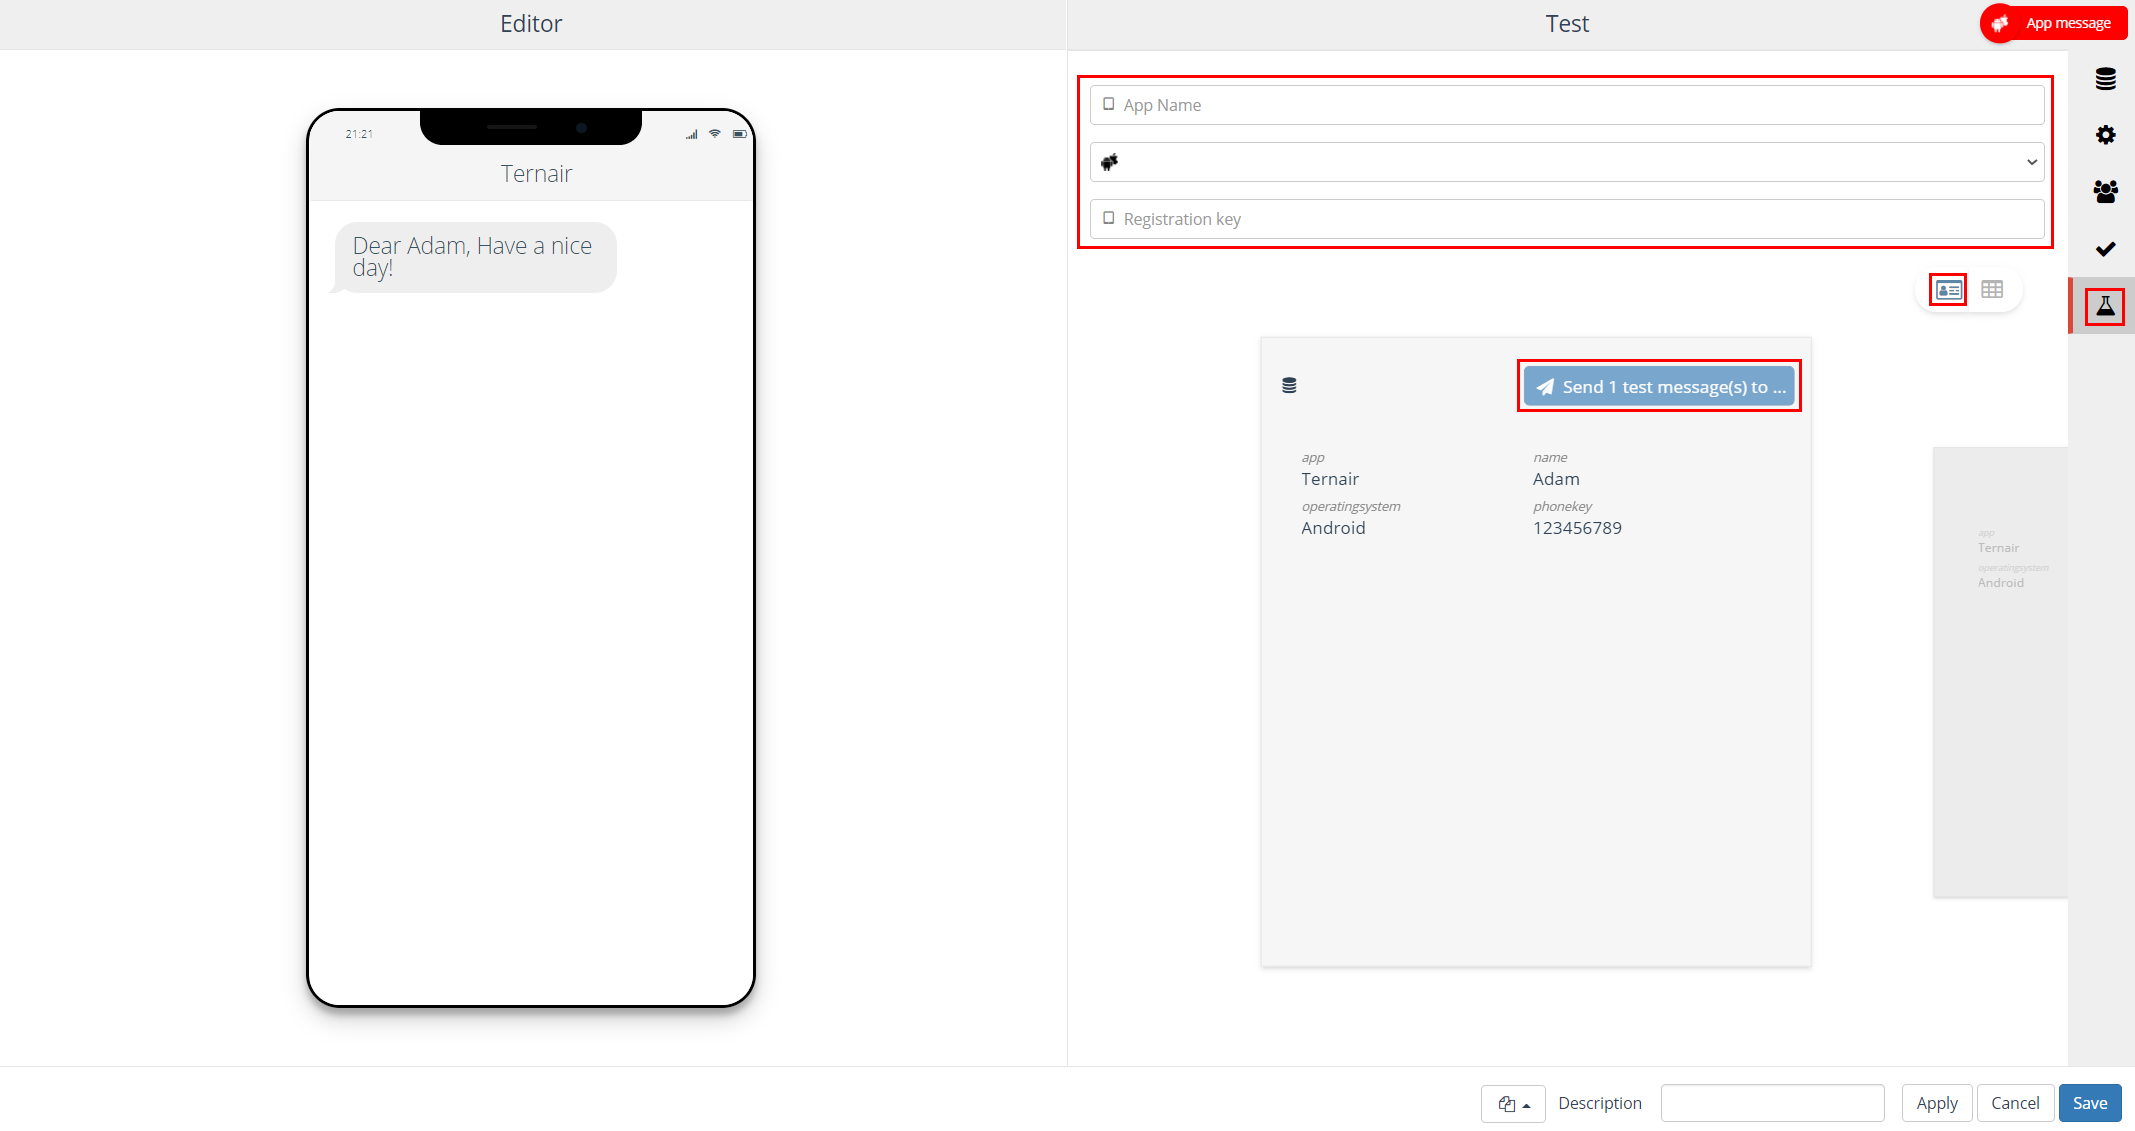
Sending individual test text messages
Click on ‘card’ icon to send an individual test app message.
- Enter the the app, operating system and registration key for the recipients of a test app message.
- Click the ‘Send 1 test message(s) to …;’ button to send a test app message to the provided combination of app, operating system and registration key.
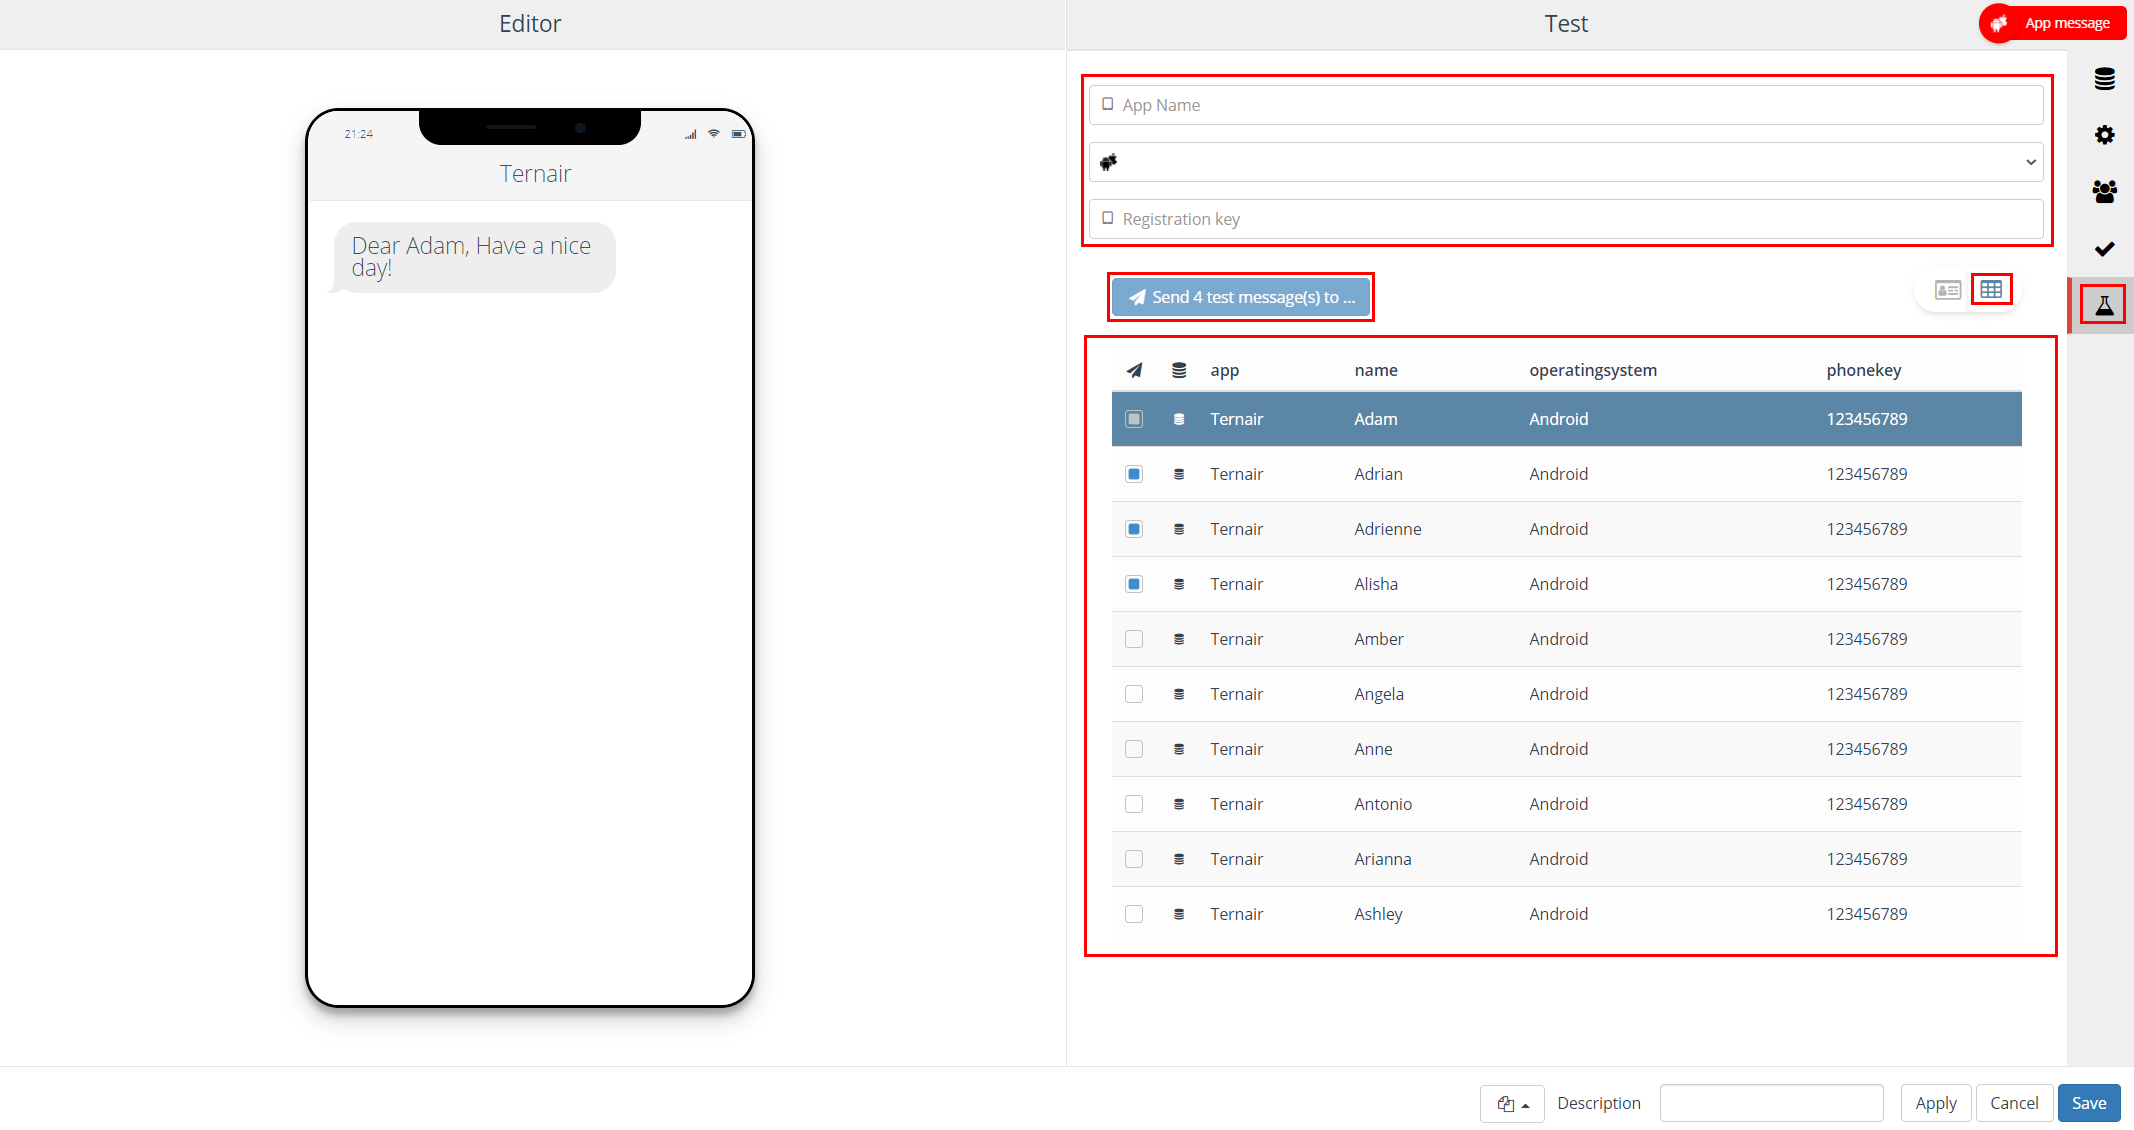
 Sending 10 test app messages
Click on the ‘table’ icon to send a maximum of 10 test app messages.
- Enter the the app, operating system and registration key for the recipients of a test app message.
- Select the number of test messages (maximum 10).
- Click the ‘Send X test message(s) to …;’ button to send a maximum of 10 test app messages to the provided combination of app, operating system and registration key.
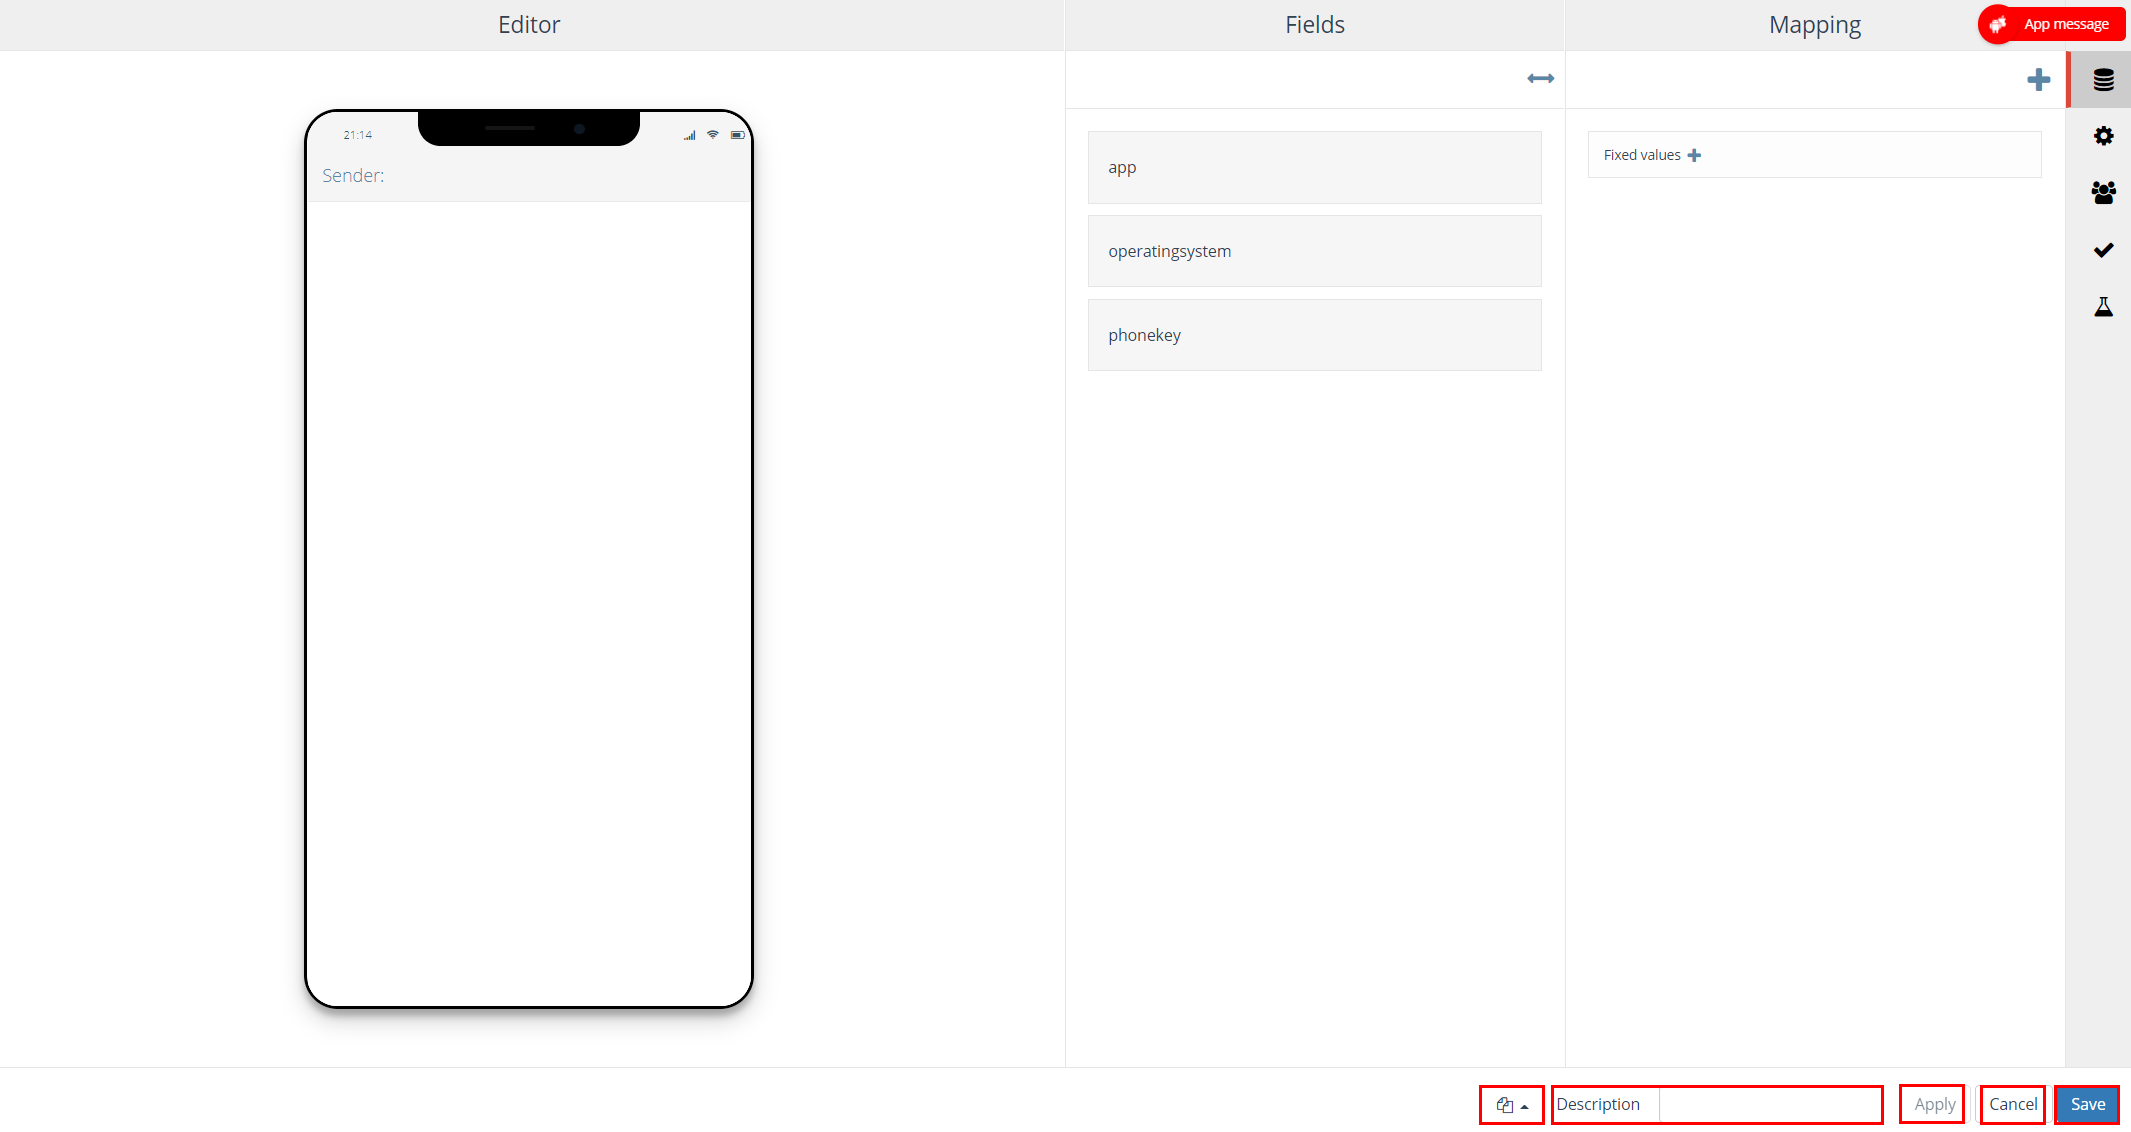
General settings
| Options | Description |
| Block template | Each app block can be saved as a template. After saving a app block as a template it is available as template for other app blocks. A block template can be re-used by clicking ‘Open block template’ in the bottom left corner of a app block and selecting the template from the list. |
| Description | You can define a description for a app block. The description field is intended to provide a logical description for the block. As a result, the content of the output block is easy to recognize in the selection flowchart. |
| Apply | Clicking the ‘Apply’ button will save the provisional selection block settings. |
| Cancel | Use the ‘Cancel’ button to undo your changes. |
| Save | The ‘Save’ button can be used to save your changes without (re-)calculating the block. |
